To create the finish layer, masters often use finely dispersed plasters, on which decor can be glued even without puttying. To ensure high quality finishes, it must be subjected to special processing to give smoothness or texture. Plaster grouting is a suitable way to eliminate small irregularities. It is produced by different methods - on wet or dry plaster.
- Grouting tools
- Grinding whetstone
- Grinding grinder
- What sandpaper is needed for grouting
- Grinding graters
- Standard grout options
- Dry grouting method
- The method of grouting "runaway"
- Wet grout
- Gloss
- Ways of decorative grouting
- Method one
- Second method
- Mechanized grouting
Grouting the walls is the final stage of the finishing work necessary to eliminate the smallest errors in order to smooth and smooth the surface. Grouting consists in grinding the mortar directly on the wall with the help of special tools.
Before grouting, a coating is applied to the substrate - a covering layer of the stucco mortar, which is the final one. It is mandatory, because the soil (base layer) is difficult to process due to its high density and strength. Due to its thinner consistency, the lining is easier to work with and can be wiped to the maximum possible smoothness. On the contrary, when applying decorative plaster, mashing does not give perfect evenness, but the necessary relief, therefore it is made by other methods.
to contents ↑Grouting tools
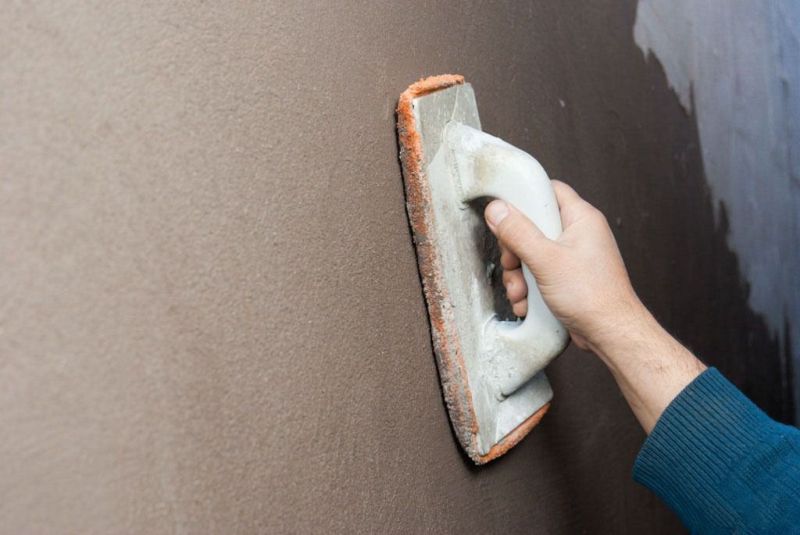
The main and most popular grouting tool is a grater - a rectangular canvas with a handle. But it’s not necessary to work manually, and there are devices for the mechanization of the master’s labor. Below are discussed in detail all the tools that allow you to grout.
Grinding whetstone
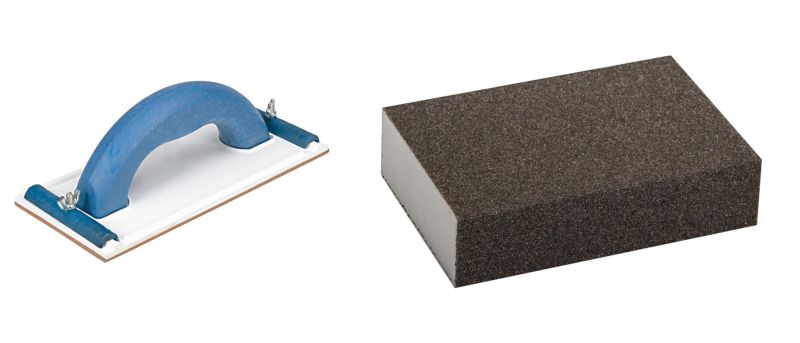
If the surface of the wall is small, you can use a regular wooden block. The main thing is that it has convenient clips on which to place a piece of sandpaper or sanding mesh. The latter option is more effective, since the mesh wears out at a lower speed than sandpaper, it is not clogged with dust. The grid is cut to the size of the bar, so before buying it is necessary to measure its dimensions. If grinding is weak during operation, it is time to replace the installed mesh.
The bar can be built with your own hands even from a plastic profile, and it will be perfect for processing corners, niches. A suitable piece is cut from a profile 6–7 cm wide, sandpaper is glued to the back of the double-sided tape, the corners are cut to give the product a pencil shape. As you grind, the corner can be cut.
to contents ↑Grinding grinder
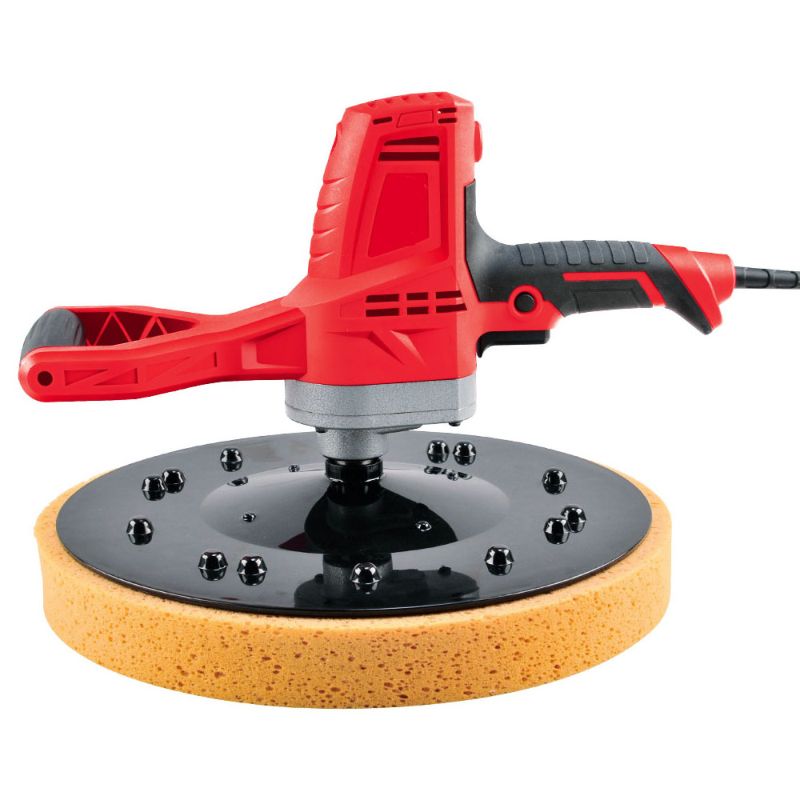
To minimize the efforts of the master in large areas, it is worth using grinding machines. The power tool is reliable and powerful, it seriously improves labor productivity. On sale there are cars of the following types:
- Tape. Used to process a thick layer of material. Not suitable for perfect alignment, their work is pretty rough.
- Flat vibrating. They are considered universal, they have a surface in the shape of a sole with a fixed abrasive.For machining hard-to-reach spots, machines with a triangular sole are ideal.
- Orbital eccentric. The disk in such machines rotates at high speed, which can be adjusted. Fine grinding is best done at low speeds.
Most machines do not allow to grind corners, and you have to manually bring them into the desired state. However, there are retractable sole machines that are suitable for almost any area. If the walls have a complex surface with bends, ledges, it is worth choosing a powerful eccentric aggregate. In general, the higher the power of the device, the longer it can work without interruption.
to contents ↑Some cars are equipped with dust collectors with a filter. Many modern tools do not produce dust at all, are compact and easy to use.
What sandpaper is needed for grouting
Sandpaper instead of mesh is usually chosen in order to save, although it has to be changed very often, and the consumption can be quite large.
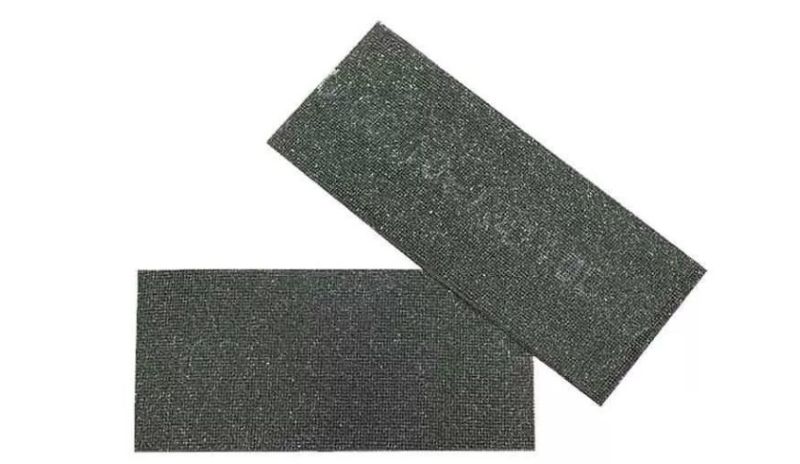
Choose paper according to these recommendations:
- Base material. Sandpaper on a fabric basis is more durable than on paper, in addition, it is not afraid of moisture. It costs more, but lasts longer.
- Grain. For grouting the plaster for wallpaper, choose material with numbers 80-100, for painting - 180. The larger the number, the finer the sandpaper grain, but we are only talking about imported products. Domestic companies produce material with grain No. 0-80, where the smallest sandpaper is “null”.
- The size. Select the size of the sandpaper sheet, taking into account the dimensions of the bar or grater. It is better to buy material in a roll or in the form of large sheets in order to cut the necessary pieces yourself. For rectangular bars, sandpaper is also implemented in the already cut form. You need to buy them, knowing in advance the size of the bar and adding 0.5 mm on each side for the clamps.
Grinding graters
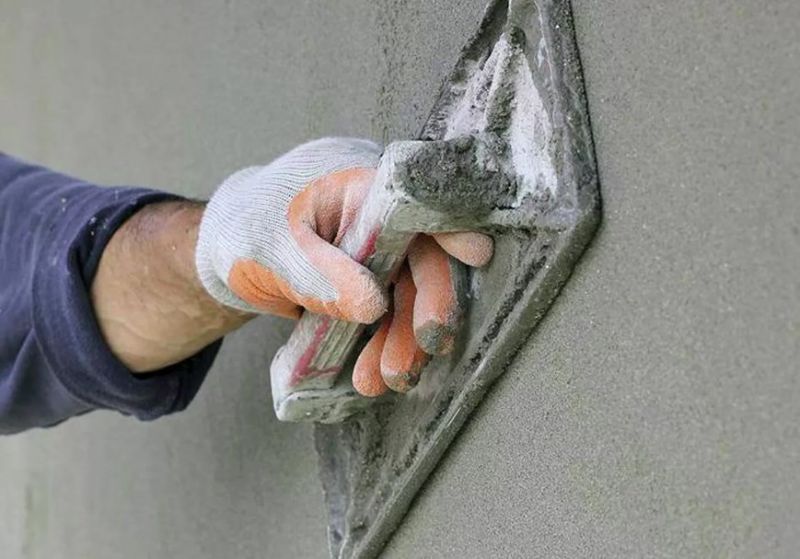
Ready-made building graters are a very convenient tool with which you can make all the trowelling.
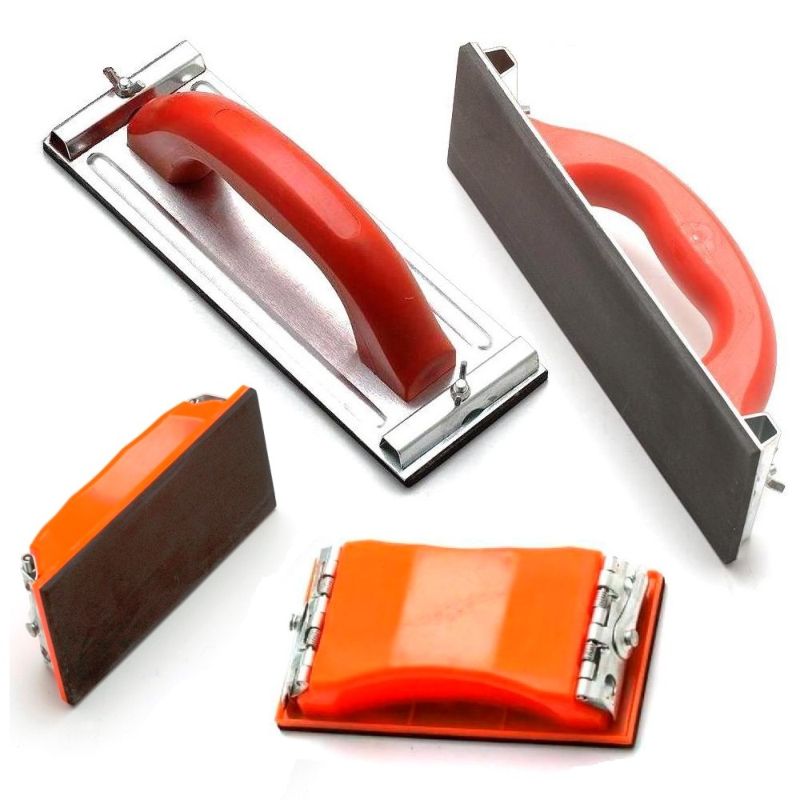
Graters are as follows:
- Wooden. Suitable for cement or gypsum plaster. Can be made with your own hands. Well smooth out small irregularities. Cons - quick wetting due to porosity of the material, abrasion of the lower part, deformation over time.
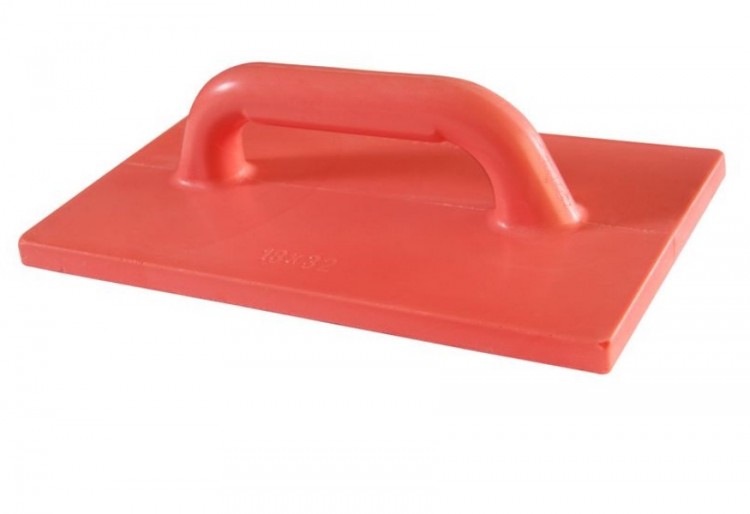
- Plastic They are used to distribute plaster in small areas, including to give a certain relief. The disadvantage is the need for skills, the complexity of work for beginners.
- Polyurethane Very durable, lightweight, do not overload the hand. Practically not subject to wear and abrasion, suitable for any plaster mixes.
- Foam. They are inexpensive, very light, but are used only for the final smoothing of the finest fraction solutions. They can not boast of durability, they quickly fail.
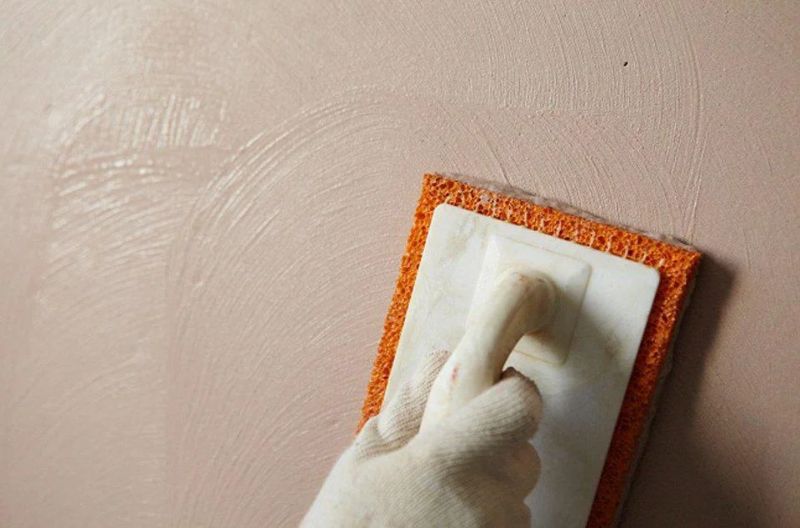
- Spongy. They are sponges with a rubber or latex surface. Due to the processing of the wall with materials of different densities, the desired relief is formed, or the coating is glossy.
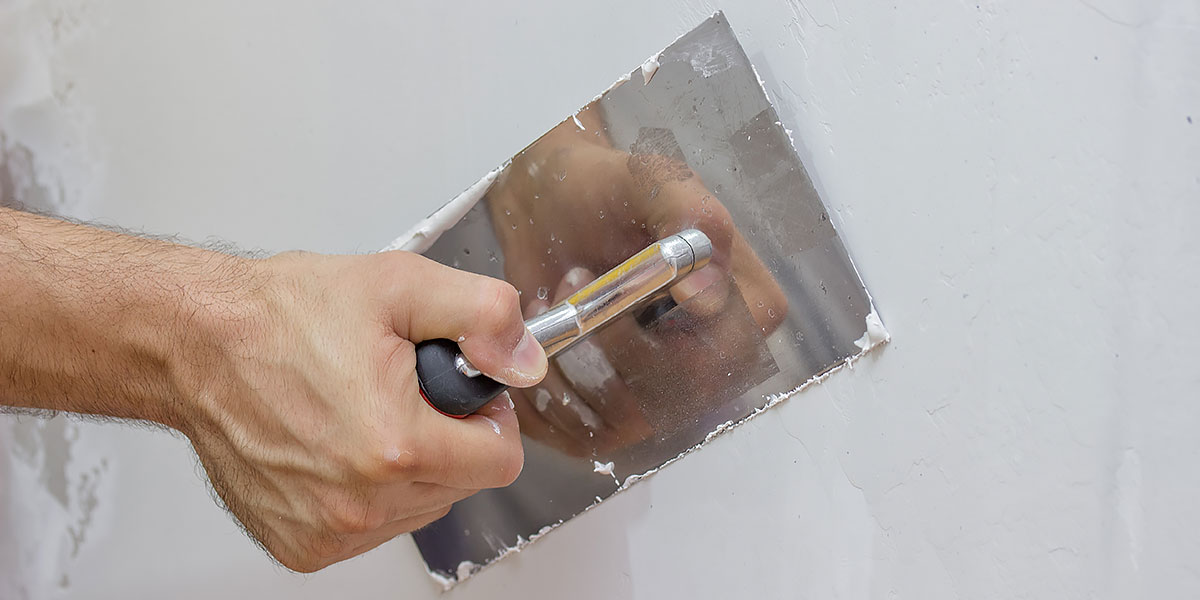
- Metal. They allow to compact the plaster layer, to form a perfectly even coating for painting.
to contents ↑Grout for grouting must be new. If the tool is old, it is thoroughly cleaned of any dirt, otherwise scratches and abrasions will appear on the wall.
Standard grout options
Before starting any trowelling, measures must be taken to prevent fine dust from entering the rest of the apartment and not spoil the furnishings. To do this, they cover all furniture, paintings, equipment with polyethylene, securing the cover with tape. It is also desirable to cover the windows with a film, fixing it on all sides with tape. A wet rag and an old sheet are hung on the door. Grout should be done only with goggles, a respirator and work clothes.
to contents ↑Dry grouting method
To exclude the leaving of small irregularities on the wall, a lamp is placed next to it or another source of light is placed, which immediately highlights even small tubercles and fossae.
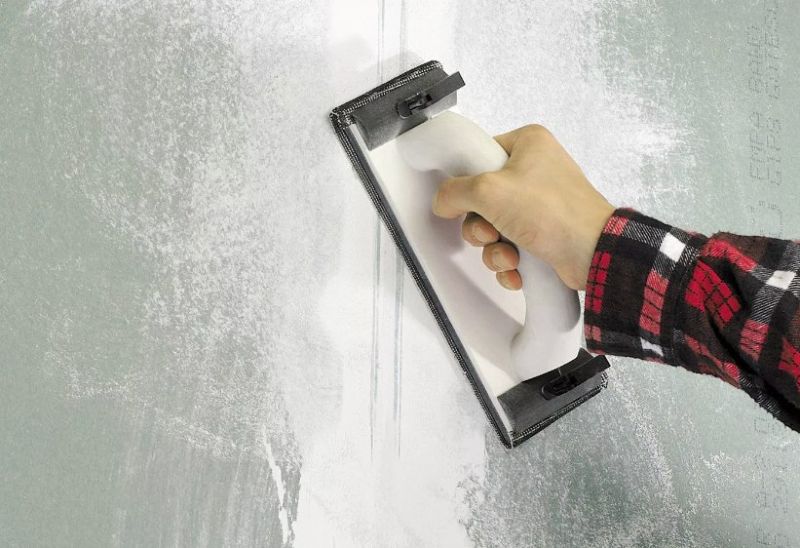
Next, take a grater or whetstone and act in this way:
- Prepare a container of cool water.The tool is wetted in water and applied to the wall. Despite the name of the technique, water is required to partially reduce dust formation.
- Sanding starts from top to bottom, but does not press hard so that there are no scratches on the coating. They process the entire wall, except for the corners, in circular motions, strictly observing the uniformity of pressure over the entire area. For a long time in one area they are not delayed - this can cause the plaster layer to be erased.
- After the initial grout, they pass along the wall with a hand, checking its smoothness. If there are no roughness, you can proceed to the next step. Otherwise, the bulges again pass in circular motions, pressing a little harder, and on the pits - weaker.
- At the joints of the walls, the grater is placed parallel to the corners, grouting is done not in circular, but in vertical movements. Under pipes or in other hard-to-reach places grout is done with sandpaper, folded several times, holding it with your hand.
If during work the solution has accumulated on the sole of the tool, it is regularly washed off. For the walls to be painted, perfect smoothness is important, so the presence of even small scratches is not allowed, they should be rubbed until they disappear completely.
to contents ↑The method of grouting "runaway"
In order to cope faster with grouting the plaster for subsequent painting, it is better to use the “runaway” method. With its help, it is easier to get rid of the smallest flaws that will immediately catch the eye under the paint. After the initial mashing is completed, take a grater with rounded edges and move it only in the vertical direction.
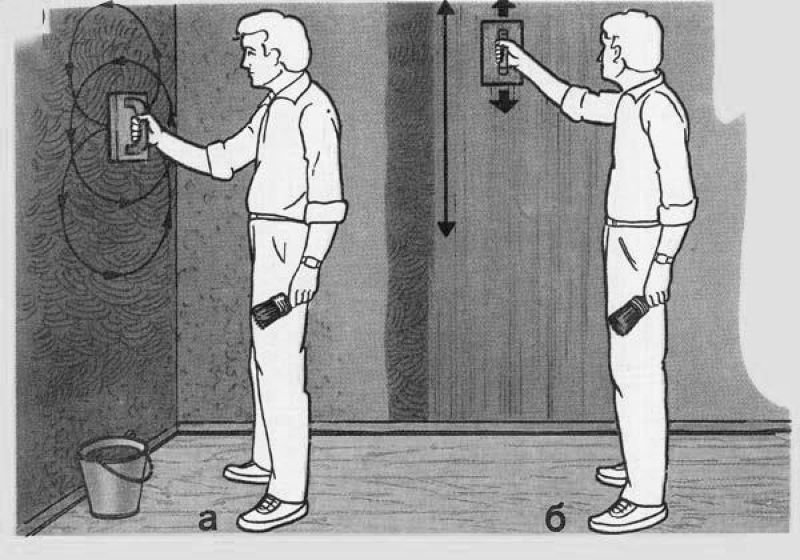
The coating is visually broken into squares, set the grater to the highest point of each plot and make movements down and up. Thus, the entire wall is treated, and without wetting the grater.
to contents ↑Wet grout
This method of grouting is carried out directly during work with plaster. The surface remains cleaner, almost no dust is emitted. The work is done as follows:
- a little liquid solution is collected on the grater;
- applied to the wall at an angle, evenly distribute the composition;
- clean the tool from excess solution;
- the sole of the grater is placed on the wall, making movements along the arc, performing grouting of the plaster.
If there is a drying out of areas that have not yet been grouted, they are regularly moistened by irrigation with water from a spray bottle.
Gloss
After glossing, the walls can be subjected to any finish, even coating with bright glossy paints. They turn out perfectly smooth and radiant, without a grinding machine and other expensive tools. Unfortunately, the technique is not suitable for cement plasters: it is good only for smooth, plastic gypsum compositions.
The procedure will be as follows:
- prepare a sponge grater, spray gun and a wide metal spatula;
- waiting for the setting of the plaster applied and leveled by the rule (at least 20 minutes);
- the wall is sprayed with water from a spray bottle, or a sponge is wetted and the surface is wiped;
- with a spatula, smooth the coating “on the seam”, strips from top to bottom, as if expelling excess moisture (it will pour onto the floor near the wall);
- if an even smoother surface is required, repeat the glossing in a day.
Ways of decorative grouting
Decorative plasters can also be grouted, but in other ways. Smooth tools are used to achieve soft relief, and textured graters are bought for a more expressive picture.
Method one
Divorced decorative plaster is applied to the base. They do not smooth it, but simply rub it evenly so that there are no "bare" areas. After some time, when the plaster sets, and the spatula ceases to stick to it, they begin to grout.The grater is moistened with water, moved in the same direction with light pressure, getting the desired relief and removing protruding sections. In this way, the entire surface is treated.
to contents ↑
Second method
The selected plaster is applied with a 3 mm layer, leveled with a spatula or rule, so that the coating becomes as smooth as possible. Allow the composition to dry, then begin to grout with multidirectional movements. Periodically, the grater is moistened with water and the excess composition is washed off. If required, use a textured tool.
Mechanized grouting
When the master’s time is limited, or large area processing is required, it is worth choosing a mechanized grouting method. A special disk is installed on the grinding machine, it is included in the network. After the disk reaches the desired speed, it is pressed against the wall, moved in a circular motion with gentle pressure. Periodically spray the wall with water to bring down dust. After processing, brush off the dirt with a soft brush.
Plaster grouting may seem difficult if there is no experience with such work. Nevertheless, it can be done independently by choosing the appropriate option, having prepared all the tools and materials, taking into account the strict adherence to technology.


