Plaster is a popular and very durable finishing material. Subject to application technology, it serves for decades, does not crack, does not crumble. Nevertheless, situations arise when the dismantling of the plaster is necessary, for example, during major repairs, in the presence of curvature of the walls. Complete replacement of the coating is a complex process that has many features and nuances.
- Reasons for plaster removal and types of defects
- Types of mixtures
- Room preparation
- Personal protective equipment and safety measures
- Tools and equipment
- Removing plaster with a hand tool
- Plaster cleaning with a power tool
- Methods for dismantling plaster
- Off the walls
- From the ceiling
- With a brick wall
- From a wooden wall
- How to use waste after dismantling the solution
Reasons for plaster removal and types of defects
A layer of plaster is the base, the basis for other finishing materials - wallpaper, paint, tile, stone or panels. The final result and the aesthetics of the entire room depend on the high-quality performance of plastering. The lining will lie exactly only if there is an even plaster layer without holes, chips and drops.
Before you perform a new finish, you need to assess the condition of the old plaster coating. This will help to clarify whether the plaster can withstand assembly measures, whether it will collapse under a thick layer of glue, finishing materials. If defects are found, it will be necessary to completely or partially change the lining.
Complete dismantling is carried out when the coating has become unusable after prolonged use, its appearance is seriously damaged, and the top layer crumbles. Partial dismantling is done only in damaged areas, if the main part of the plaster remains intact.
All damage to the plaster is conventionally divided into two types:
- Technological defects. They are formed due to non-compliance with the technology of mixing the solution or with its incorrect application.
- Operational defects. They are associated with the operation of the plaster, while the direct causes of damage can be mechanical influences, too long a period of use, adverse conditions.
Depending on the appearance, the disadvantages of the plaster coating can be as follows:
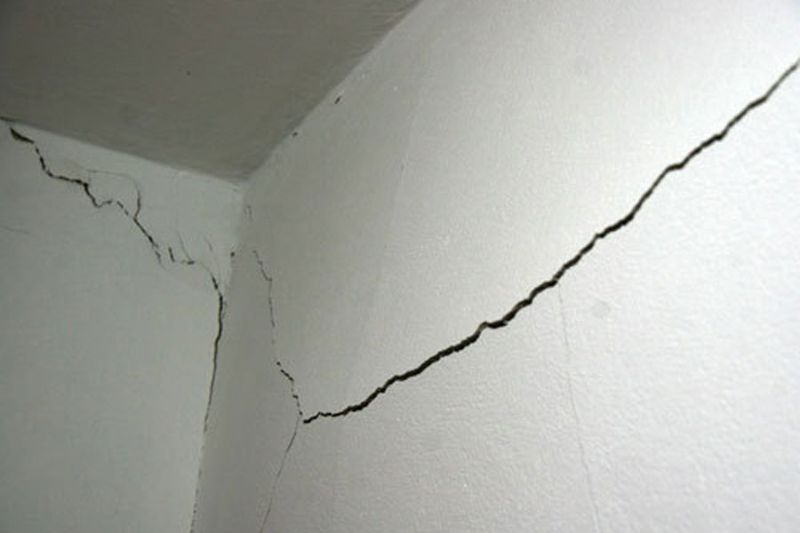
- Cracks. Appear due to poor mixing of the solution, unbalanced composition, too high room temperature.
- Mounds. They are formed on lime plaster in the presence of outstanding particles, as well as during non-mixing of the composition and its poor mashing.
- Swollen sections. Formed when the humidity in the room is too high.
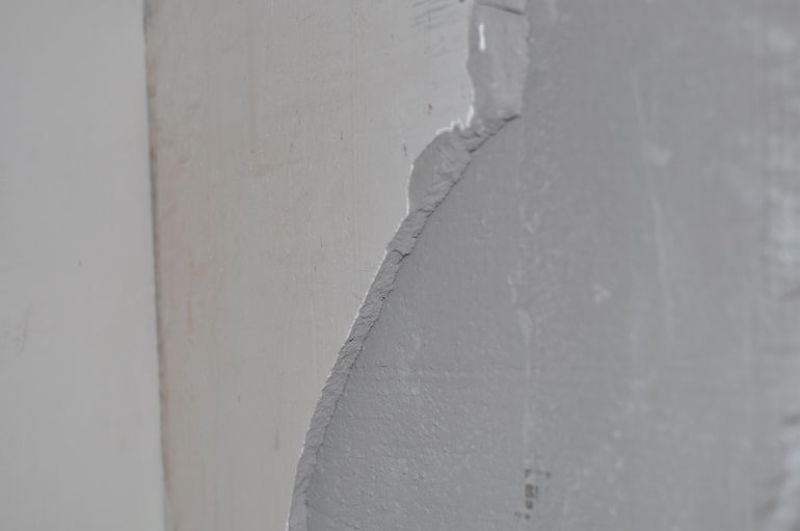
- Peeling. It is noticeable when applying a strong solution to a weak base, or with a sharp dry substrate.
- Fat spots. The reason for their appearance is inaccurate handling of the surface.
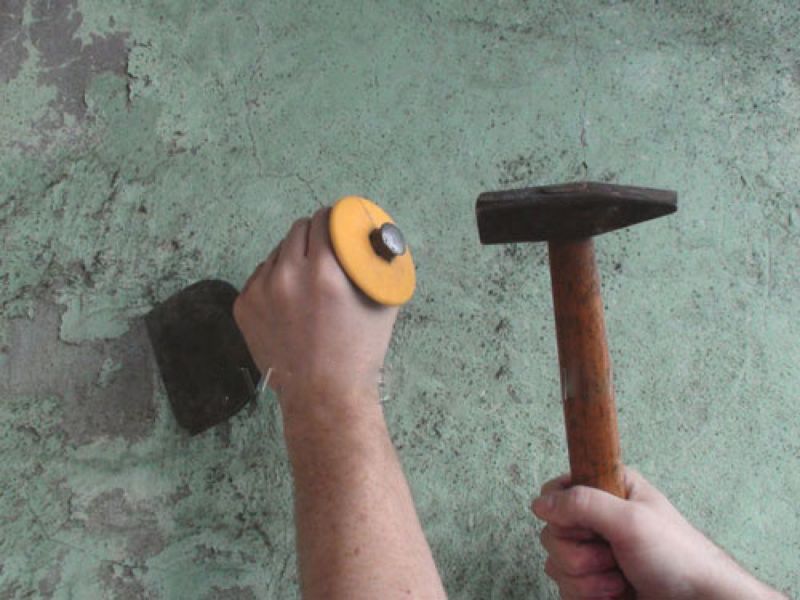
How to find out if all the plaster needs to be replaced or if only certain sections need to be dismantled? This is easy enough to do. It is necessary to tap lightly with the handle of a bench hammer or other blunt tool surface. If the sound is dull, the adhesion of the plaster to the wall is good. When the sound is clear, there is a gap under the plaster, which means that it has moved away from the wall. Most often, with stronger tapping, such areas begin to fall off.
The immediate reason for replacing the plaster may be the presence of mold and mildew, which can be easily replaced during inspection. You can also finish with a sharp edge of the spatula: if there is a deep groove, the coating is worn out and it is better to replace it.
Often only the top plaster layer 2-3 mm thick begins to peel off, and under it there is a quite strong solution. In such a situation, you can save and dismantle only damaged decoration. When more than 70% of the coating is stratified, it is more advisable to remove it completely.
to contents ↑Types of mixtures
To remove old plaster from the walls is sometimes difficult - in some cases you have to use a hammer. The amount of effort is determined by the thickness of the plaster layer, as well as the type of solution used.
Here are the main types of plasters that are used for decoration:
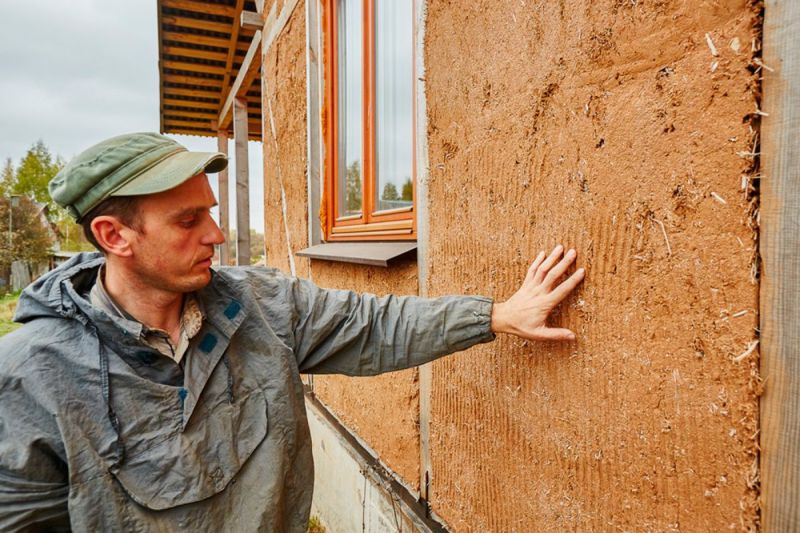
- Clay. Suitable not only for walls, but also for fireplaces, stoves, heating panels. When they are destroyed or detached, a complete replacement will be required, since the density of the base decreases, the thermal insulation abilities are sharply violated, as well as the aesthetics of the appearance.
- Lime. Typically, if the integrity is violated, such a coating is completely removed. If the lower layer is also weakened, it is dismantled and replaced with cement-lime.
- Gypsum. Dismantling is performed as the material breaks down. Gypsum plasters get stuck easier than others, as they are loose, unstable to moisture and mechanical stress. Most often, wetting the base is enough to remove the plaster with a normal spatula.
- Cement They are used in construction and repair more often than others, but they are more difficult to remove. Usually the reason for the need for dismantling is technological errors, which greatly reduce the life of the device.
- Polymer (acrylic, silicone, silicate). They are distinguished by high strength, reliability, therefore, they completely deteriorate extremely rarely. Usually they are repaired only locally, while power tools have to be used to remove material. If the substrate from the polymer plaster remains intact, it is better to leave it untouched, and apply a new leveling layer on top.
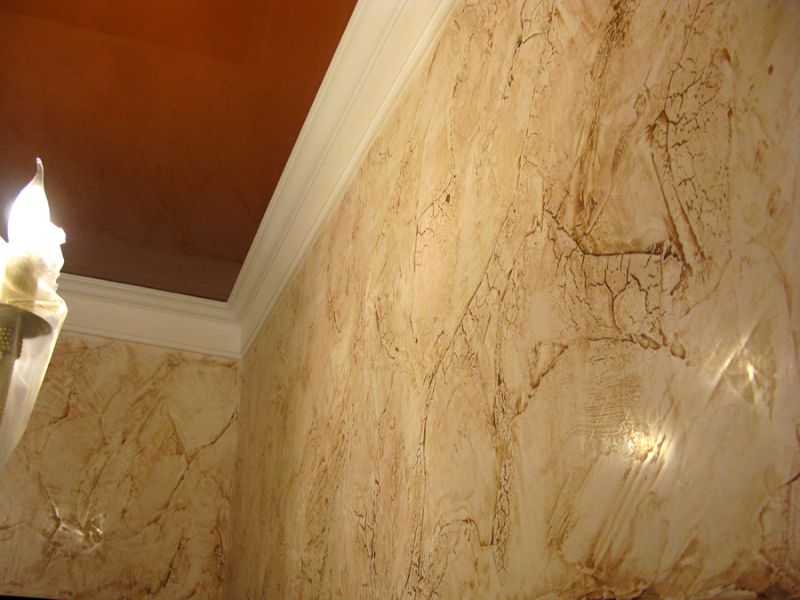
- Decorative, including Venetian. Apply a thin layer, removed only by hand, so as not to damage the base. Dismantling usually takes a little time.
Room preparation
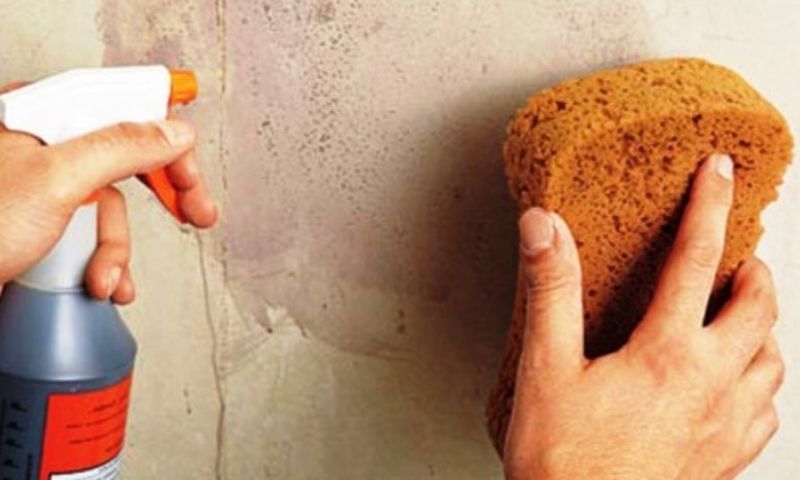
During any dismantling work, a large amount of dust and dirt appears in the room. Gypsum, lime plasters are very dusty, and are easily saturated with moisture. To reduce dustiness, it is recommended to spray the coating with water 20 minutes before removal. This, among other things, will reduce the adhesion force of the plaster to the wall and make it loose. It is most convenient to wet the wall with a spray gun or sponge, roller.
As preparatory measures, it is also recommended to do the following:
- cover the floor with cellophane so that its edges go onto the walls;
- cover window sills, lighting fixtures, cabinet furniture with newspapers or film;
- put strong cardboard, rags under the cellophane, so that the falling large heavy pieces of plaster do not damage the flooring;
- plug out the sockets, seal them to prevent moisture from entering with masking tape, and de-energize the room itself;
- Wrap the interior doors with ordinary cling film, then close tightly, glue with masking tape around the perimeter;
- put a damp cloth on the floor under the door, closing the gap with it;
- leave access to the window so that the room can be regularly ventilated;
- to take out valuables, equipment, small furniture, all upholstered furniture.
The room should be especially carefully prepared if a drill or perforator is used in the work. Otherwise, you will have to clean the room for a long time from dust, which will cover absolutely all surfaces.
Personal protective equipment and safety measures
To take care of the absence of harm to health, a number of personal safety measures should be taken:
- Wear safety glasses. It is best to buy a product that fits tightly to the skin. You can even use a snorkeling mask. It is advisable that most of the face be covered, because the flying particles of the plaster will scatter everywhere.
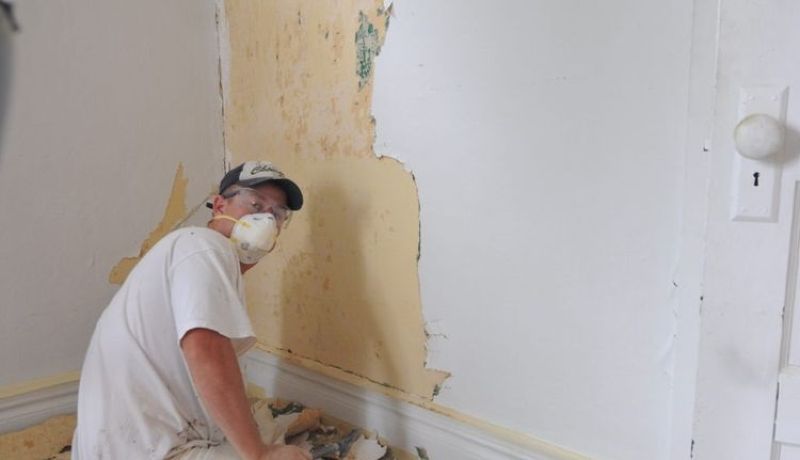
- Use a respirator. It will significantly reduce the amount of inhaled dust, will minimize it. Also, the respirator will cover the lower part of the face from sharp particles. If the work is carried out using a punch, it is worth buying the highest quality protective equipment.
- Wear sturdy clothes, shoes. A jacket or robe with long sleeves, tight pants will do. It is recommended to wear tight shoes, because even in sneakers, not to mention slippers, a lot of dust will immediately fall. You will have to shake out the dirt, or constantly feel severe discomfort. You should cover your head with a hat, put gloves on your hands.
to contents ↑For your own safety, you must not only de-energize the room, but also determine the areas of hidden wiring in the thickness of the walls. It happens that the wiring must be replaced together with the plaster, then its damage will not play a significant role in the work.
Tools and equipment
For work, you should prepare sharp spatulas of different sizes and shapes, scrapers, metal brushes. Also, the master may need:
- water tank;
- brush or roller, sponge;
- atomizer;
- hatchet and hammer;
- chisel;
- cycle (sharp spatula);
- broom and dustpan, trash bags.
Well, if there is a power tool available, it will work faster. We are talking about a puncher, a grinder, a drill with a chipper, a grinder.

Removing plaster with a hand tool
In small areas, it is recommended to use hand tools for removing plaster. Here are some tips for working with hand tools:
- Falling seams. When the coating is detached in large pieces, you can simply tap it with a hammer, and then pry it off the edge with a metal spatula. If necessary, put the trowel deep under the plaster using hammer blows. To reduce dust, regularly spray the wall with water from a spray bottle.
- Drywall plaster. Usually, the separation of mortar from concrete is faster, because there is no risk of damage to the base, it has sufficient strength. When working with sheets of gypsum plaster, there is always a risk of a rupture of the coating of the sheet and its more serious “injury”. Therefore, when working with drywall, you will have to carefully peel off a fragment of the plaster from any corner using a cycle, then drive the sharp edge of the tool under the finishing layer and lift it. Acting in a similar way, it is necessary to remove all the old coating, while not using the hammer, so as not to damage the gypsum plaster.
- Poorly separated pieces. If you have to exert too much effort, it is worth using a chisel and a hammer. They will help to remove even those parts of the plaster that still hold tight to the wall. The chisel is placed on a particular piece of plaster on top, strikes are applied to it, then the tool is tilted so that the material falls off.
- Application hatchet. Areas that are difficult to dismantle can be treated with a small hatchet, acting on the principle of applying notches to improve adhesion. Shocks should be oblique - in this case, the solution begins to peel off quickly from the wall. The speed of work, of course, will be lower than when using a grinder, but dust will begin to appear in smaller quantities.
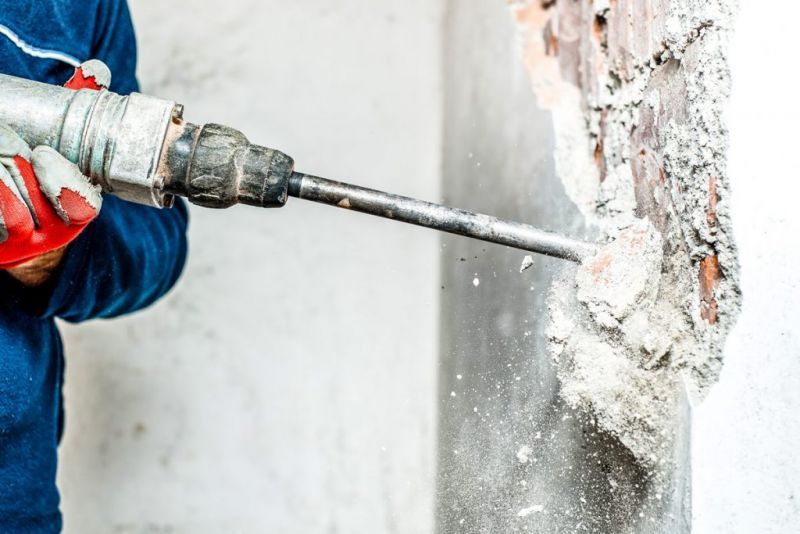
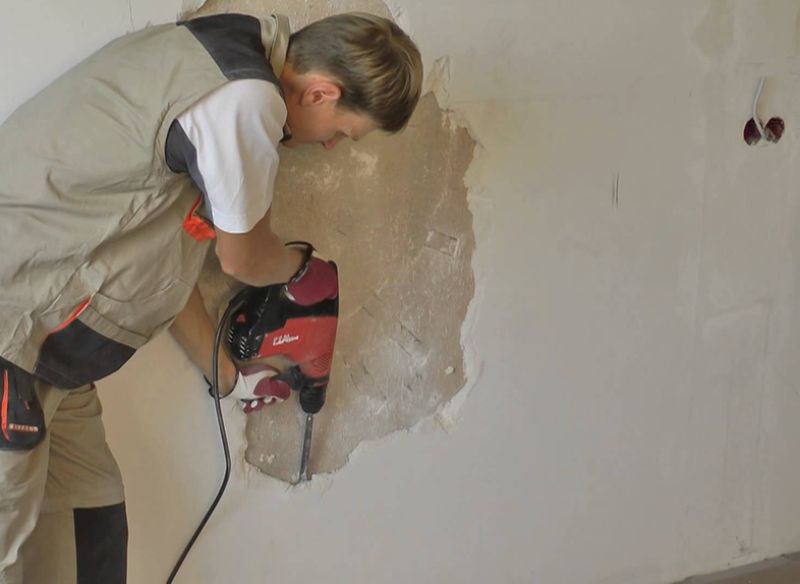
Plaster cleaning with a power tool
When cleaning a large room or in the presence of many complex areas, it is better to get an electric tool. Working with it will be physically more difficult: for example, the weight of a quality punch is 4-5 kg. Nevertheless, the use of a rotary hammer with a spatula is much more productive and efficient.
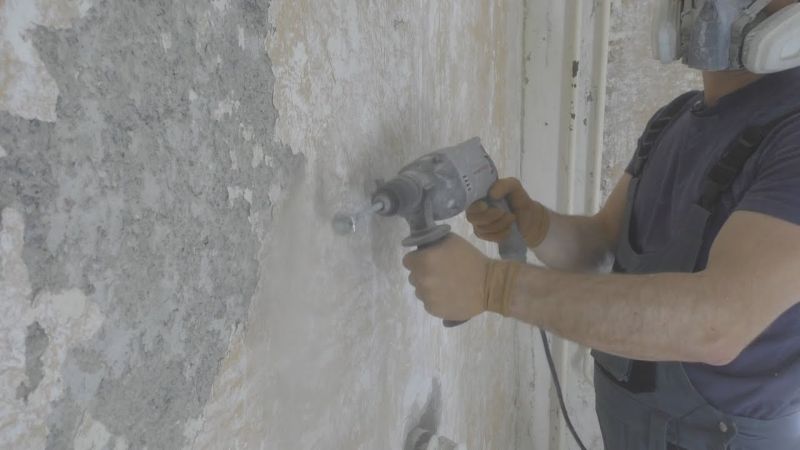
Dismantling is carried out in the slotting mode. The nozzle is placed at an angle of 80 degrees relative to the wall, the plaster is nailed to the entire depth. After the appliance is tilted at an angle of 40 degrees, the nozzle is driven under the plaster and removed.During the use of a punch, such difficulties may arise:
- when processing bricks, the nozzle often gets into the seams, which can violate the integrity of the masonry, spoil the bricks, lead to chips;
- when disposing of a friable solution with a large percentage of sand, the spatula perforates it, but does not chip.
In these cases, it is worth trying to work with another tool or to make all the manipulations on problem areas manually. Instead of a punch, a drill is often used in the chiselling mode, a grinder with a cutting disc, and the last solution is literally cut into pieces.
to contents ↑Also, craftsmen use a grinding machine with a coarse-grained sandpaper or a stiff brush. Such a tool is particularly suitable for removing a layer of decorative plaster.
Methods for dismantling plaster
Depending on the type of surface, the course of dismantling may vary. It is better to handle brick, wooden, plasterboard walls more carefully so as not to damage them, because overhaul will be more difficult than conventional plastering.
Off the walls
Most often, the walls in a house or apartment are covered with cement and plaster compositions. Sooner or later, you have to change the finish, because any solution has its own operational life.
Methods for removing plaster from the walls can be as follows:
- Water application. Wetting the walls allows you to remove old paint, wallpaper and plaster much faster. To do this, wipe the wall with a sponge, sprinkle with a spray gun, and after a while scrape off old materials with a spatula, a building scraper. Where the stucco sits firmly, it will be necessary to repeat wetting. Professionals use special equipment for this purpose - water-jet machines working under pressure.
- A special scraper. Cement plaster can firmly adhere to a concrete wall, and then it is better to remove it with a scraper with a sharpened iron edge. Since the risk of damage to concrete is minimal, you can make even the most intense movements and not care about accuracy.
- Hard sponge or mitten. Such devices are ideal for removing a thin layer of finish or decorative plaster. It is enough to moisten the base and rub it with the abrasive side of the sponge, gloves, and the finish will quickly fall off.
- Sander. To speed up the work, you can rent or buy a grinding unit with a diamond bowl or coarse mesh sandpaper. A construction vacuum cleaner should be kept nearby, since the appearance of a large amount of dust can not be avoided. When the plaster layer is not thicker than 3 mm, it is better to take a vibration-grinding machine that works on a different principle.
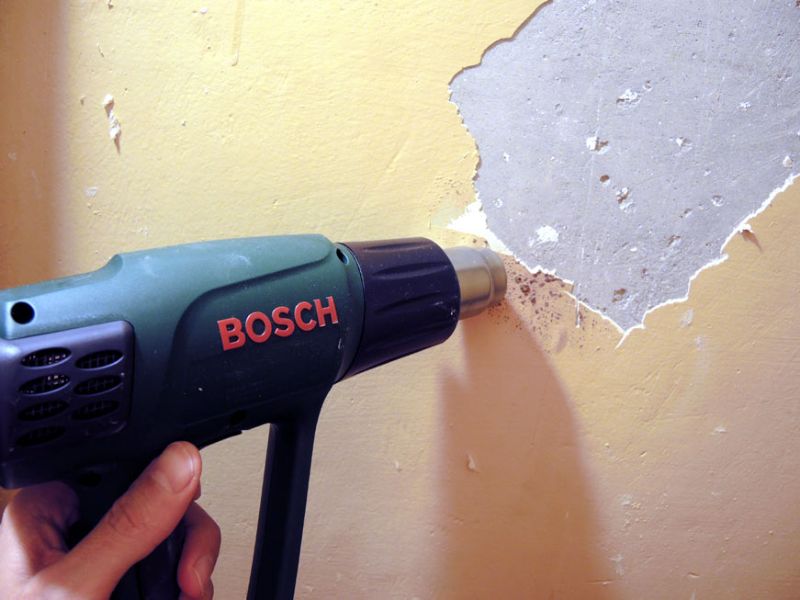
It happens that a crack appears on the site of the plastered wall. If it spreads only locally, you can cut out the damaged area with a grinder, then beat off the remaining pieces of the solution. The surface must be dusted off, primed, plastered with a new mixture. When expanding the finish on the wall, it is necessary to remove the damaged material with a scraper, dry the base with a building hairdryer and only then proceed with the repeated repair.
to contents ↑From the ceiling
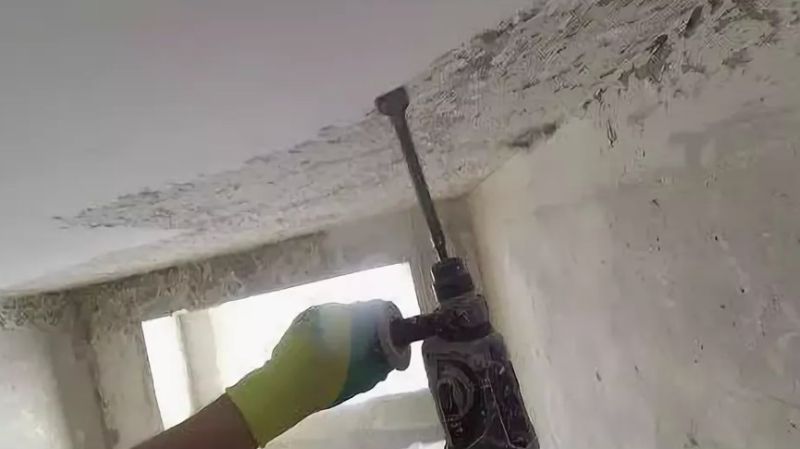
Dismantling the ceiling plaster is especially difficult. You will have to work in an uncomfortable position, raising your hands up, throwing your head back. The master will be forced to interrupt often to rest, as a result, work will go quite slowly. The choice of method for removing plaster is made individually, evaluating the condition of the ceiling in practice. In some cases, you need a hammer or grinder, but you can often get by with a conventional spatula, scraper.
To quickly remove the plaster on the ceiling, you can use the so-called softening solution:
- take 2 tablespoons of any starch;
- dissolve starch in a liter of water;
- thoroughly treat the surface of the ceiling with a composition;
- after 15 minutes, the plaster is loosened and can be removed.
If the plaster layer is thick, you need to chop off only its upper part, and then again impregnate the ceiling with a starch composition and remove the remaining material.
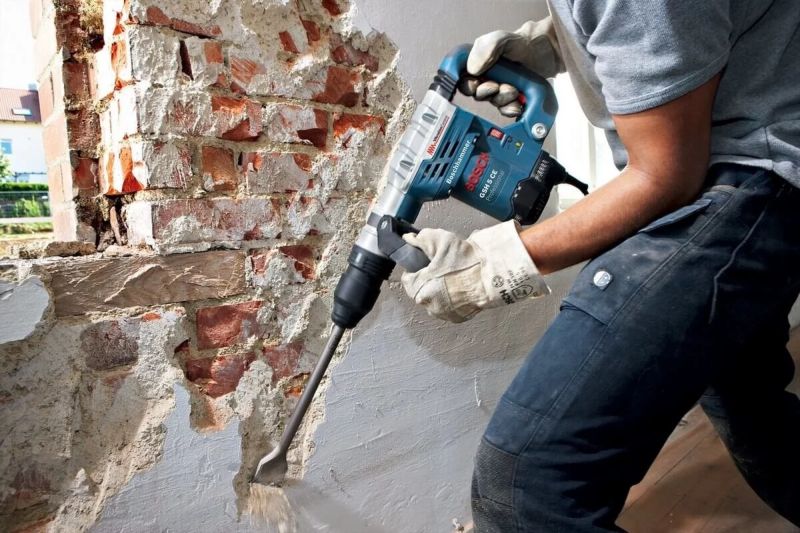
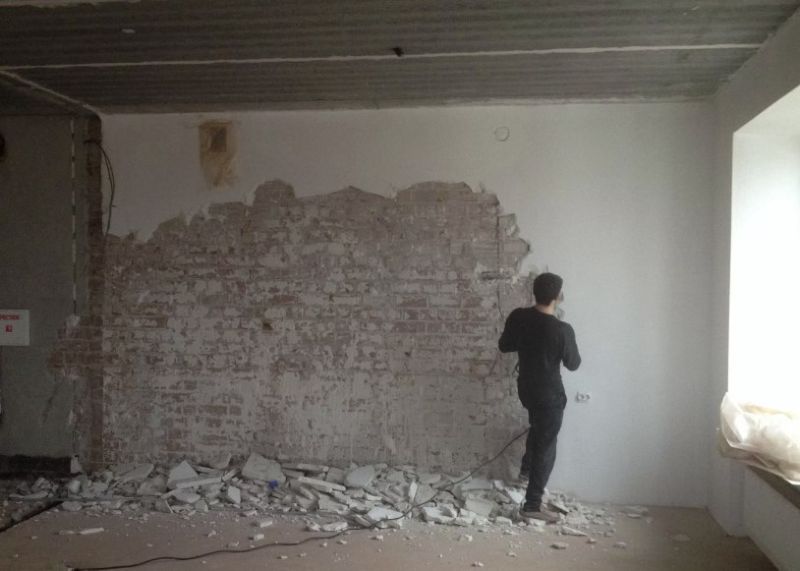
to contents ↑With a brick wall
To remove the plaster from the brickwork, the following tools are prepared: chisel, chisel, chisel, large scraper and hammer. First, the solution is removed from the areas where it is swelling, peeling and crumbling. Pre-tap the wall with a hammer, while some pieces immediately begin to fall off.
The remaining areas are cleaned with a chisel or chisel, placing the tool at an angle and acting on it with a hammer. Complex, stuck pieces of plaster are cleaned with a scraper, and for the most resistant, you can use a puncher with a nozzle-spatula in the "chiselling" mode.
There is another method of cleaning a brick wall from plaster. If there is a grinder with a disk for a stone, then furrows are made along the coating, as if zoning the surface. After the resulting strips, the plaster is knocked out with a chisel, a perforator. Finishing is necessarily removed right up to the brickwork. The wall is primed, allowed to dry for a day, and only then proceed with a new finish.
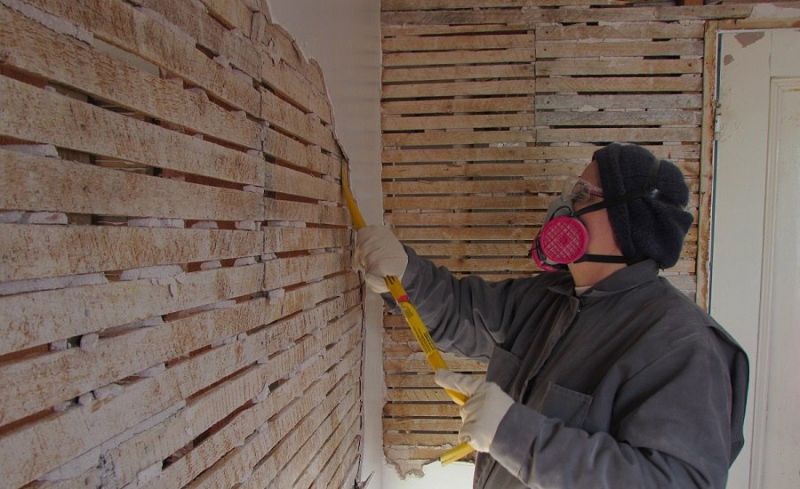
to contents ↑From a wooden wall
Old wooden walls can be plastered with shingles, other improvised materials, metal mesh. When plaster beating off, at first they do not touch the reinforcing structure - in some cases it can be left. If it is planned to replace the mesh, a wide vertical furrow is made in the center of the wall, cleaning it up to the tree. After the reinforcing coating is torn off with the plaster.
How to use waste after dismantling the solution
Disposal of dismantled plaster is always a problem, especially when it comes to a city apartment. You can only take it out to a landfill, which is expensive and time consuming. If you decide to get rid of the plaster, you should completely clean the room, distribute the garbage into bags and pay for its removal once. In private homes there is a chance of reusing plaster in the following ways:
- mortar based on cement and sand is suitable for sprinkling areas, sidewalks, paths, as well as for filling the floor in an outdoor shower, toilet, at the base of the terrace;
- clay plaster can be reused - just soak it, so it makes sense to store the waste (if there is space);
- crumb gypsum plaster is suitable for the construction of ceilings in farm buildings - it will serve as bulk insulation;
- Lime plaster can be used to treat areas around trees to scare away pests and stop the growth of weeds.
The removed plaster is stored only under a roof, a canopy, otherwise it will get wet in the rain and turn into a heavy mass. Clay waste does not need to be stored in a large pile, since it also becomes a monolith. Loose plaster is stored in bags in dry sheds, eliminating wetting. With the right approach, the dismantling of the plaster can be done with your own hands, saving a decent amount of money and gaining valuable experience for future work.


