Often when decorating private buildings, plastering walls without beacons is used. This way of working allows you to save on materials, spend less time on plastering and reduces labor intensity. In many cases, the use of beacons is considered impractical, because getting the most even surface is not the goal of the master.
- Wall alignment without beacons - when done
- Pros and cons of plastering without beacons
- Basic techniques of plaster without beacons
- Rule Alignment
- Trowel Alignment
- Alignment with preliminary marking
- Laser level application
- How to plaster walls when blocking walls
- Work on different grounds - features
- Gypsum wall
- Concrete wall
- The basis of foam blocks
- Monolithic wall
- Plastering procedure without beacons
- Preparatory work
- Materials and Tools
- Material requirements calculation
- Wall plaster technology
- Spray
- Priming
- Washing

Wall alignment without beacons - when done
Perfectly even walls are the dream of any homeowner. But often a long and painstaking alignment does not make sense, so there is a chance to significantly speed up the finishing process and reduce cash costs. The technology of plastering without beacons, when used correctly, makes it possible to smooth the surfaces quite well and reduce the consumption of plaster by 2-3 times.
The reason for such savings is the lack of beacon profiles, which require a thick layer of plaster (at least 8-10 mm). Without beacons, you can apply the solution with a layer of 4-5 mm, which will give another tangible benefit - it will leave the room area without reduction. This is especially important if every centimeter of space counts.
Alignment without beacons will be justified in such cases:
- slight slope of the wall;
- minor surface defects;
- the presence of slopes only in the corners;
- the obstruction of only one part of the wall;
- individual defects on a flat substrate;
- the need for plastering a small area;
- work with a wall that is covered with furniture;
- Tile finish (defects covered with glue);
- stucco smooth brickwork.
Plastering walls without beacons is recommended if there are no special requirements for their evenness. For example, when arranging a utility room, house buildings, sheds, garages, perfectly exposed walls are unlikely to be needed. The main thing is that they do not have obvious defects, look neatly outward and are prepared for whitewashing, painting. If the interior decoration of houses and apartments is carried out, and the wall differences exceed 10-15 mm, then plastering without lighthouses will not bring the desired result: even an experienced master will not be able to align the wall “by eye”.
to contents ↑Pros and cons of plastering without beacons
The technology of plastering without beacon profiles has many advantages:
- significant savings in mortar, especially with a significant wall area;
- the absence of cracks, grooves that occur after the removal of beacons;
- reduction of financial expenses for the purchase of guides, self-tapping screws, holders;
- preservation of the useful area of the room;
- lack of time costs for the installation of beacons, their dismantling, seal strobe;
- acceleration of complete drying of the coating.
Among the disadvantages of such a technique, it is worth pointing out the complexity of the process for a beginner, because you will have to regularly evaluate the evenness of the surface using tools. Without work experience, plastering without beacons is difficult. An ideal flat surface cannot be achieved in this way, which in some cases will also become a negative side of the technology.
to contents ↑Basic techniques of plaster without beacons
To align the walls using different methods. The specific method of work is selected depending on the conditions for applying the plaster, the wishes of the master. Usually, with almost even walls with small recesses, the solution is applied with a spatula, and evened out with a rule.
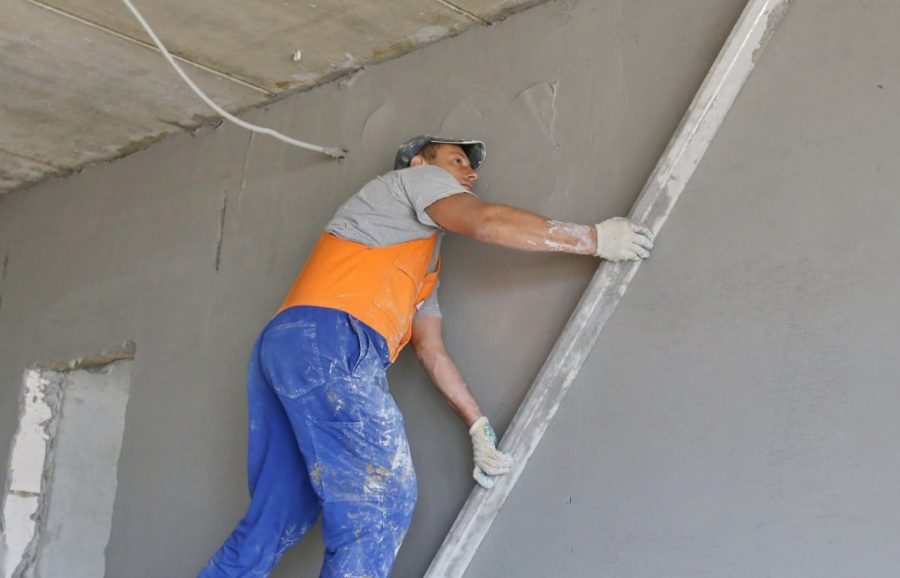
Rule Alignment
Rail rules are an effective tool for leveling walls, especially when beacons are not used. A rule can be applied in three different ways:
- The first way. Well suited for small areas with a fairly flat surface. Put the plaster on the wall with a spatula, substitute the rule for the rail with an edge, level it, draw it with a tool along the wall on a slider. In this case, the pits are well filled with plaster, the protrusions, on the contrary, are smoothed out. After the layer has dried, the finish alignment is carried out with a spatula.
- The second way. This method is also called double pass. The plaster is applied with a wide spatula with a not too thick layer, they set the rule vertically and carry out them from the bottom up. After, when the solution has dried up, a second pass is made, but already in the horizontal direction.
- The third way. It is suitable if it is required to align the corners and adjacent areas well. Take a small spatula, gain a solution of medium viscosity, put on a wide spatula. Put the plaster on the edge of the wall, which is adjacent to the corner, but the corner itself is not filled. The strip of mortar should be horizontal and thicker towards the corner and thinner towards the middle of the wall. They put the rule to the corner, they make zigzag movements to the center, cutting off the excess solution. On the edge of the wall during such manipulations a “beacon” is formed from a thicker layer of plaster. After the passage of the wall, the “beacons” will border the entire wall, and it will be possible to begin applying the leveling layer. The rule is to make a wide strip of plaster along the “beacon”, resting the tool against it at one end. The second side of the rule cut off the excess solution. On the corner itself, the plaster is applied with a small spatula and once again pass the rule.
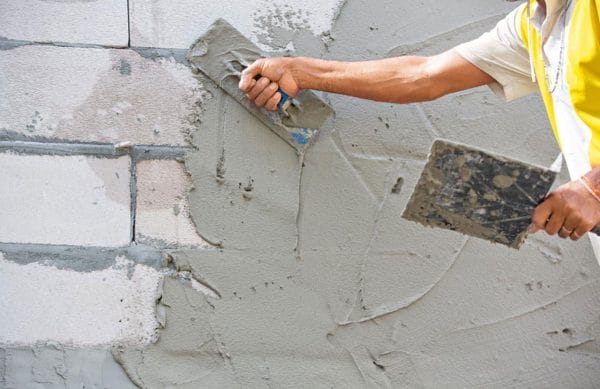
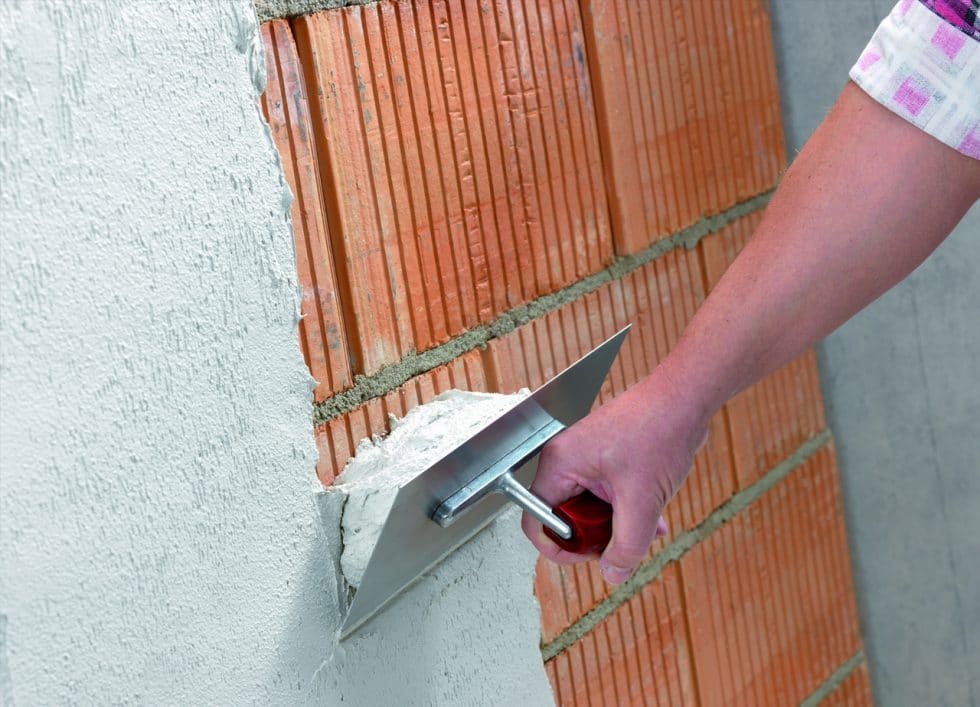
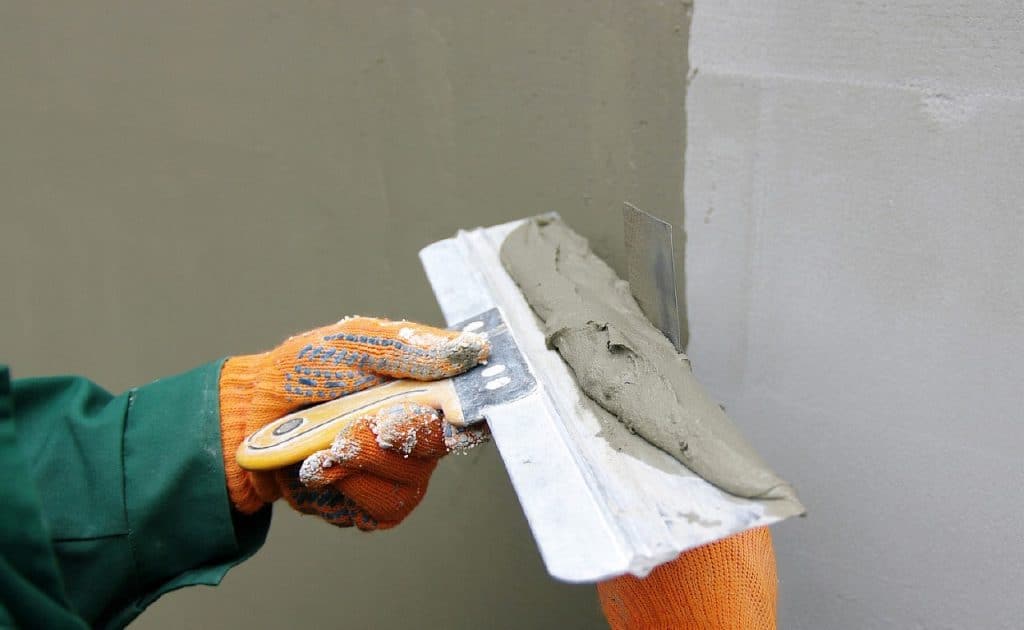
Trowel Alignment
Plastering without beacons can be carried out without a rule, only with a spatula. More often this method is used for thin-layer application of plaster, since it is difficult to level a more significant amount of the mixture with a spatula alone. You will need a device with a wide spatula, as well as a small tool (8-9 cm) for applying plaster.
First, they gain mass with a small spatula, evenly distribute it in heaps on the surface. The mixture is carefully leveled with a wide spatula, they also collect the excess. If the wall area is significant, it’s better after the completion of the first stage to still walk along the wall as a big rule to correct defects.
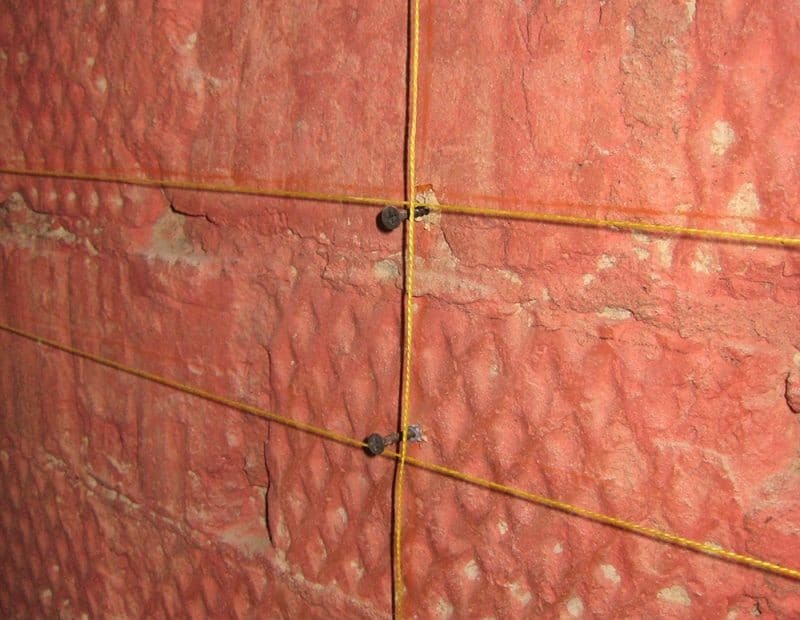
Alignment with preliminary marking
According to this method, plastering is carried out on pre-drawn lines of reference that are made of mortar or stretched from a fishing line in a horizontal plane. 3 screws are screwed in the corners, the hats are set according to the level, 3 parallel fishing lines are stretched between them, which will serve as reference points for work.
The second option: they draw 3 horizontal lines with a pencil, along them lay strips of plaster, their surface is leveled with a rule by level. As a result, improvised beacons will be created, between which a layer of plaster is applied and processed in a standard way. Usually the solution for the tracks is made on the basis of cement, but for quick hardening a little gypsum is introduced into it.
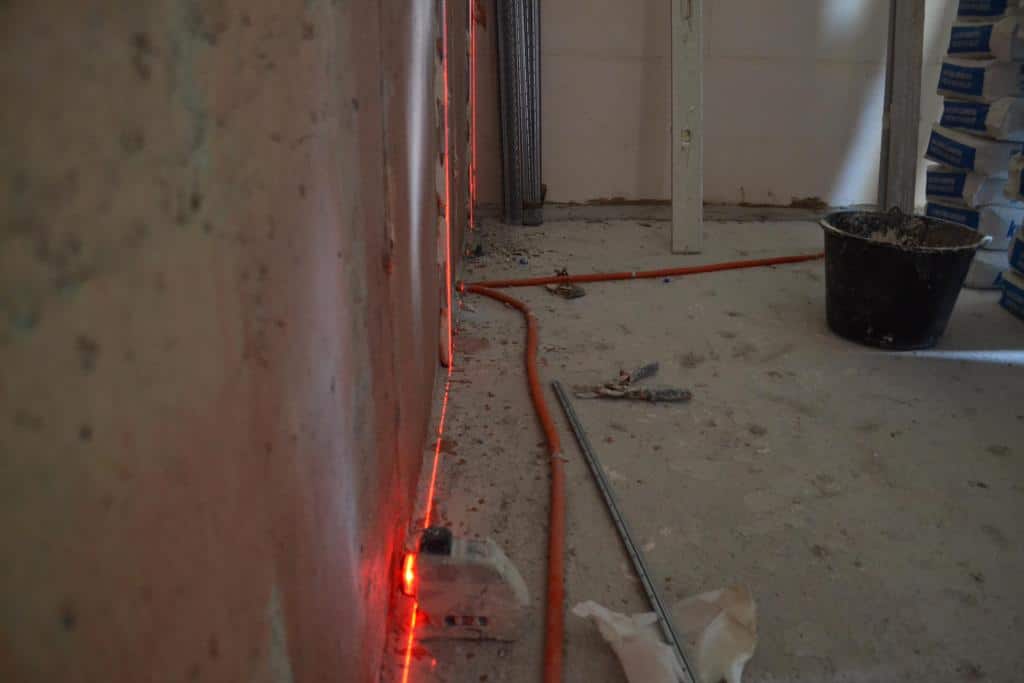
Laser level application
Initially, the walls are covered with soil and marking is carried out - marks are applied at a distance of 5-10 cm from the corners on adjacent walls. They put the laser level so that the vertical beam follows the notes made. After perform beacons from the cement mortar, given the markup. This method is good for fairly large deviations of the plane. If they are insignificant, only horizontal tracks from the solution can be made.
How to plaster walls when blocking walls
If the wall has serious deviations in several places or is heavily obstructed on one side, you will have to work in accordance with other rules:
- using the staff, rules, level boards find the most prominent place on the basis;
- add to this point 5 mm per layer of plaster;
- marking is made with a laser level, which should continue on the surface of the floor, ceiling adjacent to the wall, on adjacent walls, forming an auxiliary plane;
- all completed lines are made parallel to the plastered wall;
- the base is sprayed with water, plastering begins from the extreme areas around the perimeter (the first layer should not rise above the auxiliary plane);
- allow the plaster to dry, make another layer, leveling according to the markup;
- proceed to align the next section adjacent to the previous one;
- process all areas along the perimeter, regularly checking the correctness of the actions level;
- after the closure of the "ring" around the perimeter, fill the inner zones and finish plastering with the center of the wall.
to contents ↑
Work on different grounds - features
Depending on the type of foundation, the procedure may vary. Given these features, plastering can be performed with greater efficiency.
Gypsum wall
If the substrate has a gypsum layer on top, the application of a deep penetration primer is a must. This will help strengthen the base and increase adhesion to cement plaster, as well as bond residual dust.
Concrete wall
A solid concrete panel, as a rule, does not require careful leveling, since it is initially flat. Plastering such a substrate is quite simple, without much effort. To improve the adhesion quality, small notches (up to 2 mm) can be made on the base. For this purpose, use a power tool with a convenient nozzle.
The basis of foam blocks
On such a substrate, you must first cover the voids that will interfere with the uniform distribution of the solution. It is best to do this with a thick cement mortar with the addition of plasticizers.
Monolithic wall
First, the monolith is coated with a 2-coat primer with complete intermediate drying. After they pass along the wall as a rule to detect blockages and examine it well for voids. Defects close up with a solution, then grind and proceed to the main process of plastering.

Plastering procedure without beacons
The technology of plastering without the installation of beacon profiles requires strict adherence to all stages. Only in this case subsequently will not have to do the job again.
Preparatory work
To give strength to the base and improve the adhesion of the solution to the base, it is necessary to carry out the preparatory measures correctly. The life of the plaster layer will depend on the accuracy and thoroughness. At this stage, perform such work:
- remove damaged, poorly fixed sections of the finish;
- embroider seams in masonry and large cracks, fill with mortar;
- make notches on a concrete base;
- remove dust, dirty spots;
- traces of oil, grease, rust are wiped off with a solvent;
- treat moldy areas with an antiseptic;
- wash out efflorescence, clean rot;
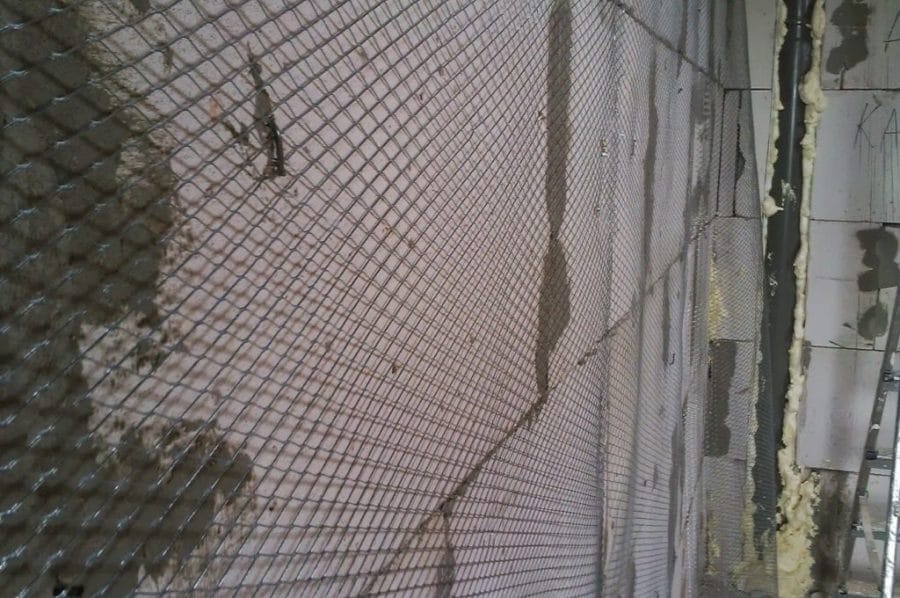
- serious defects reinforced with fiberglass;
- primed wall in 2 layers, allowed to dry for 24 hours;
- evaluate the degree of curvature of the substrate, determine the work plan.
Materials and Tools
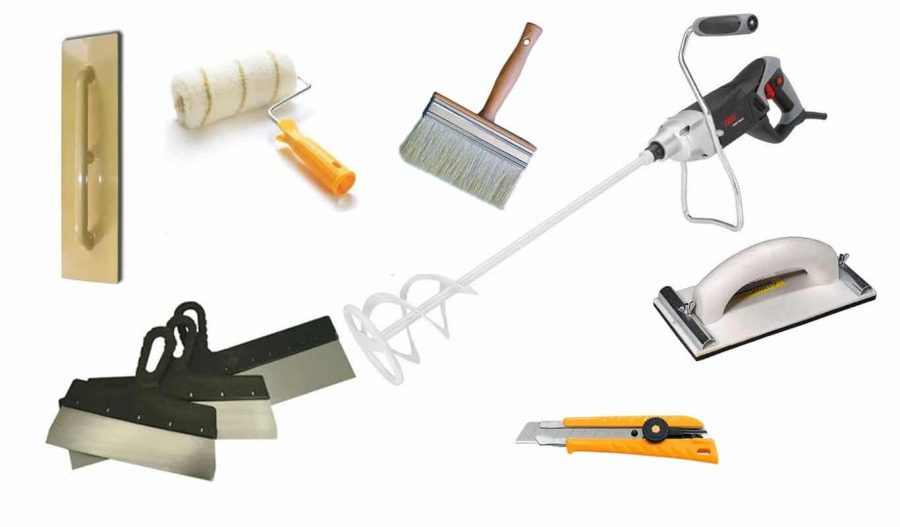
For plastering, you need to prepare a dry mortar, water and a container for dilution. Also required:
- rule
- level;
- construction mixer;
- spatulas of different sizes;
- building grater;
- one and a half;
- sandpaper;
- ladder;
- protective clothing, gloves.
Material requirements calculation
When working with beacons, it is not difficult to calculate the approximate consumption of the mixture. It is only necessary to multiply the average thickness of the finishing layer by the area of the walls. If the beacons are not used, making the calculation more difficult. To determine the norm of the finished building mixture (purchased or made independently), professionals use this method:
- rule and level reveal the point of greatest deviation vertically, measure its value;
- divide the resulting figure into two, add 4 mm;
- the resulting indicator is multiplied by the area of the wall;
- the finished digit is multiplied by 1.15 (safety factor).
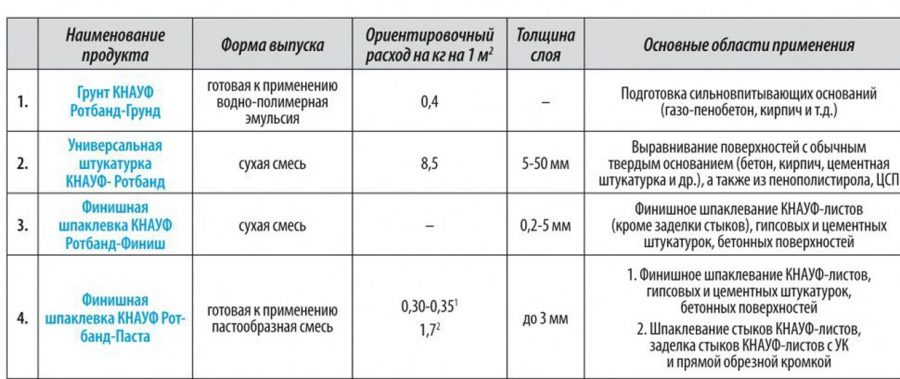
to contents ↑If a dry building mix is purchased in the store, the need for it is calculated according to the manufacturer, which is always on the package.
Wall plaster technology
After dilution and kneading, the solution proceeds to its application. The work is carried out in three stages - spraying, soil, washing.
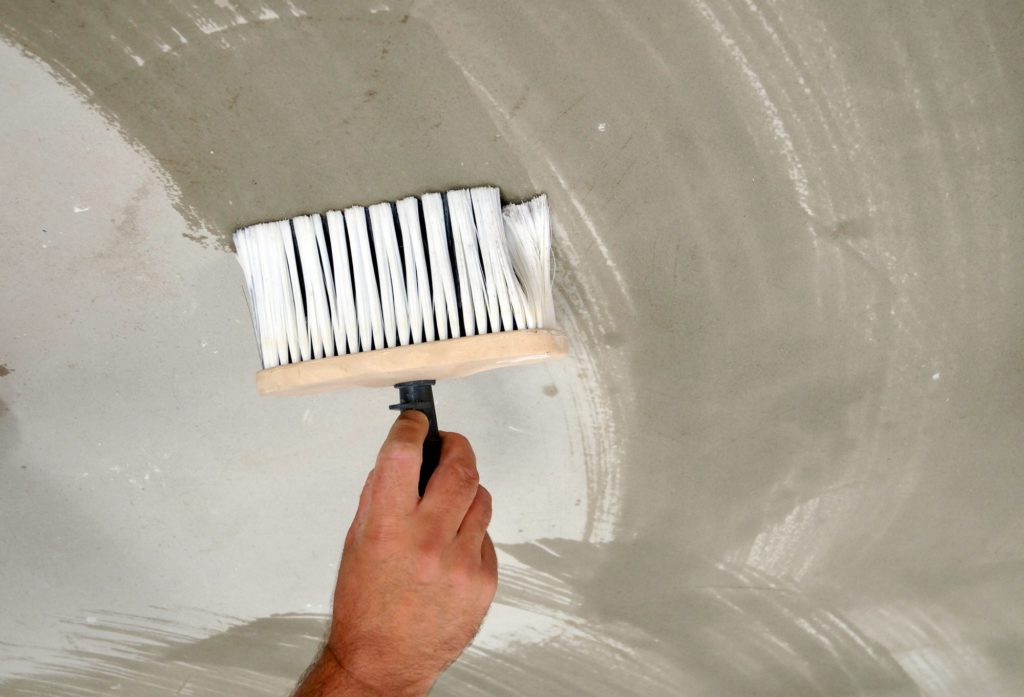
Spray
This layer is considered preparatory, providing retention of the remaining layers of the solution on the wall surface. It should cover the entire substrate, while not aligning too carefully. It is only important to ask him a certain thickness, but in different areas it can remain uneven.
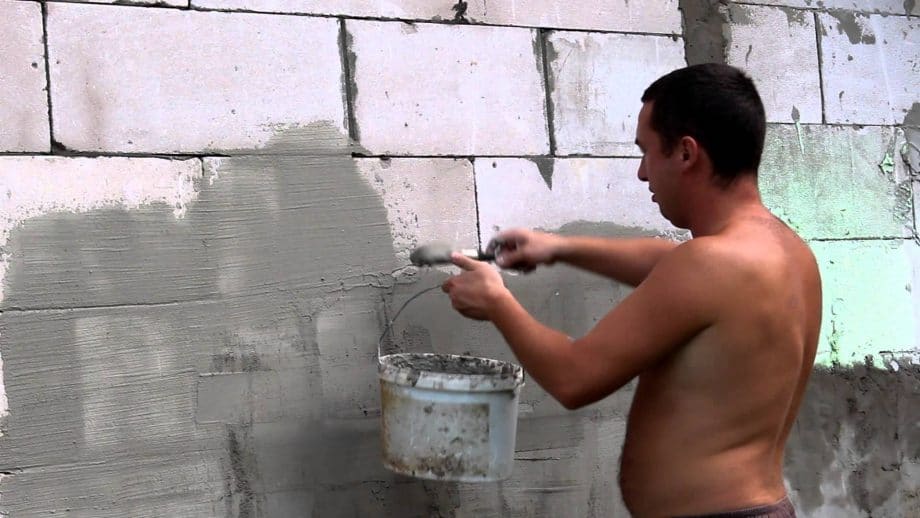
To perform the spray, a solution is prepared that resembles thick sour cream in texture. If you start it correctly, then the scattered cakes will immediately stick and will not break, fall off. Experienced craftsmen use a plaster bucket for this purpose, but you can also act manually. Sometimes the slides are high, then immediately distribute them with a trowel, so that the layer is more or less uniform.
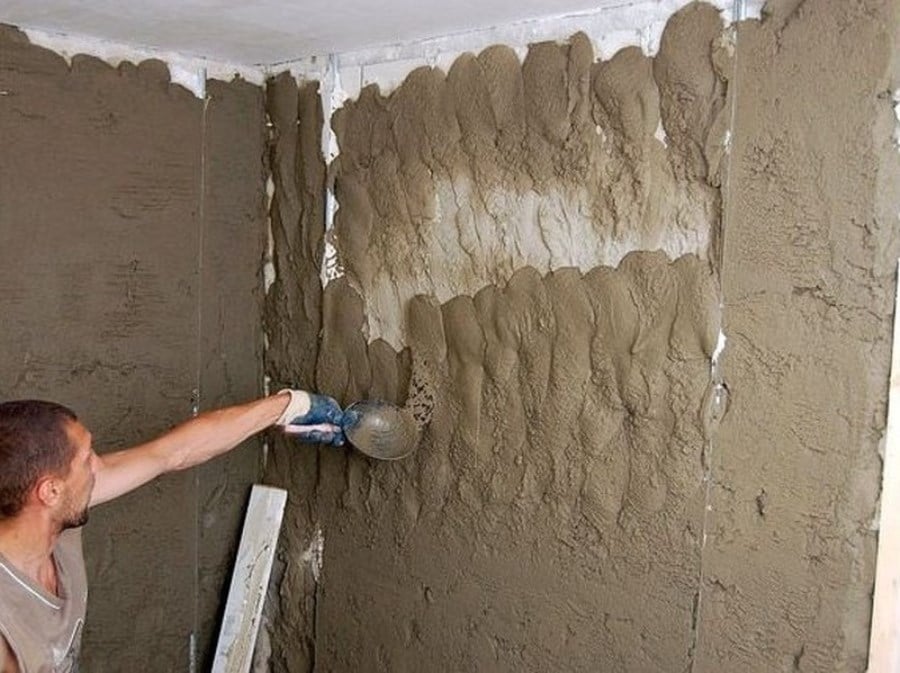
With sufficient evenness of the walls, the plaster layer is usually made thin. In this case, the solution is prepared thinner and the surface of the wall is shed by it. It is better to act with the help of a manual or automatic hopera, but when they are not available, you can use the brush-brush. Beginners often have to spray with a regular grater or trowel, which is also acceptable.
to contents ↑Priming
This layer requires extreme accuracy during execution, since it is he who forms the even base. The work is carried out in small sections, without rushing, and the first zones will become a guideline for determining the thickness of the subsequent ones, which will help to create a plane without blockages and creases. Soil will allow you to fill in all the flaws of the base and determine the final layer thickness.
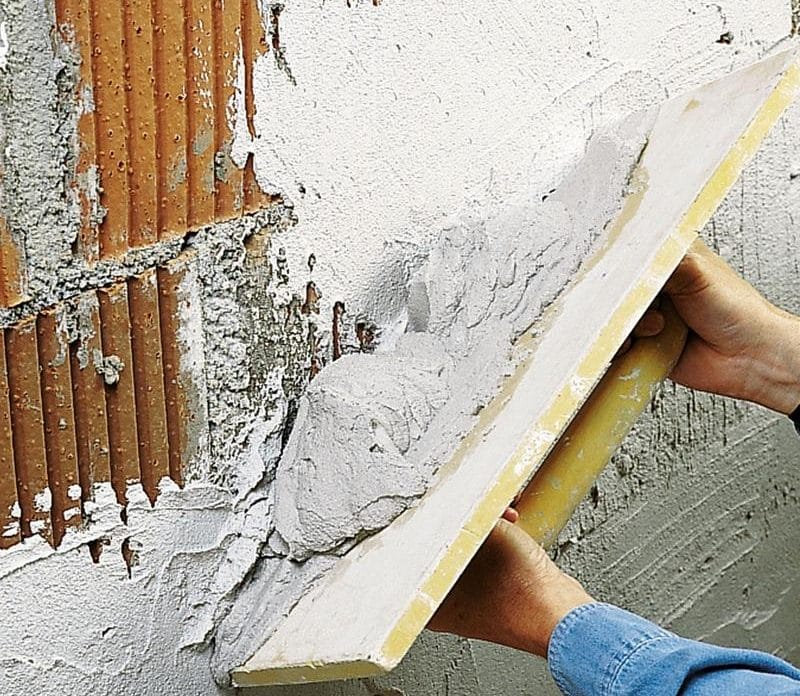
Plastering begins only after reliable setting of the spray. Strong drying of the previous layer cannot be allowed, otherwise small cracks can go along it. Work is carried out with a trowel (trowel), applying a solution to them, rubbing it and removing excess. If unevenness remains on the site, fill it with an additional amount of plaster and compare it with the general level of the wall. Then proceed to align with the rule to form the final plane.
Regularly evaluate the quality of work at the construction level, since even experienced craftsmen find it difficult to control the evenness of the wall visually. It is even better for beginners to use the technique of applying horizontal strips of mortar, which will facilitate the task. Also, such landmarks can appear in the form of slides with a pressed-in top of the stucco mixture, scattered over the entire plane.
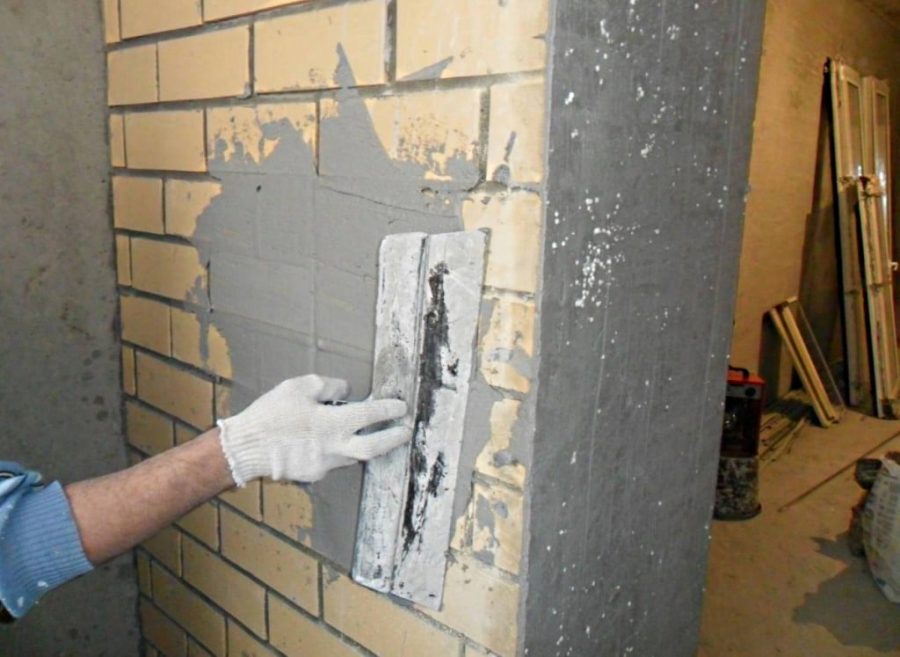
to contents ↑Washing
After the soil, the base remains fairly flat, although there are minor flaws, defects from the edges of the tool are still present on it. To eliminate them, the third stage of plastering works, which is called washing (grouting), is intended. The surface after its completion will be as smooth as possible.
They begin to wash after setting the soil, when it has already found a firm crust and is hardly pressed by a finger. If the solution has finally solidified, then it will be very difficult to smooth it out, and the quality of the finish will decrease. Therefore, it is important to wait for the correct time period and get to work on time. When the layer dries, you will have to sprinkle it a little with water, which will facilitate mashing by an order of magnitude.
The solution for washing should be semi-liquid. It is applied to the base with a building grater, circular movements are made, carefully rubbing the mixture. The finished layer should be about 2 mm in thickness and fill all the recesses. With gentle pressure, the grater literally drains off the protrusions, and the wall becomes dull, even. If the wall is being prepared for painting, the mortar for the last layer should be made on the basis of thin, well-sifted sand, in which there are no large inclusions. The ideal option is to make the washing mixture the most durable by combining cement and sand in a 1: 1 ratio.
It happens that the overwritten layer is not very successful, and a certain number of flaws still remains. Then another wash is applied, but only with abundant moistening of the base with water. This helps to seriously strengthen the plaster, reduce the risk of cracks and bring the finish to the ideal.
Plastering walls without using beacons is a rather complicated procedure. It requires certain skills, so it is worth pre-training on sections of the wall, which will subsequently be re-processed. The roughing layer in a small area can be removed and a new one applied, which will allow you to hone your workmanship and finish the work perfectly!