A mural is a painting on raw plaster. The word comes from the Italian fresco - "fresh." Now frescoes in the interior are used less often, but this type of wall decoration is considered unique, sophisticated and unusual. Much more often, dry wall paintings are used, which can be done even by an ordinary person who is far from the profession of an artist.
- Types of painting on plaster
- The technique of painting with dry plaster paints
- Uniqueness of Alsecco technique
- The disadvantages of painting on dry plaster
- Surface preparation for the artist’s work
- Drawing on wet plaster with water-based paints
- Technology of drawing on wet plaster with water paints
- Method History
- The essence of the process
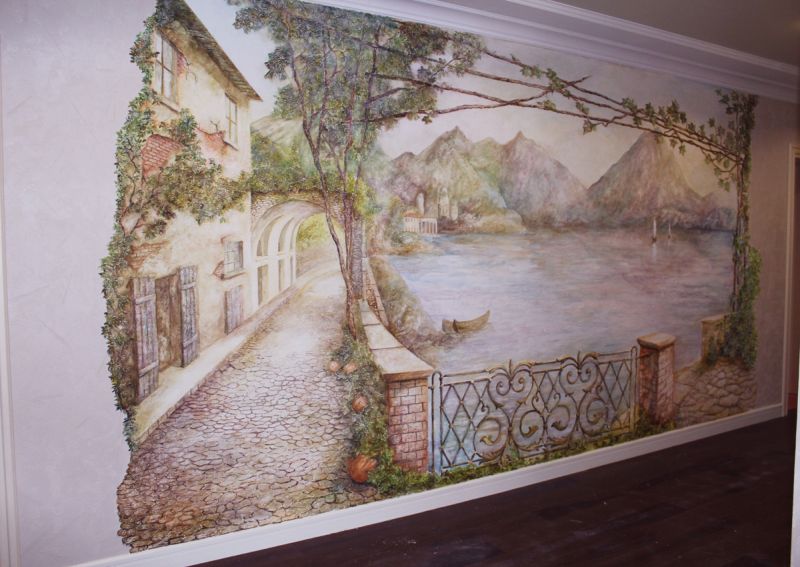
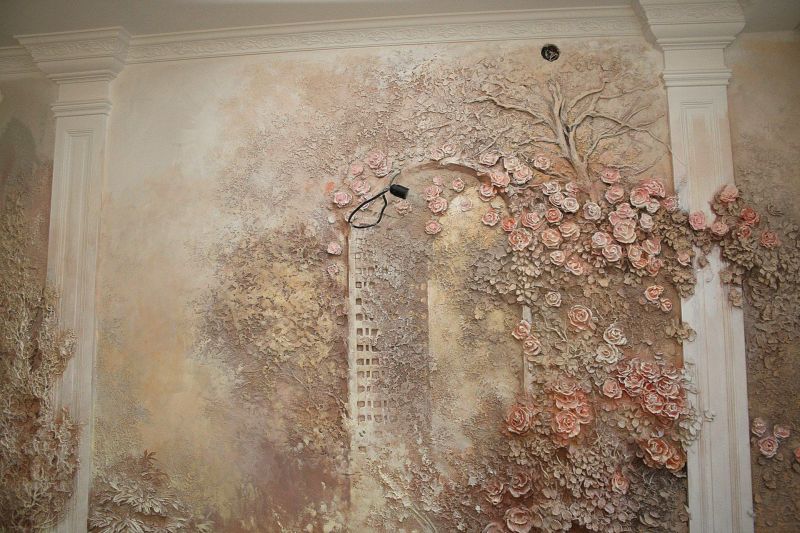
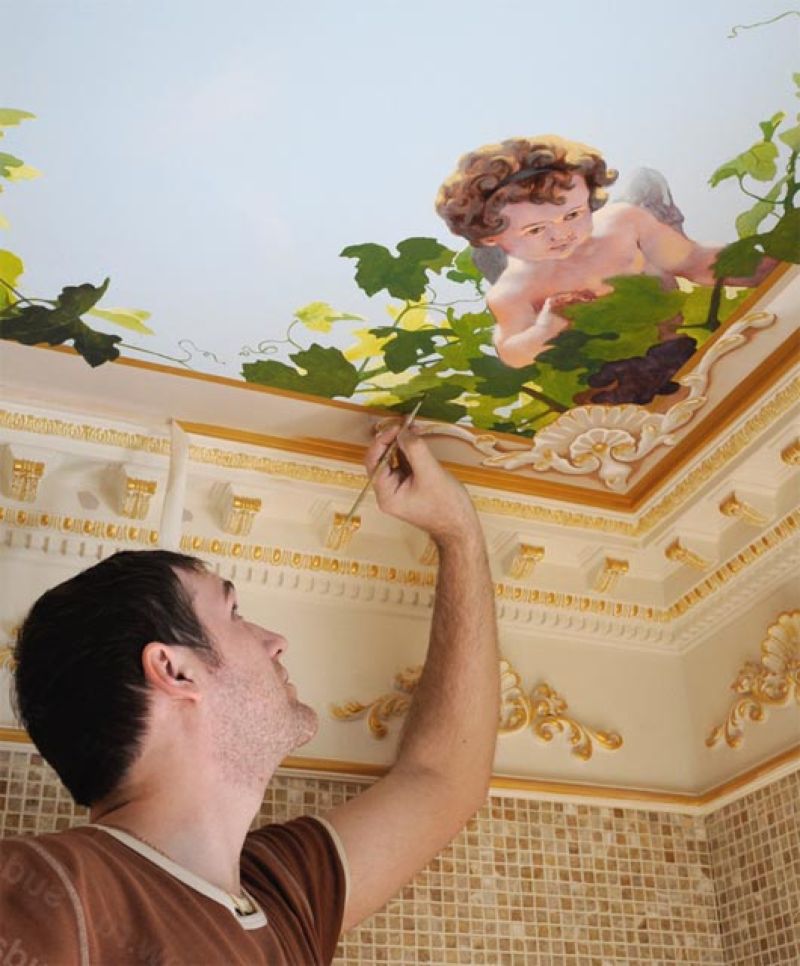
- Frescoes in the apartment
- Technology for creating frescoes on plaster
- Image selection
- Foundation preparation
- Solution preparation
- Plastering
- Paint for painting
- Drawing image

Types of painting on plaster
Painting techniques on plastered walls are different. The main ones are:
- Fresco. Represents a painting on raw plaster with water paints. To create a picture you need a special plastic mass of slaked lime, sand, brick dust. Ideally, crushed linen threads or hemp are added to such a mixture - in this case, the picture on the wall will be more durable, will not crack and will not crumble.
- Alsecco. This is a paint on dry plaster. For this technique, special paints based on glue, water, raw eggs are used. They allow you to get a stable image that is not damaged by exposure to adverse factors.
The technique of painting with dry plaster paints
Dry stucco painting has its own characteristics. It does not require haste, one master or several people can draw on the wall in a convenient mode. The composition of paints includes natural materials, so the finished paintings will be safe for adults and children. Most often, a dry technique is used to decorate bedrooms and children's rooms. The colors of the paints are characterized by brightness, and the materials themselves by density, moreover, do not fade for a long time, do not crumble.
to contents ↑Uniqueness of Alsecco technique
Now alsecco technique (asekko, secco) has begun to gain popularity, especially for decorating buildings, fences, as well as for interior homes and apartments. This type of wall painting involves drawing on an already dried, but secondarily moistened surface. The technique is considered unique, has a number of undeniable advantages:
- use of 100% harmless dyes;
- the ability to work all day or several days without the need for acceleration;
- image durability, resistance to changes in humidity and temperature;
- careful drawing of details, clarity of the picture;
- the ability to create volumetric images and multifaceted figures;
- suitability for paintings on any subject, work in all kinds of artistic styles;
- the ability to correct the image or wash it with clean water during operation.
to contents ↑
The disadvantages of painting on dry plaster
Only a professional can draw a really beautiful picture, perform volumetric decor.This is not about small drawings or ornaments that can be made on a stencil, but about truly exclusive works. The price of such labor will be very high, and the implementation will take many days. Since such an interior can be boring, it is better to think about its expediency in advance.
to contents ↑It is recommended to perform large wall-mounted images in rooms where usually a lot of time is not spent: classrooms, halls, libraries.
Surface preparation for the artist’s work
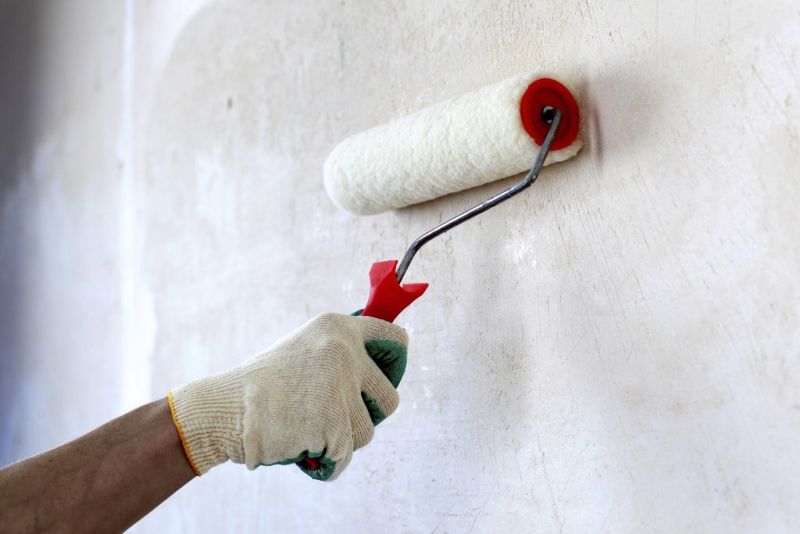
To get a beautiful and durable image on the wall, it should be properly prepared. To begin with, old coatings are removed: paint, wallpaper. Then all chips, defects, traces of fasteners are covered with plaster or putty. The base is primed on 1-2 layers, then plaster again with a suitable composition, level it to the ideal state. After drying, the plaster is primed again, dried well, and only then the artist can start work.
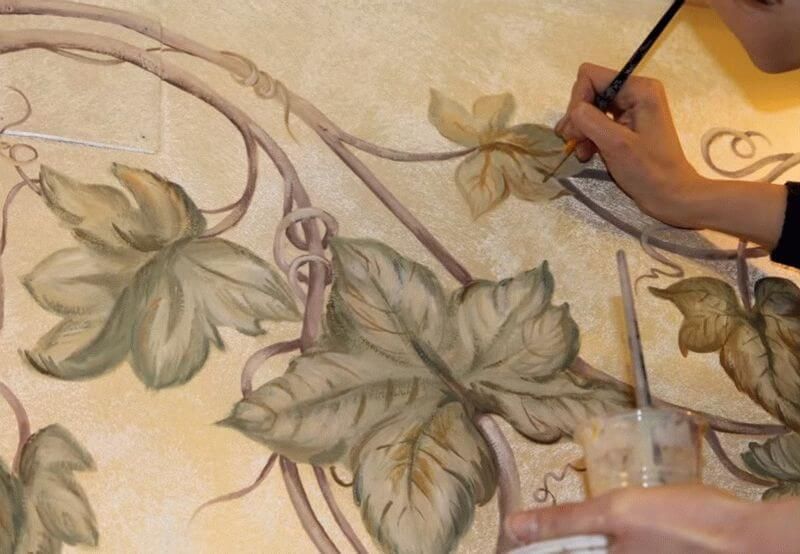
Drawing on wet plaster with water-based paints
The meaning of this technique is that the drawing is applied to the wall before the plaster dries. First, light tones are superimposed on the surface, then darker, saturated and bright elements are alternately performed.
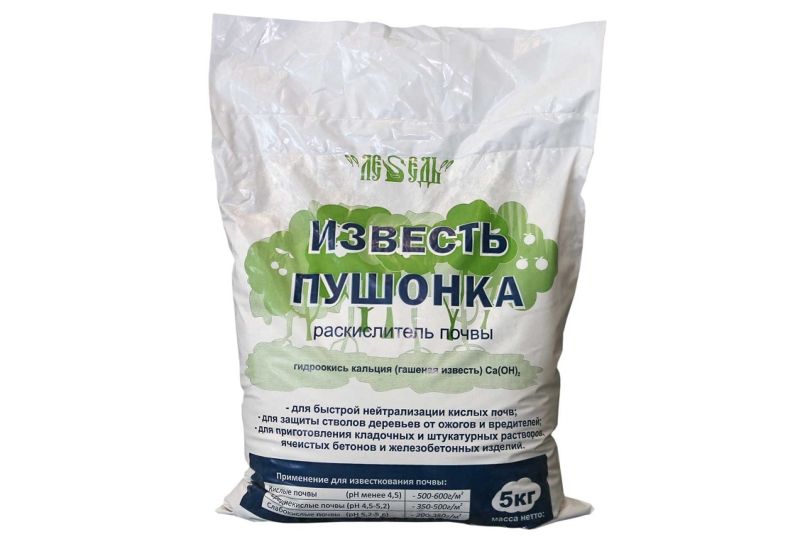
The stucco mass itself has some peculiarities: in its manufacture, high-quality lime is necessarily used, which is quenched by water until the active chemical reaction ceases.
Also, for the manufacture of plaster, the smallest brick chips are needed - it is able to hold water for a long time and not dry. A wall is also prepared in a special way: artificially create bumps on it in order to enhance adhesion to the material. During drawing, the surface of the wall is regularly moistened so that the paint falls on a wet base. After drying, the picture will brighten a little, due to the presence of lime in the composition.
The quality of the finished mural will depend on the type of surface. For example, brickwork absorbs water greatly, so drying the mural will be quick, and without additional priming, the contours of the image may crack. On poorly absorbing substrates cause the mural dries out slowly, as a result, the picture will look more natural. The more layers of plaster applied to the surface, the longer it dries.
to contents ↑Technology of drawing on wet plaster with water paints
The technique of drawing on a wet basis is quite complicated. It includes the following stages of work:
- Creating a drawing and preparing a full-size layout.
- Cutting the workpiece into separate fragments.
- Transferring the picture to the wall, contouring.
- Whitening the main background.
- Fill individual mural segments with color.
There are simplified versions of the technique. If you have the knack and some experience, you can cope with work even at home. In the original, the speed of reactions and the accuracy of smears are required. To facilitate the task, the layout of the picture should be painted in advance, as it will be done on the wall, and painted with shadows.
Method History
Wet stucco painting was practiced in the ancient Mediterranean. Some paintings, made several centuries ago, have survived to our time - they can be seen on the walls of temples, ancient buildings. In ancient Rome, stucco painting adorned palaces, walls in the homes of wealthy people, and public buildings. Especially many frescoes were in the cities of Pompeii, Herculaneum, which later turned out to be covered with ashes of Vesuvius.
In the Middle Ages, frescoes became even more popular. Thanks to inexpensive raw materials, which were prepared from local minerals, they began to be used everywhere. Widely famous Italian artists with great skill and talent.
Since the paint tightly grasped with the plaster, it lasted incredibly long and did not fade, although after drying it became paler. Until the XVIII century, the fresco occupied leading positions in the decoration of interiors, and only later it was replaced by new forms of art.
The essence of the process
After the sand and lime based plaster is applied to the wall in several layers, the top is painted with certain types of paint. The latter should be water-soluble, made on the basis of lime, casein or silicates.
Gradually, the paints are absorbed into the plaster, stain the lime present in it (calcium carbonate). As a result, the picture becomes, as it were, part of the wall and is not erased. You can remove it only by removing the layer of plaster.
to contents ↑Frescoes in the apartment
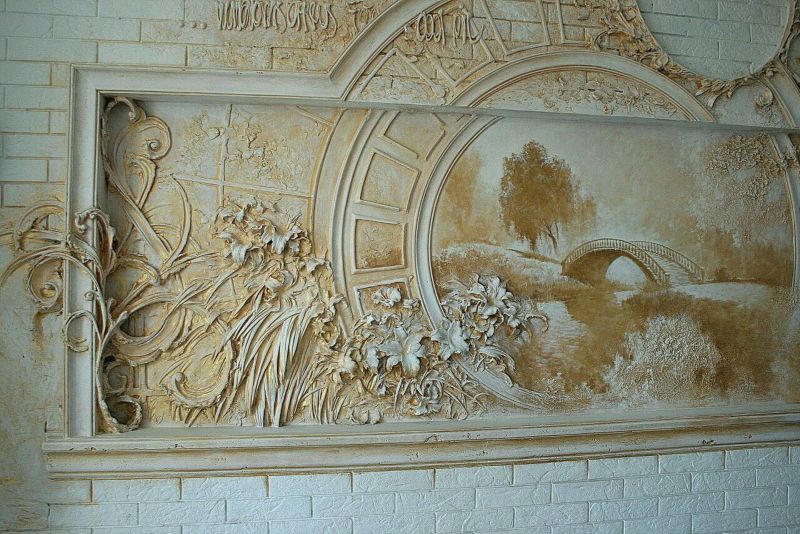
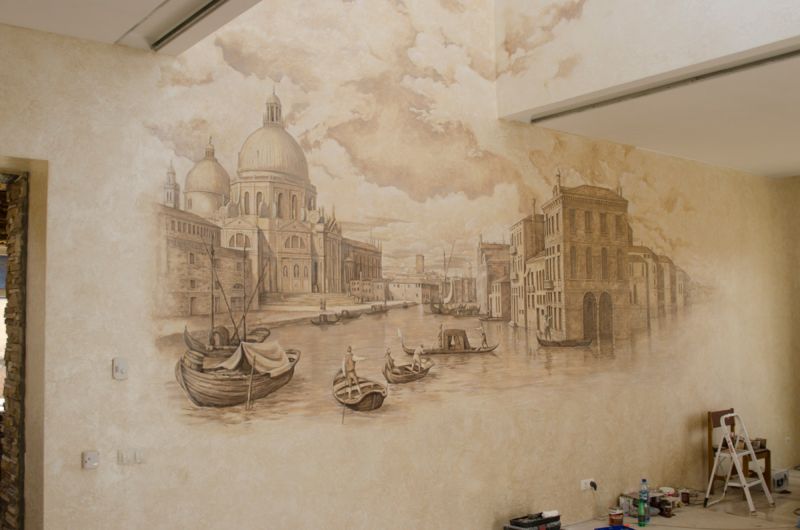
The fresco belongs to a variety of monumental painting: it cannot be removed, like a picture, and transferred to another place. In order for the fresco to really decorate the room, it must become an integral part of the interior, in harmony with the rest of its elements. That is why you need to think over the design of the room in advance, decide on the type of picture that will be displayed on the wall.
The dimensions of the fresco also need to be calculated before it is completed. Large images will not fit into a small room, they will look intrusive, depressing. Ceiling painting is also not always good for apartments: it is suitable only if there is a significant wall height and a large area of the room.
You can do the work yourself. Nevertheless, the result is unlikely to resemble the work of a professional. If you decide to hire an artist, you must remember that not everyone has the skills to work with plaster. In some cases, you have to look for both the plasterer and the designer, who will work in pairs, which will cost a decent amount. When deciding to do the mural with one's own hands, it is recommended to practice on less complex objects and master the play of light and shadow, to learn the properties of paints.
to contents ↑Technology for creating frescoes on plaster
The work includes two main areas: applying plaster and painting it. Both stages are directly related, and the second follows from the first. It is important to strictly adhere to the process, otherwise the image may crack and soon crumble.

Image selection
For the manufacture of frescoes, choose any pattern that suits the basic style. For self-painting walls, do not take more than 3 primary colors. The wall on which the mural will be located should be well lit by the rays of the sun, not cluttered with pieces of furniture.
Foundation preparation
Finishing work always begins with a quality wall preparation. As part of the preparatory measures, the following actions are taken:
- Removing the old coating. All peeling materials are removed, the plaster is cleaned down to the base (concrete, brick, wood). If the layer holds tightly, you can limit yourself to the partial removal of crumbling areas. The surface of the wall is thoroughly covered with a rag from debris and dust.
- Performing notches. Using a puncher with a special nozzle-chisel, make small notches with a depth of less than 0.8 cm on the wall. For 1 square. m area is applied about 120 notches. Dust off the base once more.
- Padding. The deep-penetrating composition treats the substrate in 1-3 layers to improve the adhesion to the plaster.
Solution preparation
Experienced craftsmen prepare solutions according to their "recipes", choosing the ratio of components empirically. But recommendations for proportions still exist. Typically, to perform the first layers of plaster mixed together:
- 1 part slaked lime;
- 4 parts of sand;
- some finely chopped hemp or cellulose.
For the finishing layer of plaster, 1 part of lime and 2.5 parts of sand are combined. An ideal option would be to replace sand or its fraction with brick powder. For outdoor work, the amount of brick should be small. As for lime, it must be of high quality, otherwise it will not work for painting murals. In cheap lime, the minimum content of calcium oxide is, therefore, its extinction can take several months. As a result, there will be a efflorescence, the plaster will leave the wall or delaminate.
The ideal option is to buy a solution of pure lime-cannon, which has already been repaid.You can also purchase quicklime powder and extinguish it yourself (pour clean water for 2 weeks, then drain the liquid). Sand for plaster should also be of high quality and clean. It is better to take river sand, sift it through a fine sieve to make the plaster more plastic.
to contents ↑Plastering
After preparing the plaster, you must immediately start applying it to the wall. There should be at least two layers, but most often 3 plaster layers are performed (the maximum number is 7). If the thickness of the plaster is more than 1-1.5 cm, the risk of cracking will increase.
Plastering is carried out in three stages:
- Spray
- Priming.
- Hiding.
First, beacons are attached to the wall, which will allow the plaster to align. Spray with a trowel, spraying the first layer up to 6–8 mm thick. Distribute the plaster with a grater for uniformity, but do not smooth it too much. Excess solution is removed as a rule. With a notched trowel or other convenient tool, wavy lines are made up to 2 mm deep with a pitch of 40 mm. Such waves will help to form a relief and improve adhesion to subsequent layers of plaster.

After partial setting of the first layer proceed to the second, intermediate. For soil, the solution should be thicker than for spraying, so less water is added to the plaster. The mass is applied to the wall with a trowel, rubbed with a trowel, the excess is removed as a rule. The position of the plaster layer is regularly monitored by the level, since at this stage the leveling of the base is carried out.
To cover the plaster is made more liquid. Apply it with a grater with a thin layer (2-3 mm). For one approach, it is advisable to lay as much cover on the wall as you can paint right away, because it dries very quickly. Experienced craftsmen paint 6–9 square meters. m per day, and beginners should start with small paintings.
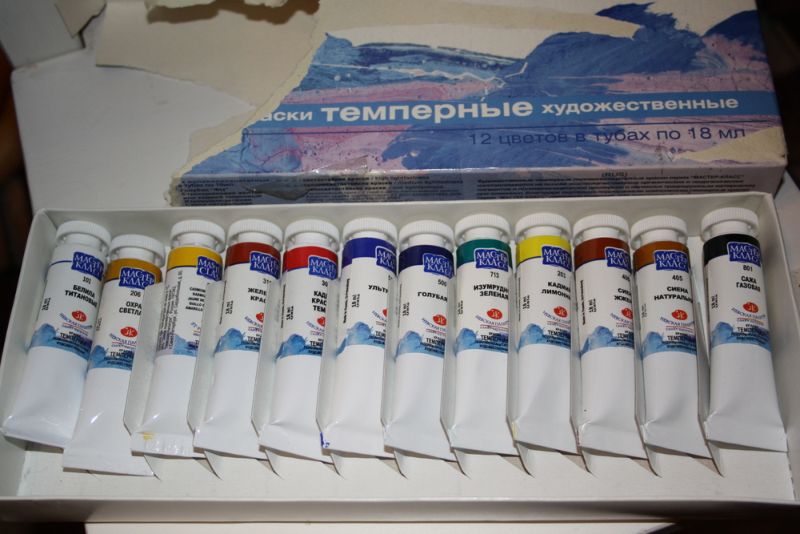
to contents ↑Paint for painting
When choosing a paint, you need to take into account that the lime component of the plaster has an alkaline reaction, so the pigments must be alkali resistant. Otherwise, the paint will quickly change color, or even discolour.
Also, the pigments must be soluble in water, otherwise it will be difficult to dilute them, and upon contact with the plaster, the coloring base will be damaged. Most often, such types of paints are used for painting on raw plaster:
- acrylic water - diluted with ordinary water, contain various pigments: chromium oxide, umber, sienna, burgundy, ocher, cinnabar and others;
- calcareous - prepared on the basis of calcareous water or dough, very convenient for making corrections on the fresco;
- tempera - the composition includes chicken eggs, casein, water glass, additives to slow drying.
Tempera paints are considered the most persistent and beautiful. Albumin egg white reacts with stucco, resulting in a new chemical compound - calcium albumin. It is very durable, does not collapse for many years. Experienced masters breed tempera paints with beer or wine, and not with water, while only egg white is introduced into them (the yolk can change the basic shade).
Liquid glass improves the quality of the finished paint: it is always added for painting the exterior walls. Upon contact with lime, silicates form an insoluble substance that is not at all afraid of precipitation and temperature changes.
to contents ↑Finished paint should not be thick. It is better if by consistency it resembles a semi-liquid sour cream. When painting plaster, you need to use a soft brush that does not leave fibers.
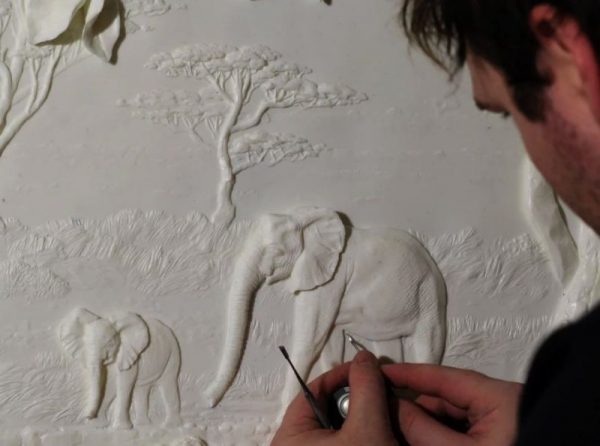
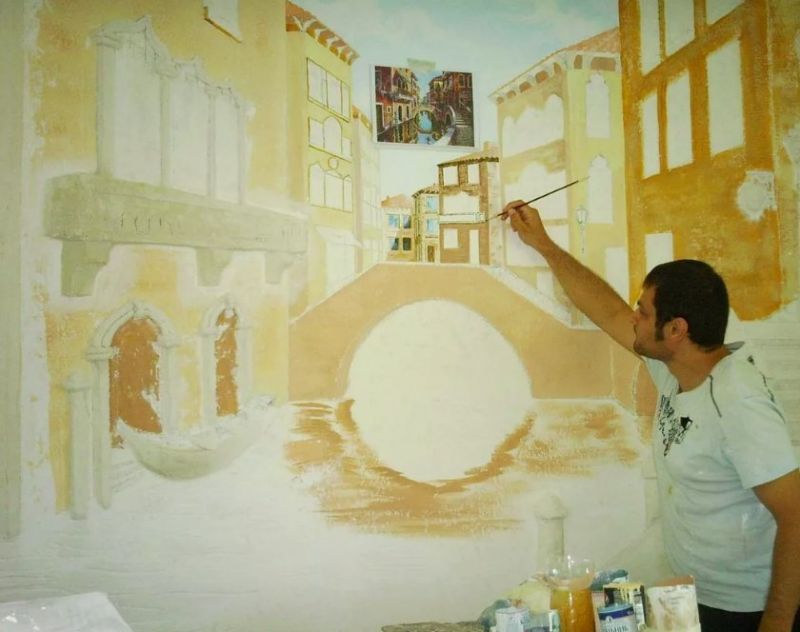
Drawing image
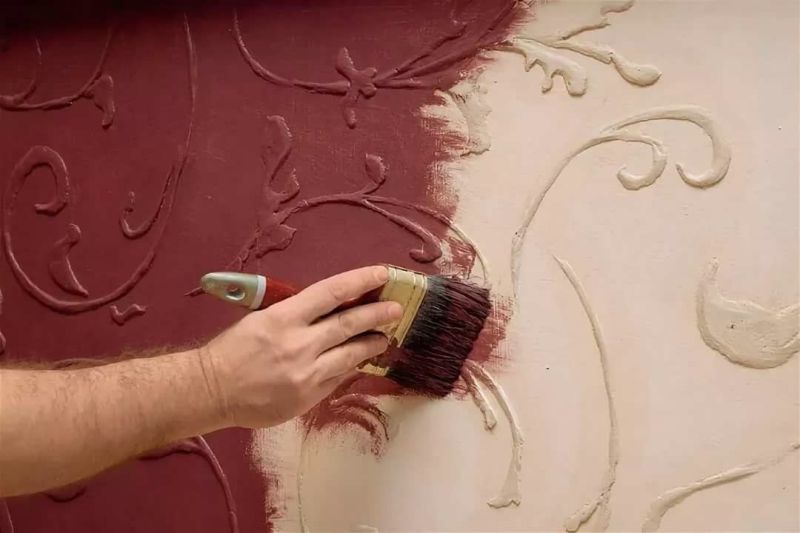
First, a sketch of the future picture is applied to the wall, gently pin it directly to the layer of plaster. Mark the lines with a sharp awl, getting a clear print, remove the paper.Then proceed to the drawing of bright areas. It is recommended to bleach them with slaked lime in advance so that the pastel shades have their natural look. Gradually go on to medium in brightness tones, then to dark.
Smears are performed with light movements so that the brush does not tear off the moist lime composition from the wall. If white stains appear in the paint, the brush is immediately washed and squeezed. After completing the main drawing, they start drawing in the reverse order:
- Dark tones.
- Medium shades.
- The lightest colors.
Drawing allows you to make the transitions between individual sections smooth, natural. At the end of the painting, the edges of unpainted plaster are carefully cut with a sharp knife, forming bevels, a gypsum mortar is applied to them and carefully smoothed. As a result, the joints between the fresco and the wall should completely disappear.
The finished mural dries for about 10 days, as the paint is absorbed into the plaster rather slowly. During this time, drafts and temperature drops should not be allowed. In general, the technique of painting on raw stucco is quite complicated, but if you want and have an artistic taste, it is quite possible to master and practice it yourself.