Repairing an apartment is not only troublesome, but also very costly. All work must be carried out in good faith, since the remaking flies a pretty penny, and also takes a lot of time and energy: you need to go back to the market, buy construction materials and hire workers. It is known that most of the problems arise with stucco walls.
- Ignoring the primer or replacing it with water
- Pouring water into a dry mixture
- Incorrect plaster mixture
- Adding a dry mixture to change the viscosity
- Reinforcement Errors
- Lighthouses installed on a continuous layer of mortar
- Lighthouses leave in the wall forever
- Plaster too thick
- The solution begins to spread from below.
- Failure to comply with the terms and conditions of drying

Even the highest quality mixtures, tested repeatedly and having passed all GOSTs, very often begin to gradually peel off from the surface and deteriorate. There are many reasons for this, and here we will look at 10 gross errors when plastering walls, which can ruin the entire repair.
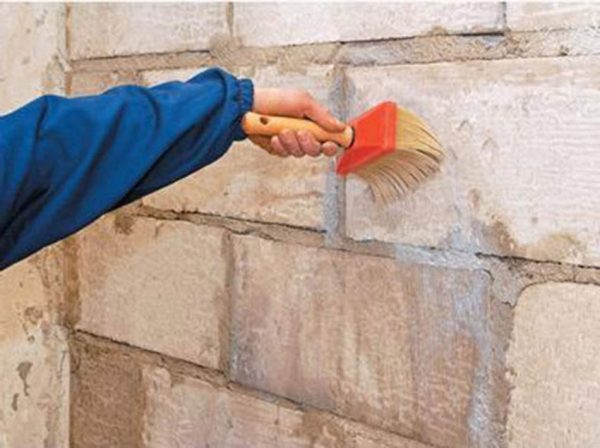
Ignoring the primer or replacing it with water
The primer ensures good adhesion of the plaster to the wall surface. Not always coatings are suitable for applying the solution (for example, they can be perfectly smooth, which significantly reduces adhesion).
The lack of a primer does not allow the plaster to “cling” to the walls, as a result of which it eventually inevitably begins to exfoliate. Please note that water does not replace the primer in any way, since it does not contain the necessary components that increase adhesion. If we are talking about concrete ceilings, then they require a special composition - concrete contact.
to contents ↑Pouring water into a dry mixture
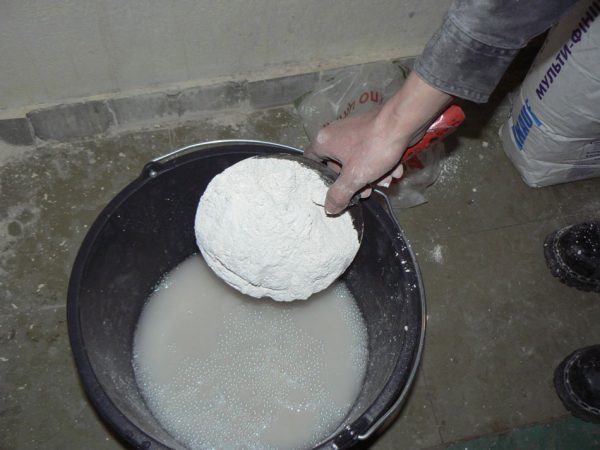
This mistake is incredibly simple, but fatal, because it is made by many workers, even those who have considerable experience. There is one simple rule that you should remember: when mixing the solution, you need to add the dry mixture from the bag or bag to a bucket of water, but not vice versa.
At first glance, this does not seem critical, but the problem is that with the reverse kneading procedure, if you pour water into a container with a dry mixture, lumps will appear in the solution that impair its adhesion to the surface. By adding powder to the water, you will prepare a high-quality mixture that will lie perfectly on the wall.
to contents ↑Incorrect plaster mixture
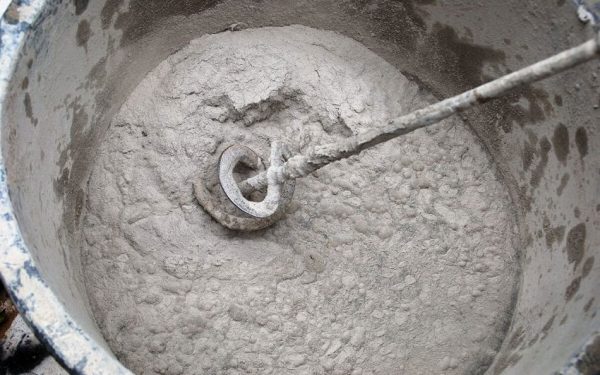
Failure to comply with proportions is another popular mistake that many people make. There is no single rule, since dry mixes from each manufacturer have a different composition. When mixing, follow the instructions on the packaging.
This rule holds true for cement-sand, and gypsum plaster. If you have not added enough water, the finished solution will inevitably creep under its own weight. This leads to the formation of cracks on the walls and also significantly complicates the application of the solution.
to contents ↑Adding a dry mixture to change the viscosity
If you notice that the prepared solution turned out to be too liquid, then in no case can this be corrected by simply adding a dry mixture. Remember the rule: the viscosity of the plaster is regulated by the amount of water. That is why when kneading the master pour liquid in small portions and carefully monitor the viscosity of the solution.
to contents ↑Adding a dry mixture leads to the formation of lumps. In this case, the solution will dry unevenly, which also leads to its peeling and cracking.
Reinforcement Errors
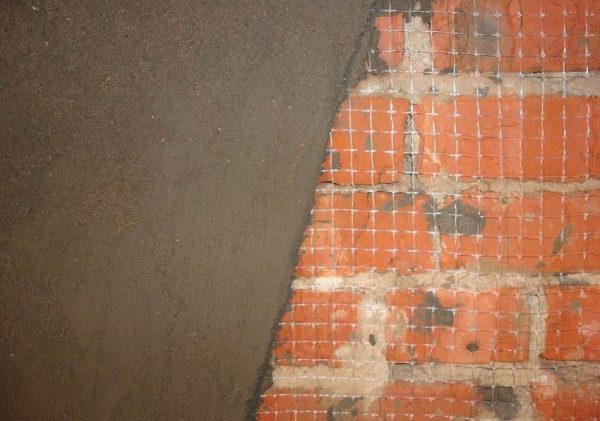
Reinforcement is an important step in leveling walls. Applying a metal mesh helps to fix the surface. This prevents the displacement of the solution and the appearance of microcracks, which eventually become more and more.
It is the reinforcement that helps to preserve the wall structure during the natural shrinkage of the house. If you make it, then with a high degree of probability no defects will appear on the surface. For greater reliability, it is recommended to reinforce not only the wall itself before alignment, but also the joints.
to contents ↑Lighthouses installed on a continuous layer of mortar
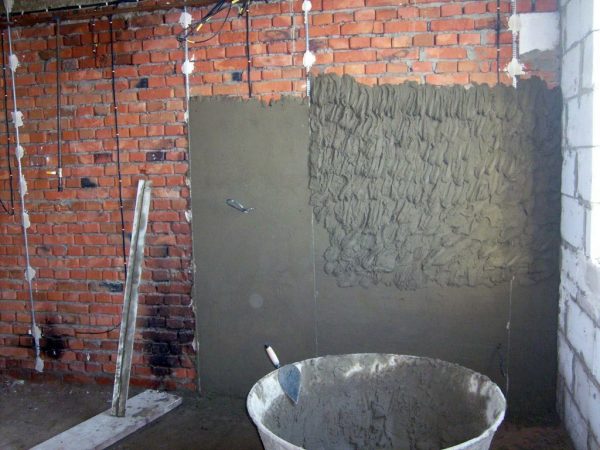
Lighthouses help to make the surface perfectly smooth, and provide additional stability to the wall and finish layer, preventing the formation of cracks. They are installed on a small amount of plaster applied at several points.
If you install the beacon on a continuous layer of mortar, this will lead to uneven hardening of the plaster. Such a seemingly insignificant detail can ruin the entire finish. To avoid this, it is necessary to observe the step between the clots of the solution under the beacons.
to contents ↑Lighthouses leave in the wall forever
This is a very common mistake, and many make it. Some people believe that the lighthouses after leveling the walls just close with another layer of plaster, remaining inside the coating forever. This is not true.
They are made of galvanized steel, and therefore do not corrode. However, if the upper protective layer is damaged, moisture penetrates inside. The lighthouse begins to rust and deform inside the wall. It literally bursts the coating and leads to the appearance of swelling and peeling of the plaster.
to contents ↑Plaster too thick
The more mortar - the stronger and more durable the wall! This is a false statement. Yes, the layer of plaster should be large enough, because it will not be able to withstand the load and will be too fragile. However, a thick coating can sag under its own weight.
When applying the solution, one should not forget that it has a significant mass, especially with a high liquid content (before hardening). In this regard, the lower layers are not able to withstand vertical pressure, which is why they slide along the wall, and in the case of complete solidification, they move away from the surface and bulge to the side.
to contents ↑The solution begins to spread from below.
The plaster is applied from top to bottom, layer by layer. This is another indestructible rule that must not be forgotten. Firstly, the weight of the solution affects it, as we already learned from the points above. Secondly, applying plaster is a long process. By the time you get to the upper layers, the lower ones will already begin to dry out and cling to the wall. If lumps of solution roll down on top of them, then this will lead to the appearance of microcracks, and the coupling with the surface will be destroyed.
to contents ↑Failure to comply with the terms and conditions of drying
There is a whole set of rules for applying plaster and the mode of drying the mortar. Here we will announce the most important of them:
- For the plaster to be strong, it must dry for 7 days, no less.
- When drying, the temperature regime and humidity level must be observed (these data are indicated on the packaging of the dry mix, so read the instructions). The optimal temperature is on average from +5 to +25 degrees Celsius.
- Do not dry the plaster in direct sunlight, as this leads to an increase in temperature in certain places (some areas dry faster and others dry longer). Uneven solidification leads to cracks on the wall.
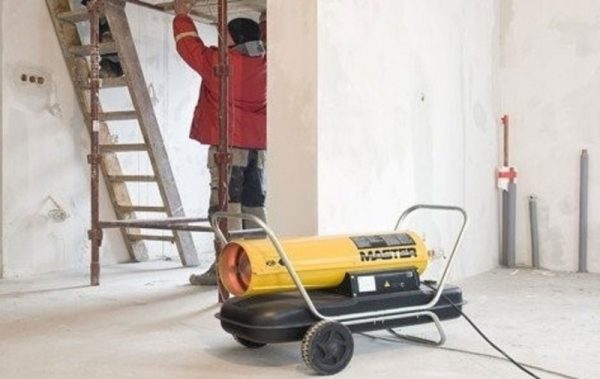
- You can use the heat gun when the window is freezing and the temperature inside the room is below normal. Otherwise, treatment with warm air leads to uneven evaporation of moisture.
That's all you need to know about mistakes when applying plaster. Of course, there are also a ton of other factors, therefore, repair can be trusted only to those craftsmen who are ready to guarantee an excellent result.

