Owners of modern smartphones know firsthand how difficult it is to find an interesting and practical case for their sensory comrade, especially when it comes to some unique model. The choice in the store does not always meet the taste preferences of the buyer, and the cost often exceeds reasonable limits. Having familiarized yourself with the instructions, you can independently make using a hot glue a non-standard and very convenient cover for your gadget.
Necessary materials
To create a bright and unusual accessory you will need the following items:
- Hot glue gun.
- Glue sticks with a thickness of 7 mm - three pieces are enough, but depending on the size of the gadget and the thickness of the bumper, you can take more.
- Baking parchment paper.
- Stylus pencil.
- Scotch.
- Acrylic paint or regular nail polish of your favorite color (several can be).

Manufacturing instruction
We proceed directly to the creation of a functional masterpiece. We follow the step-by-step master class.

Step 1. We take parchment paper and wrap a smartphone around it. It is the rough side that should fit snugly against the lid of the gadget. We fix the resulting wrapper with tape.

Step 2. Using a stylus pencil, circle all the functional segments of the phone that will need to be cut out on the bumper: camera, flash, charging connectors and headphones.

Step 3. Now we turn to the creative part of the work - we draw the desired pattern on the paper covering the smartphone. Here you can give free rein to the imagination and create an abstraction. You can also draw inspiration from the Internet. We find a picture with a suitable pattern and transfer it to the gadget.
Step 4. We put the device face down, with a glue gun draw a solid line around the contour of the phone. It is important to keep the same thickness on all sides.

Step 5. Wait for the glue to cool completely and harden. Next, we continue the phased application of the remaining ornament. It is important to keep a measured pace: periodically make minute pauses to protect the gadget from overheating.

Step 6. Once the hot melt is completely dry, you can remove the resulting workpiece from paper. This must be done very carefully so as not to damage the adhesive contours.

Step 7. Use scissors to clean uneven edges, if any.

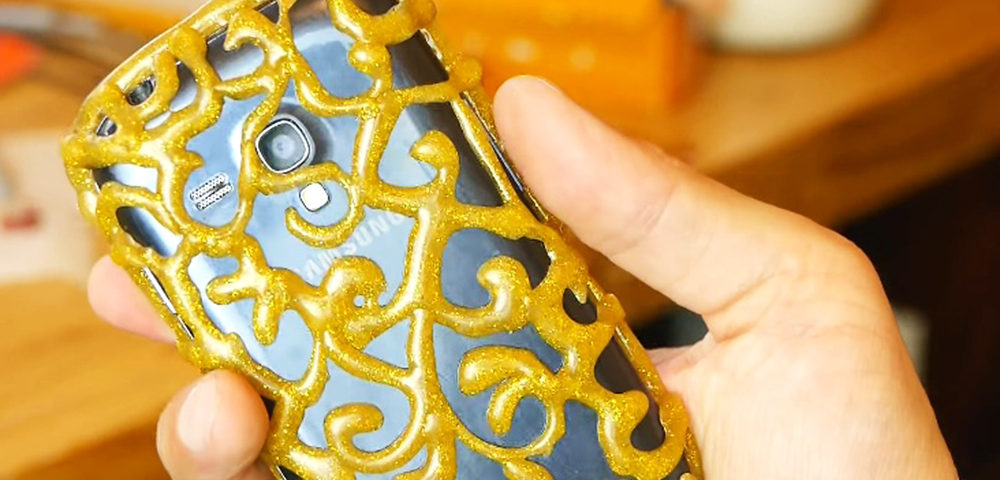
Step 8. To give the bumper individuality and brightness, cover it with acrylic paint or nail polish.

to contents ↑Stylish and unique handmade cover is ready, you can safely let it into use.
Video lessons
Today you are convinced that with the help of straightforward materials and a hot glue gun you can create a whole work of art. The bonus is that you yourself choose the pattern and color palette for the bumper of the phone. If desired, the adhesive cover can be decorated with additional decor: beads, badges, 3D stickers. The main thing is to degrease the surface of the cover first, so that the decoration holds better.


