From previous issues, you already know that a hot glue gun is the main craft item. IN first and second parts of the series of articles about hot-melt adhesive, we have created many useful objects. Today we will continue amazing experiments: we publish 10 more useful things!
- Text on plain t-shirt
- Portable repair kit
- Heel tip for easy walking on the ground
- Two-color glue
- Color necklace
- Hot Melt Rose
- Nail polish remover
- Rhinestone bracelet
- Halloween neck decoration
- Glass bottle stopper
- Long match
- Non-slippery bath mat under your feet
- Pin holder
- Volumetric model of the Eiffel Tower
- Decoration of champagne glasses
- Hair dryer holder in the bathroom
- Light show
- Drawing with multiple pencils at the same time
- Fly swatter
- Tablespoon
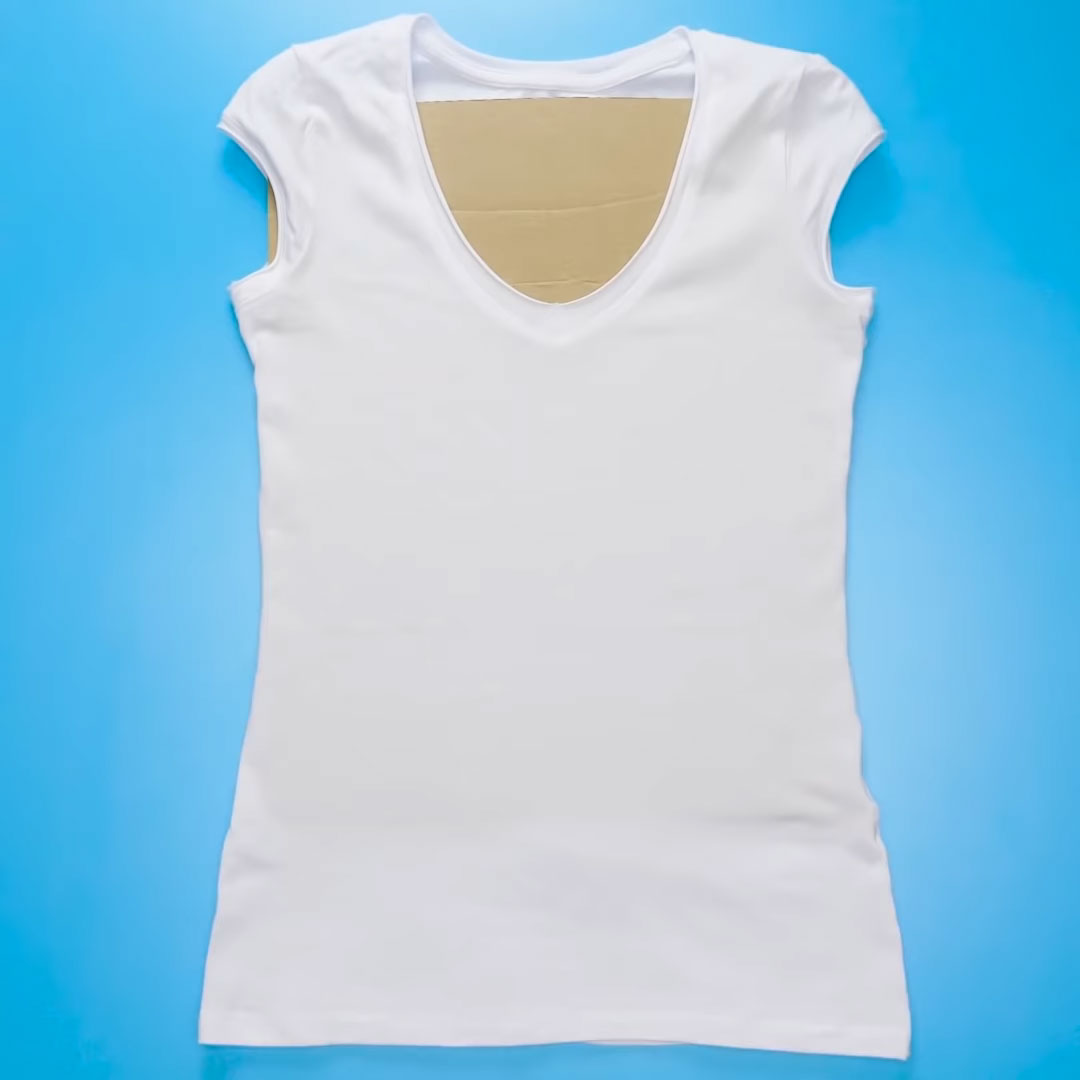
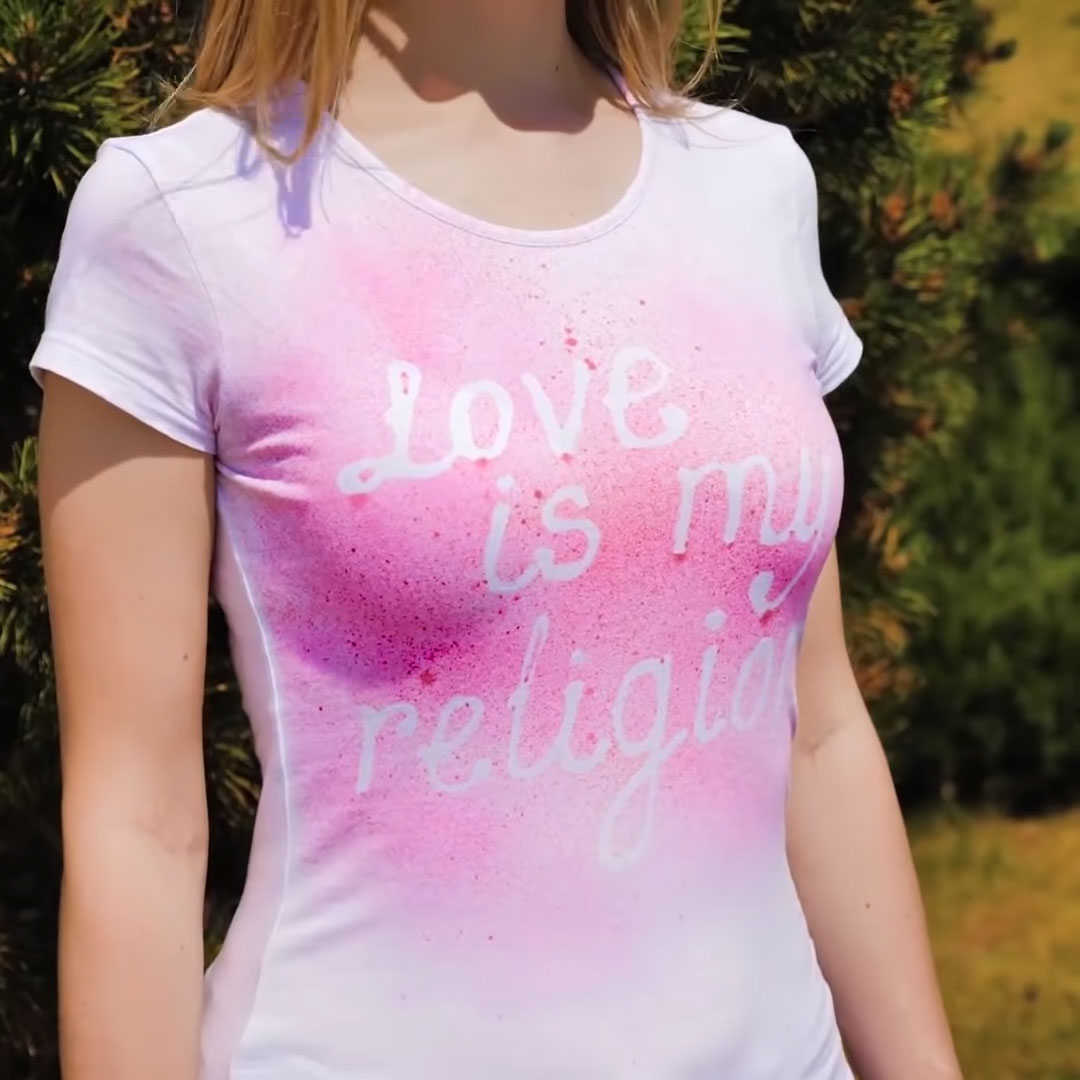
Text on plain t-shirt
Step 1. We put cardboard in a T-shirt.
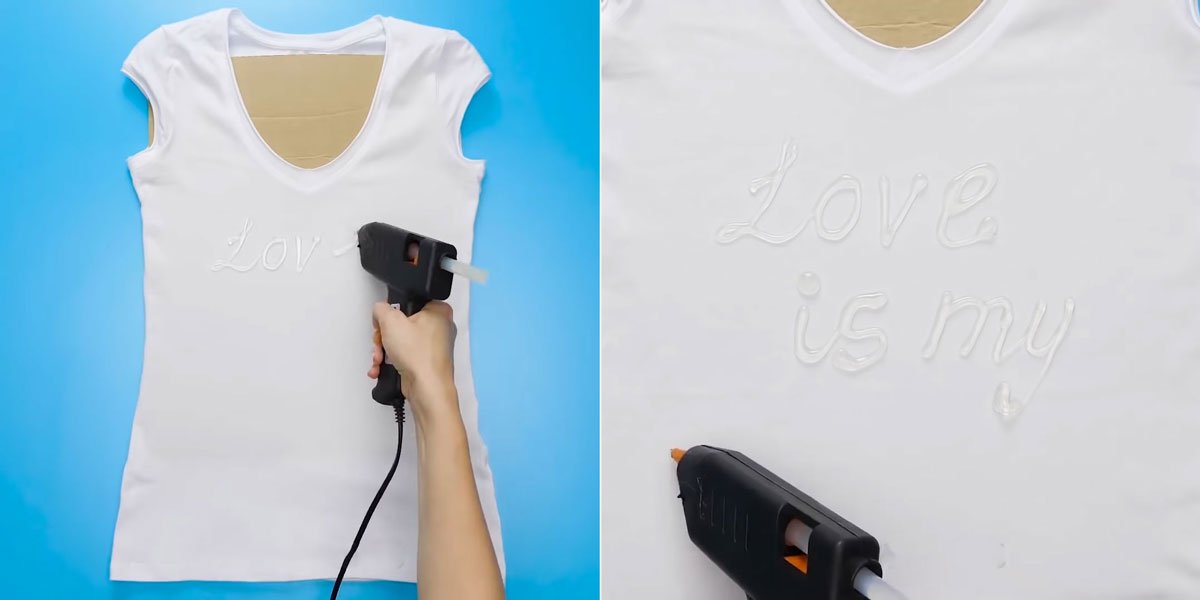
Step 2. On the front side of the front half of the T-shirt, write the words. Let's freeze.
Step 4. Spray the fabric dye.
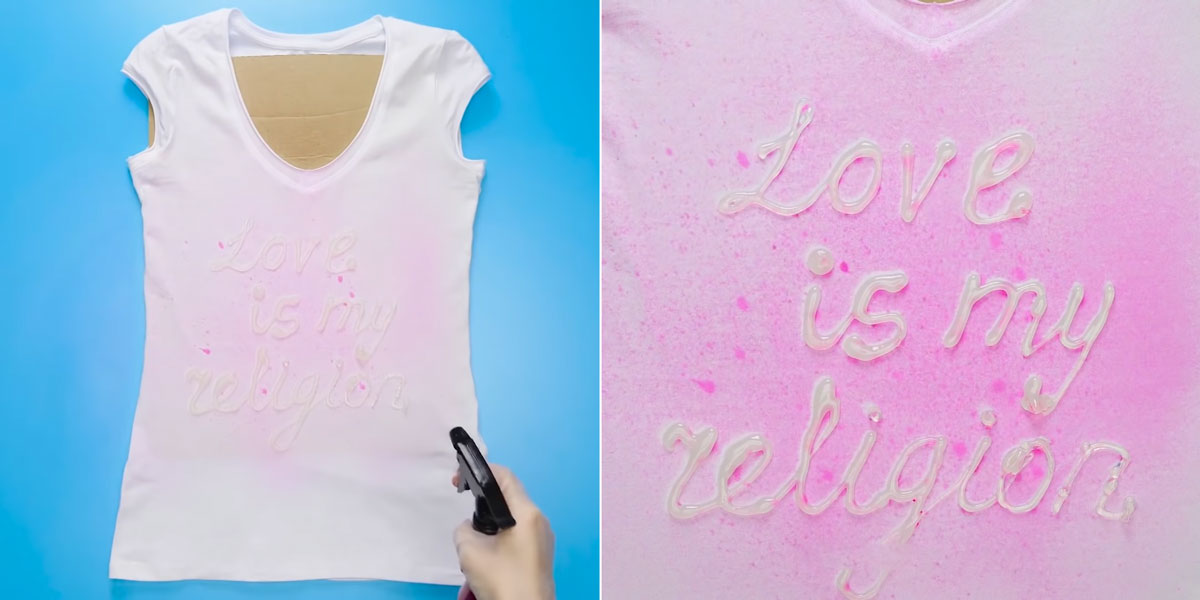
Step 5. Carefully removes the letters.
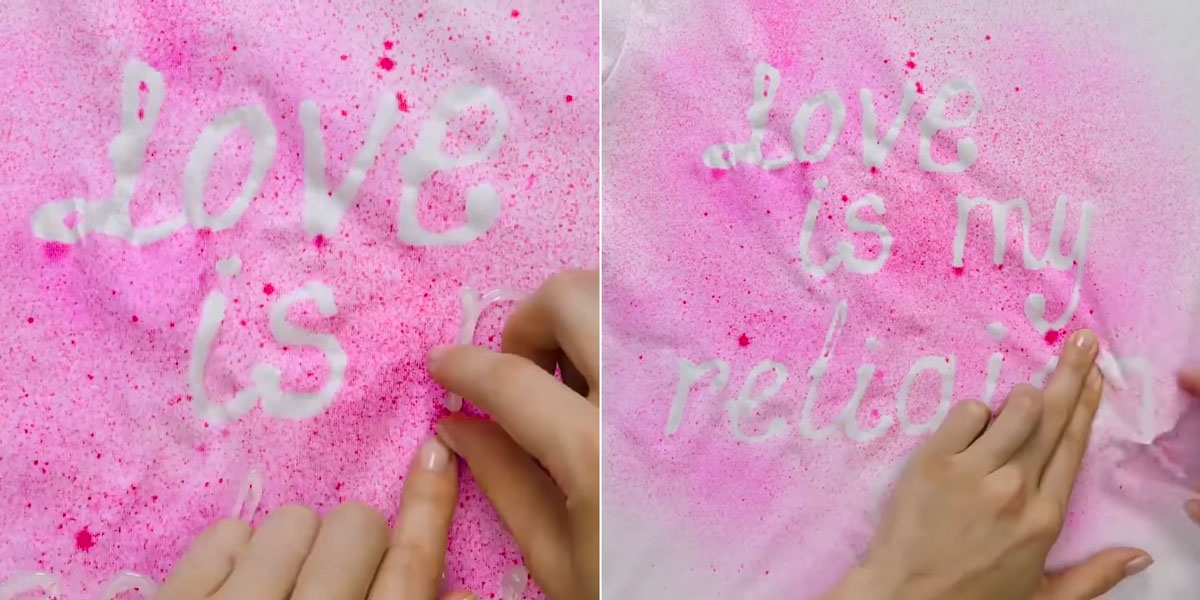
The product is ready.
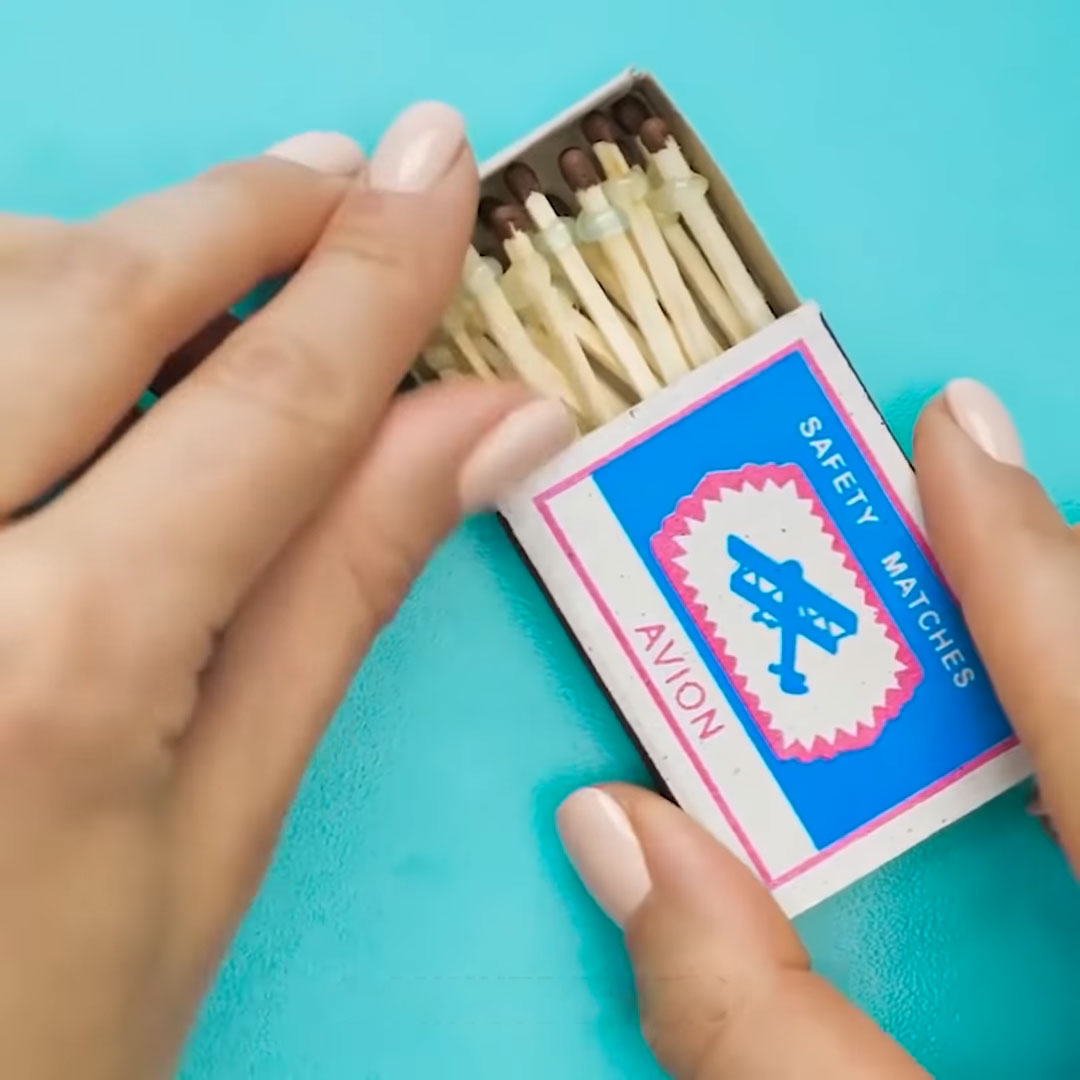
Portable repair kit
Step 1. Apply a drop of glue around the match perimeter at a distance of 0.5 cm from the head.
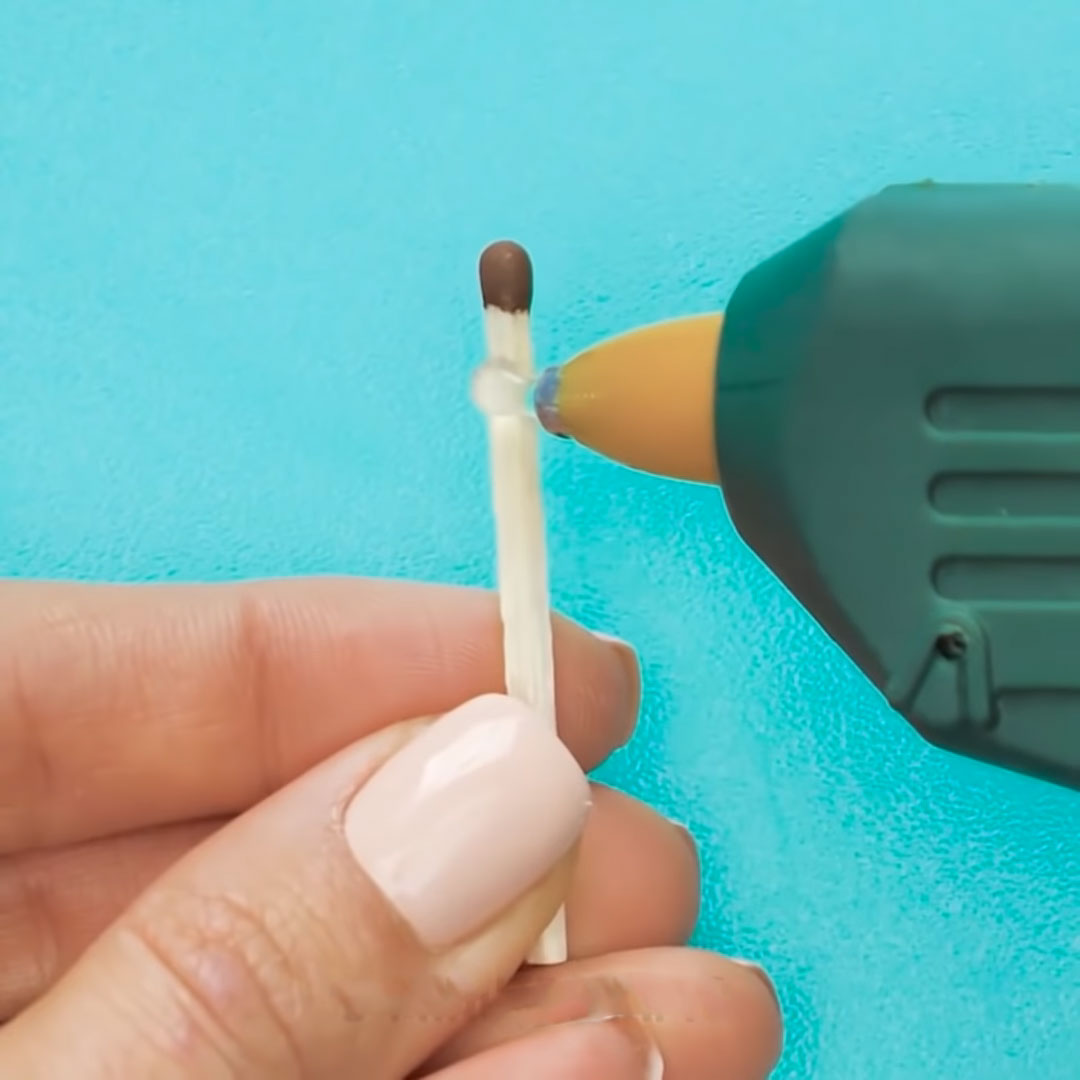
Step 2. Let's freeze.
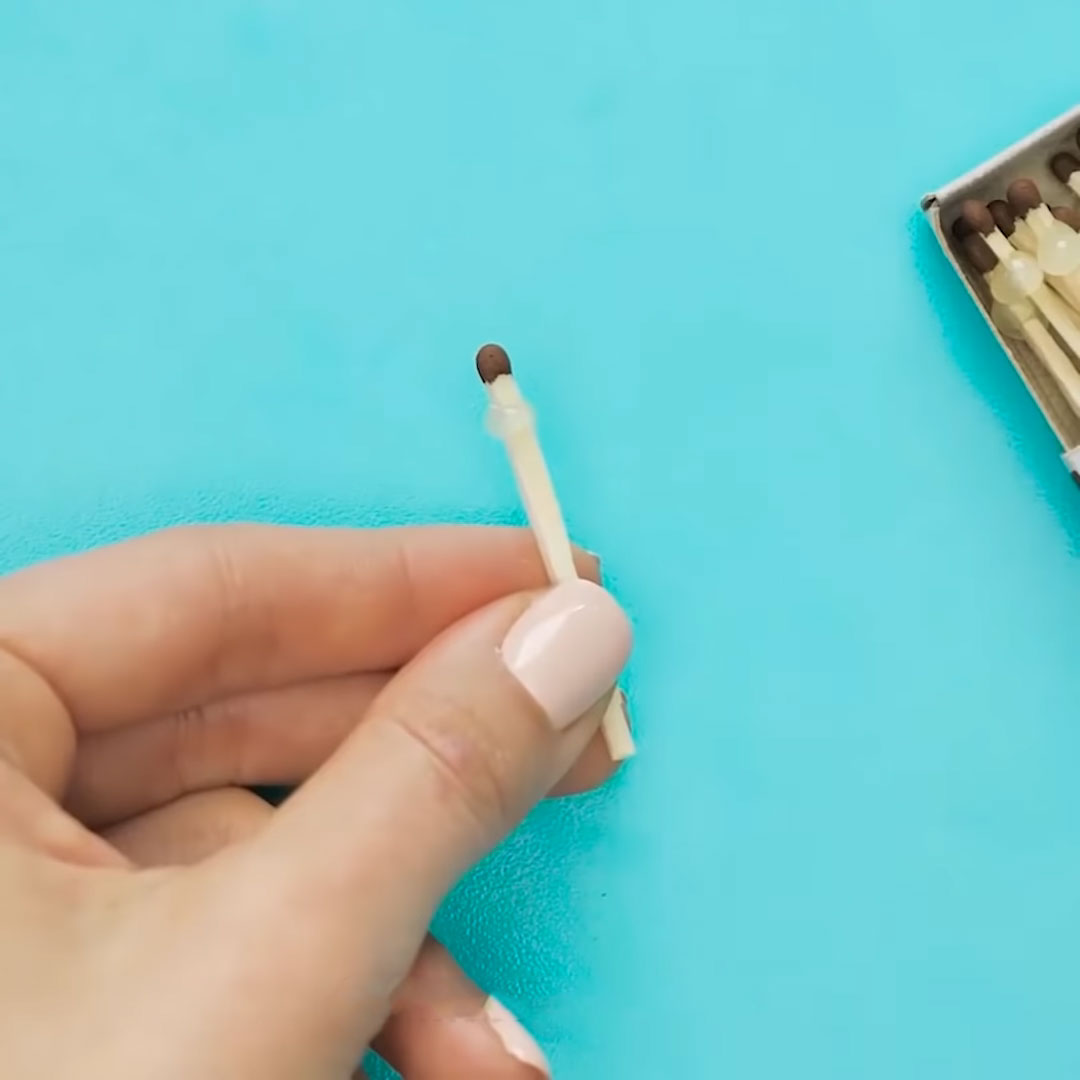
Step 3. We put the resulting matches back into the box.
Step 4. If necessary, make repairs, for example, a collapsed shackle of glasses, light a match.
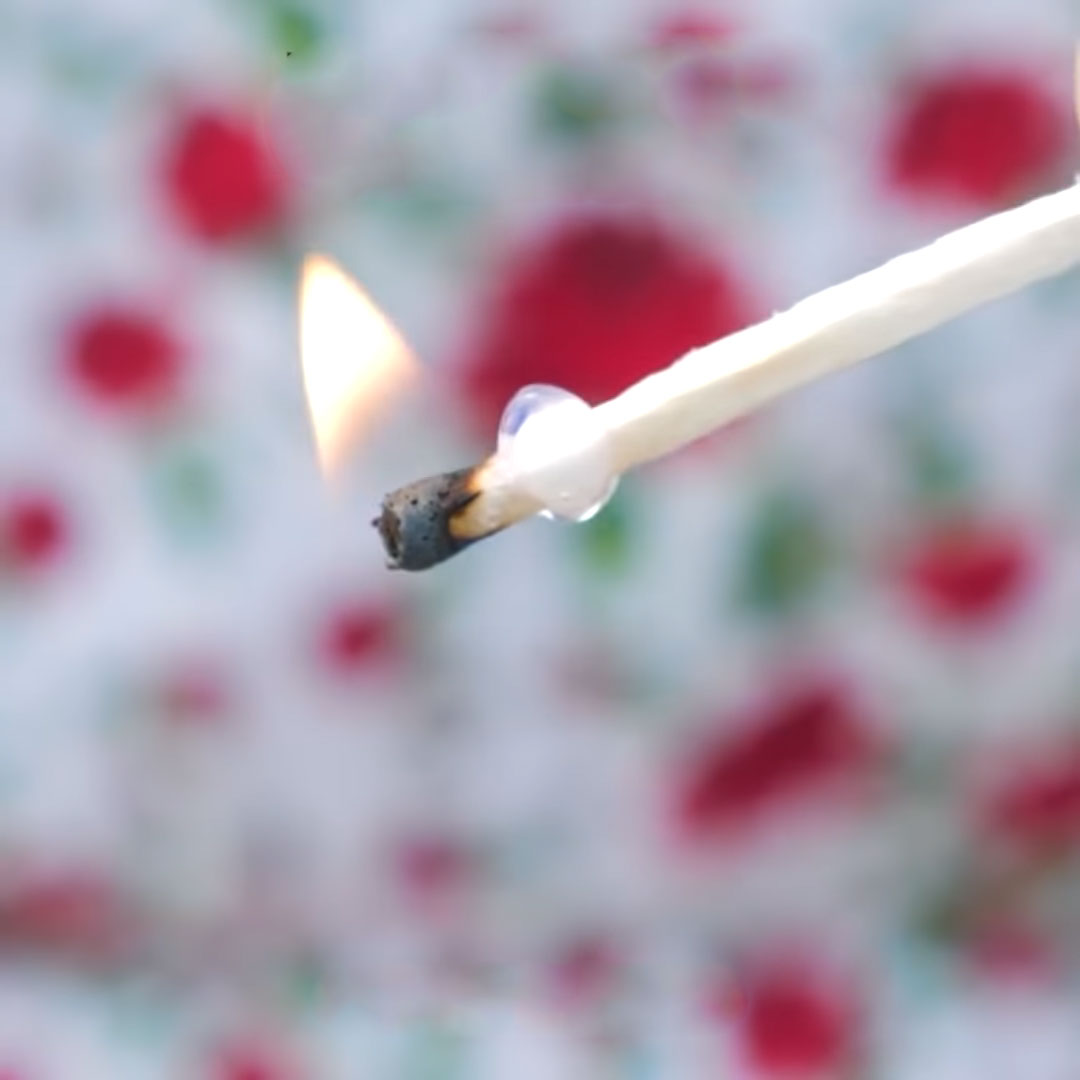
Step 5. The fire will melt the glue, it must be quickly applied to the place of attachment of the temple
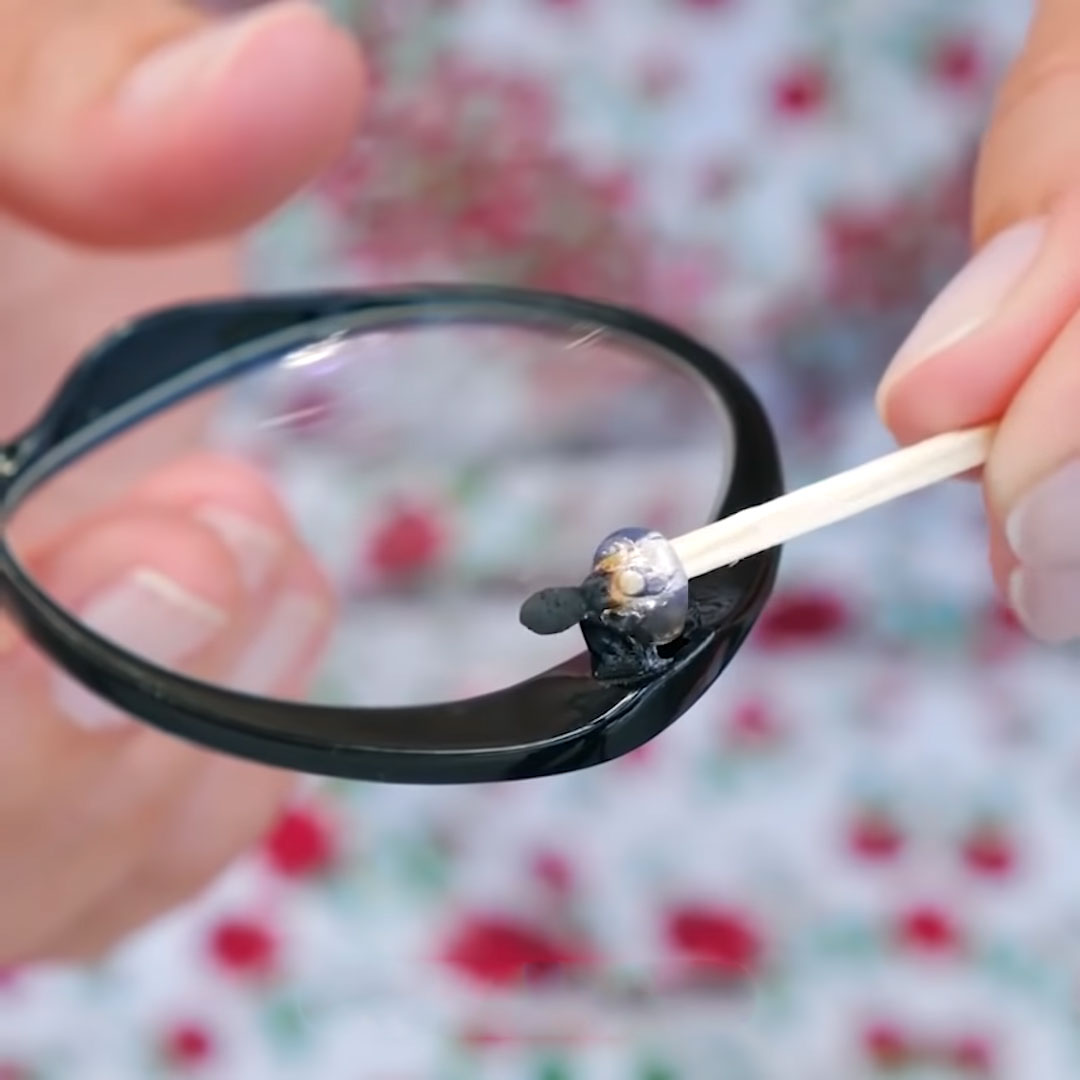
Step 6. Press the part and let the glue harden.
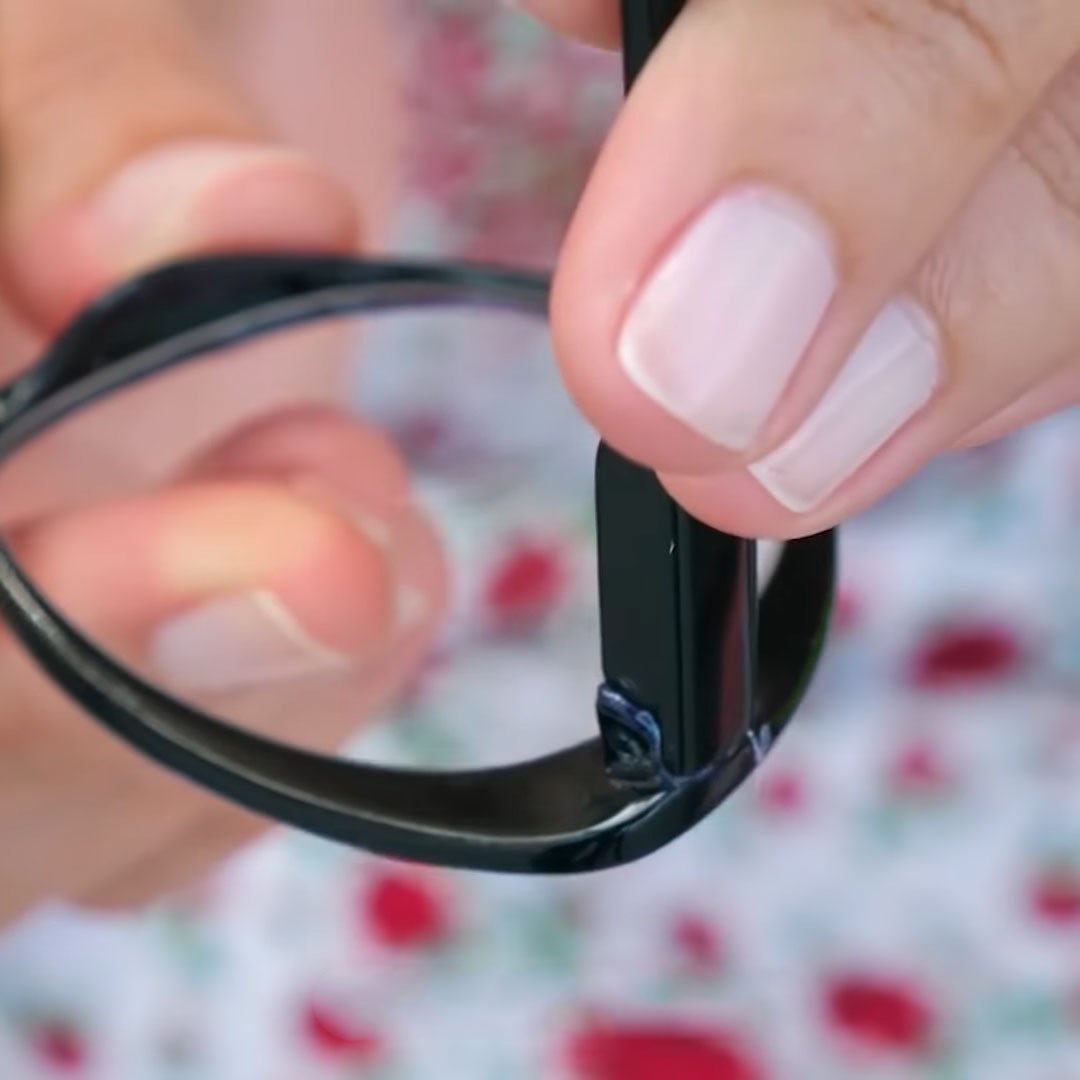
Step 7. Glasses can be worn.

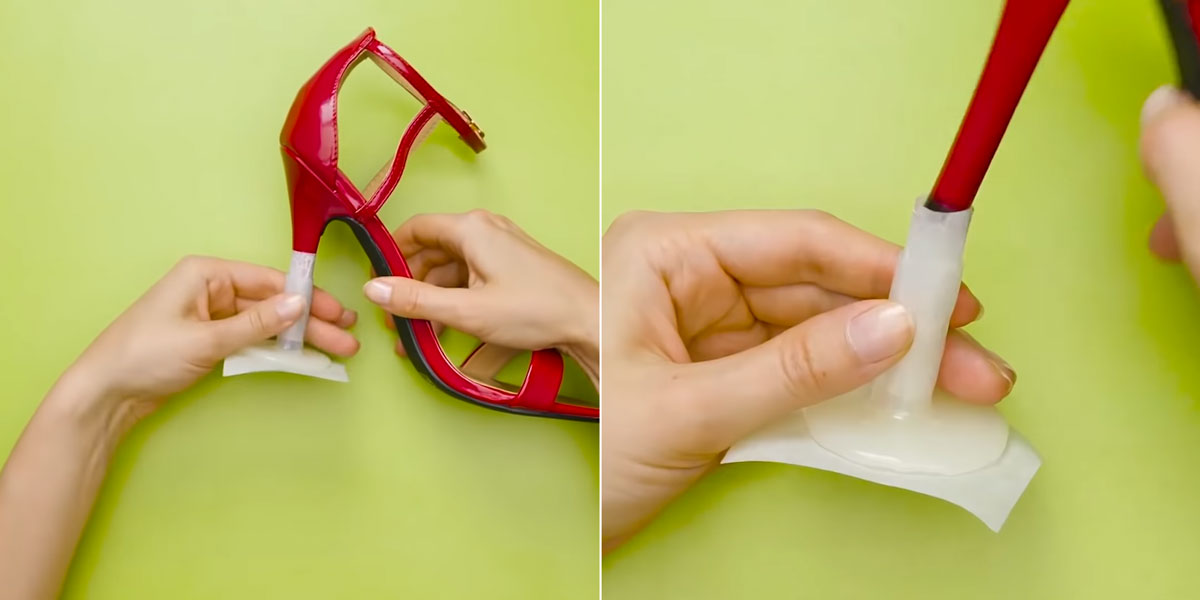
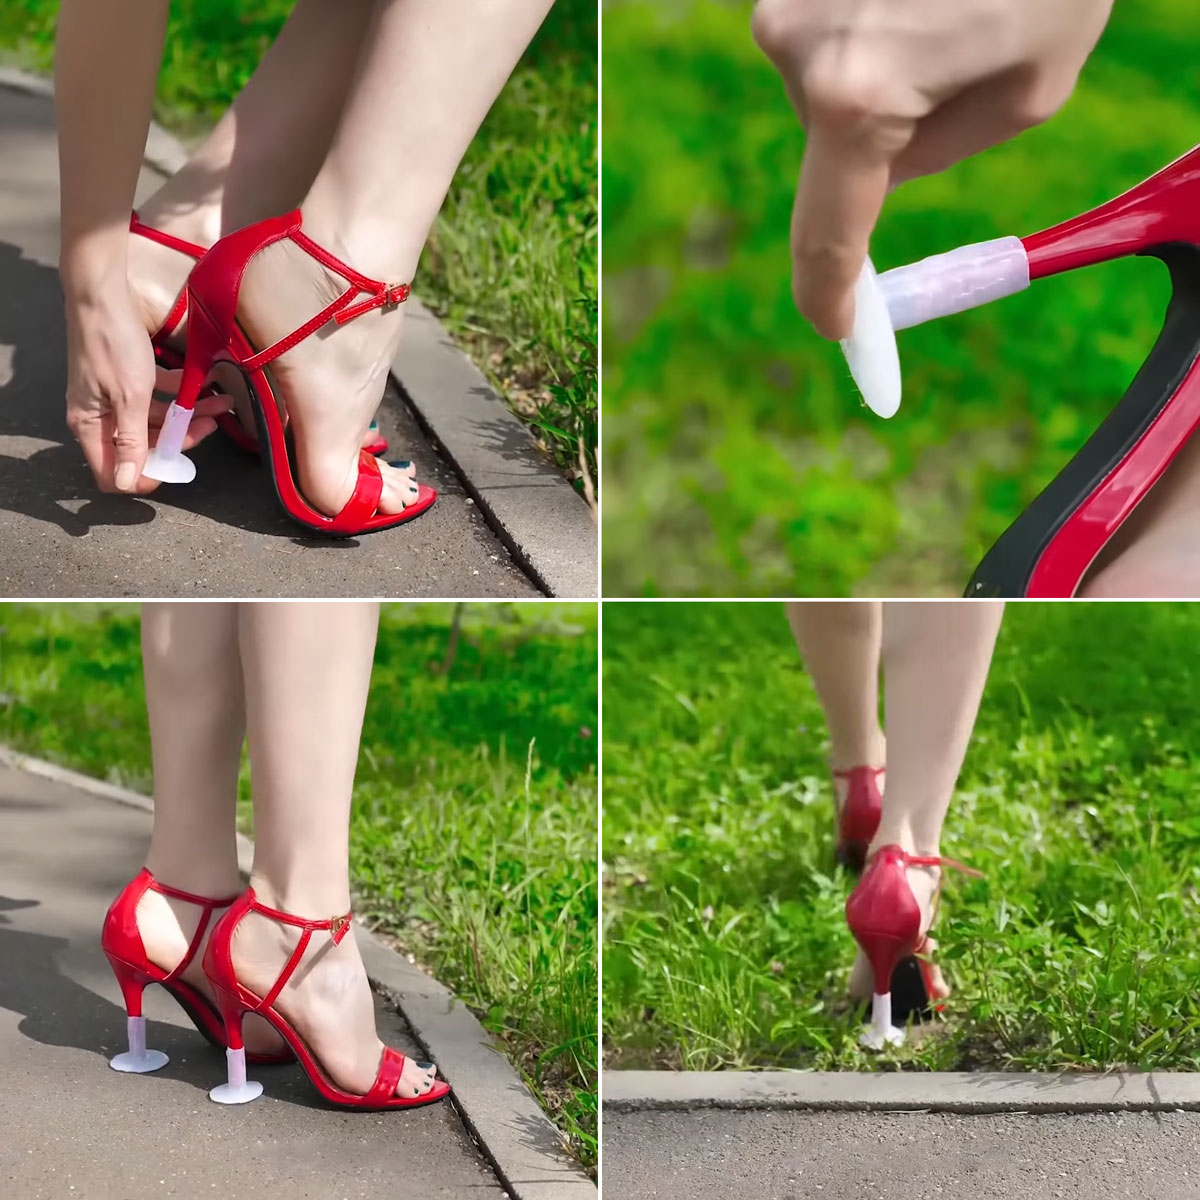
Heel tip for easy walking on the ground
If you were invited to a country picnic, and you put on shoes with heels and it falls into the lawn - do not despair, hot glue will help out.
Step 1. Take a small sheet of paper and wrap the heel to the middle.
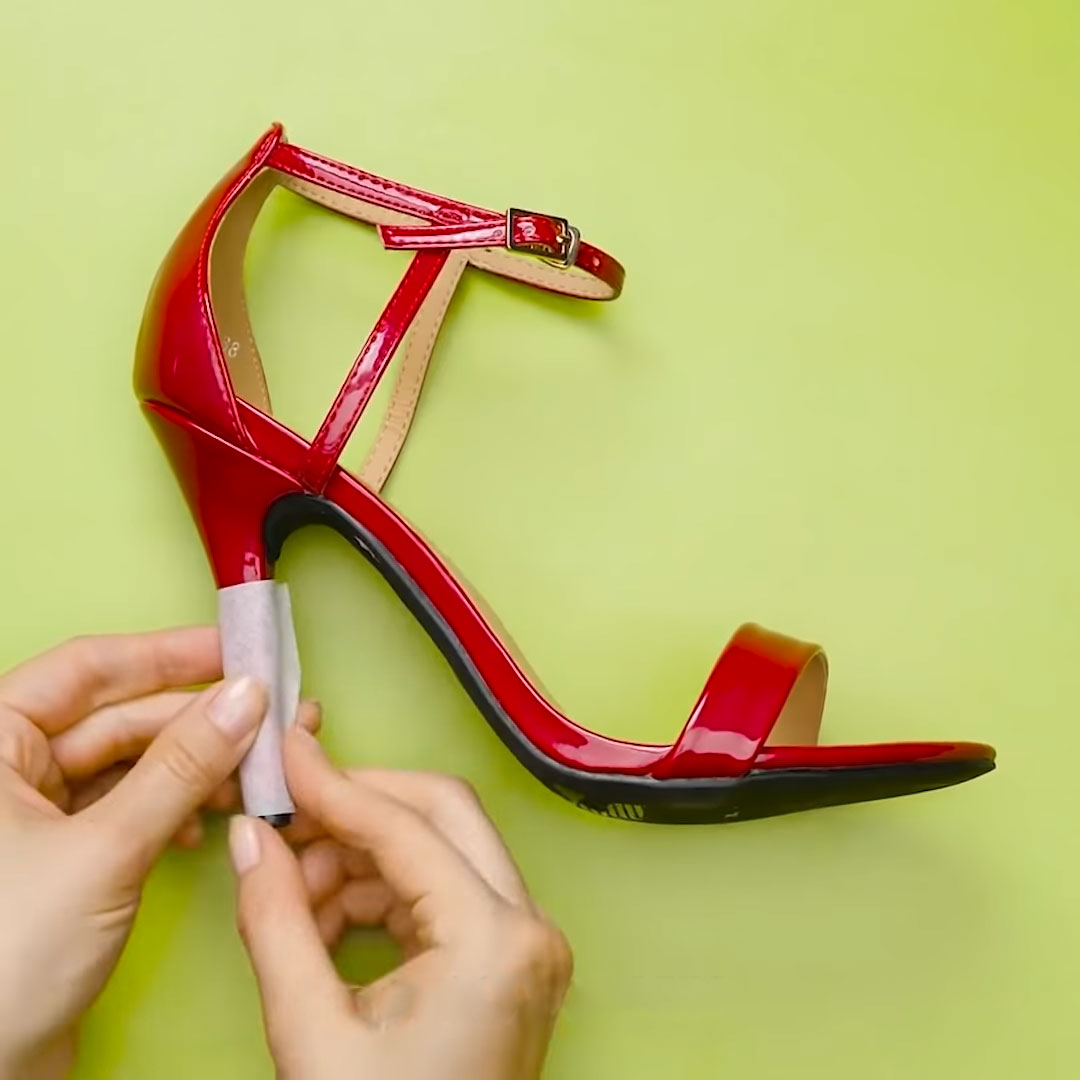
Step 2. Put the shoe on the same sheet.
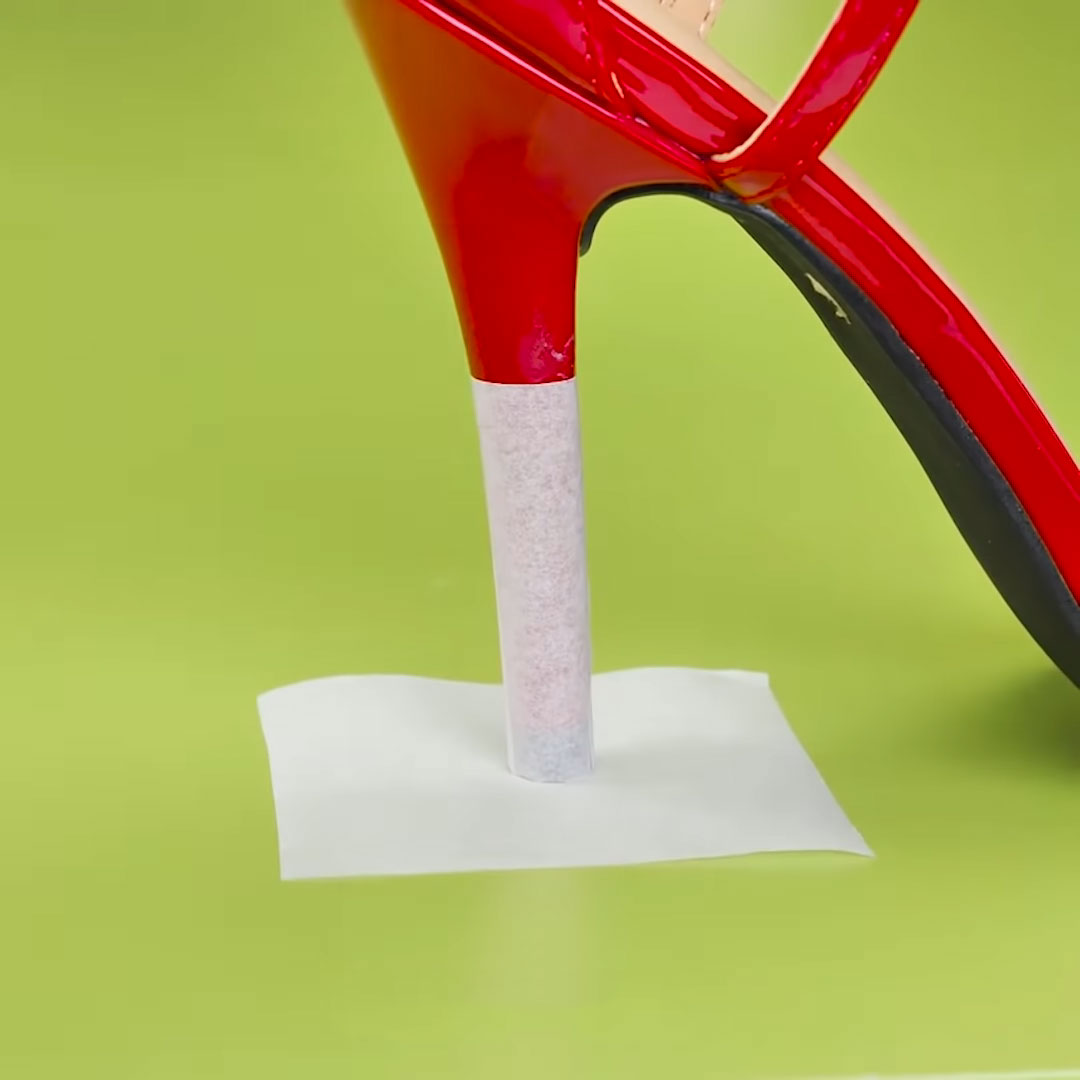
Step 3. Fill the heel by the height of the paper and fill it in the form of a cake on the plane.
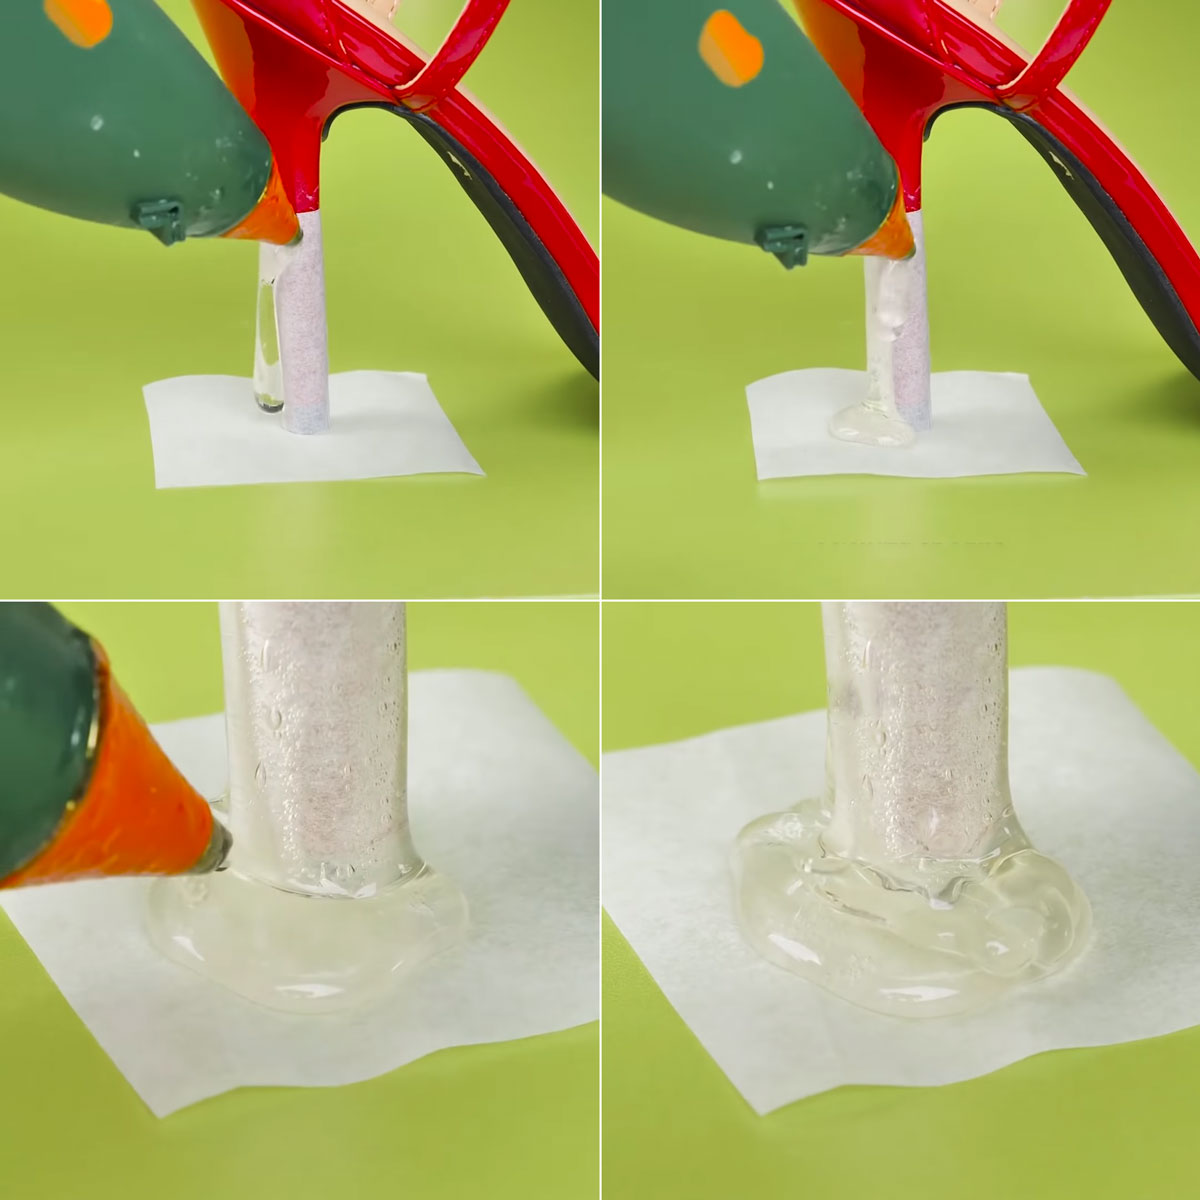
Step 4. Let's freeze.
Step 5. Remove the paper and remove the shoe and paper from the nozzle.
Step 6. Repeat the same operations for the second shoe.

Step 7. Put on the heels before standing on the ground.
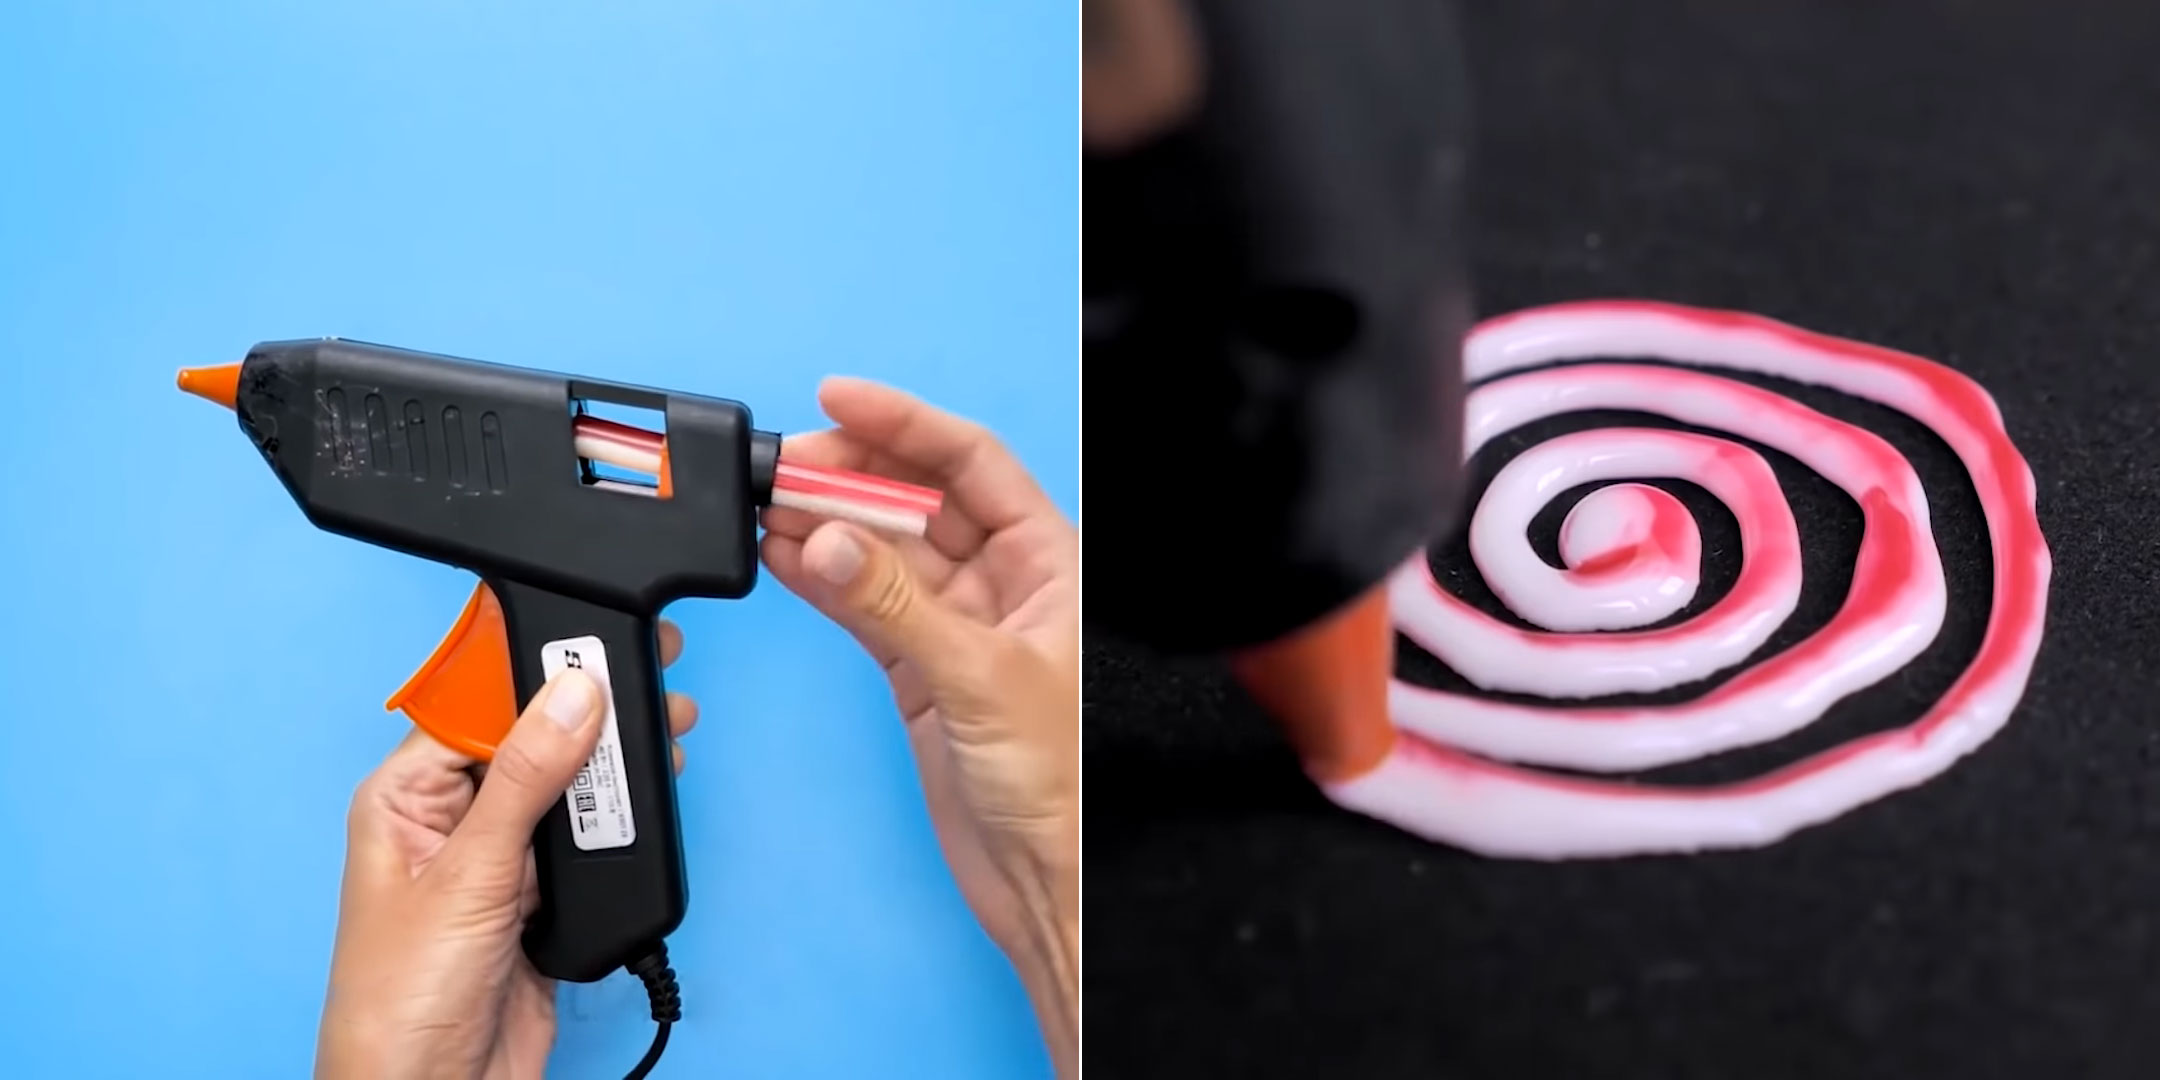
Two-color glue
Step 1. We take two glue sticks of different colors

Step 2. Cut them in half and put the different colors together.
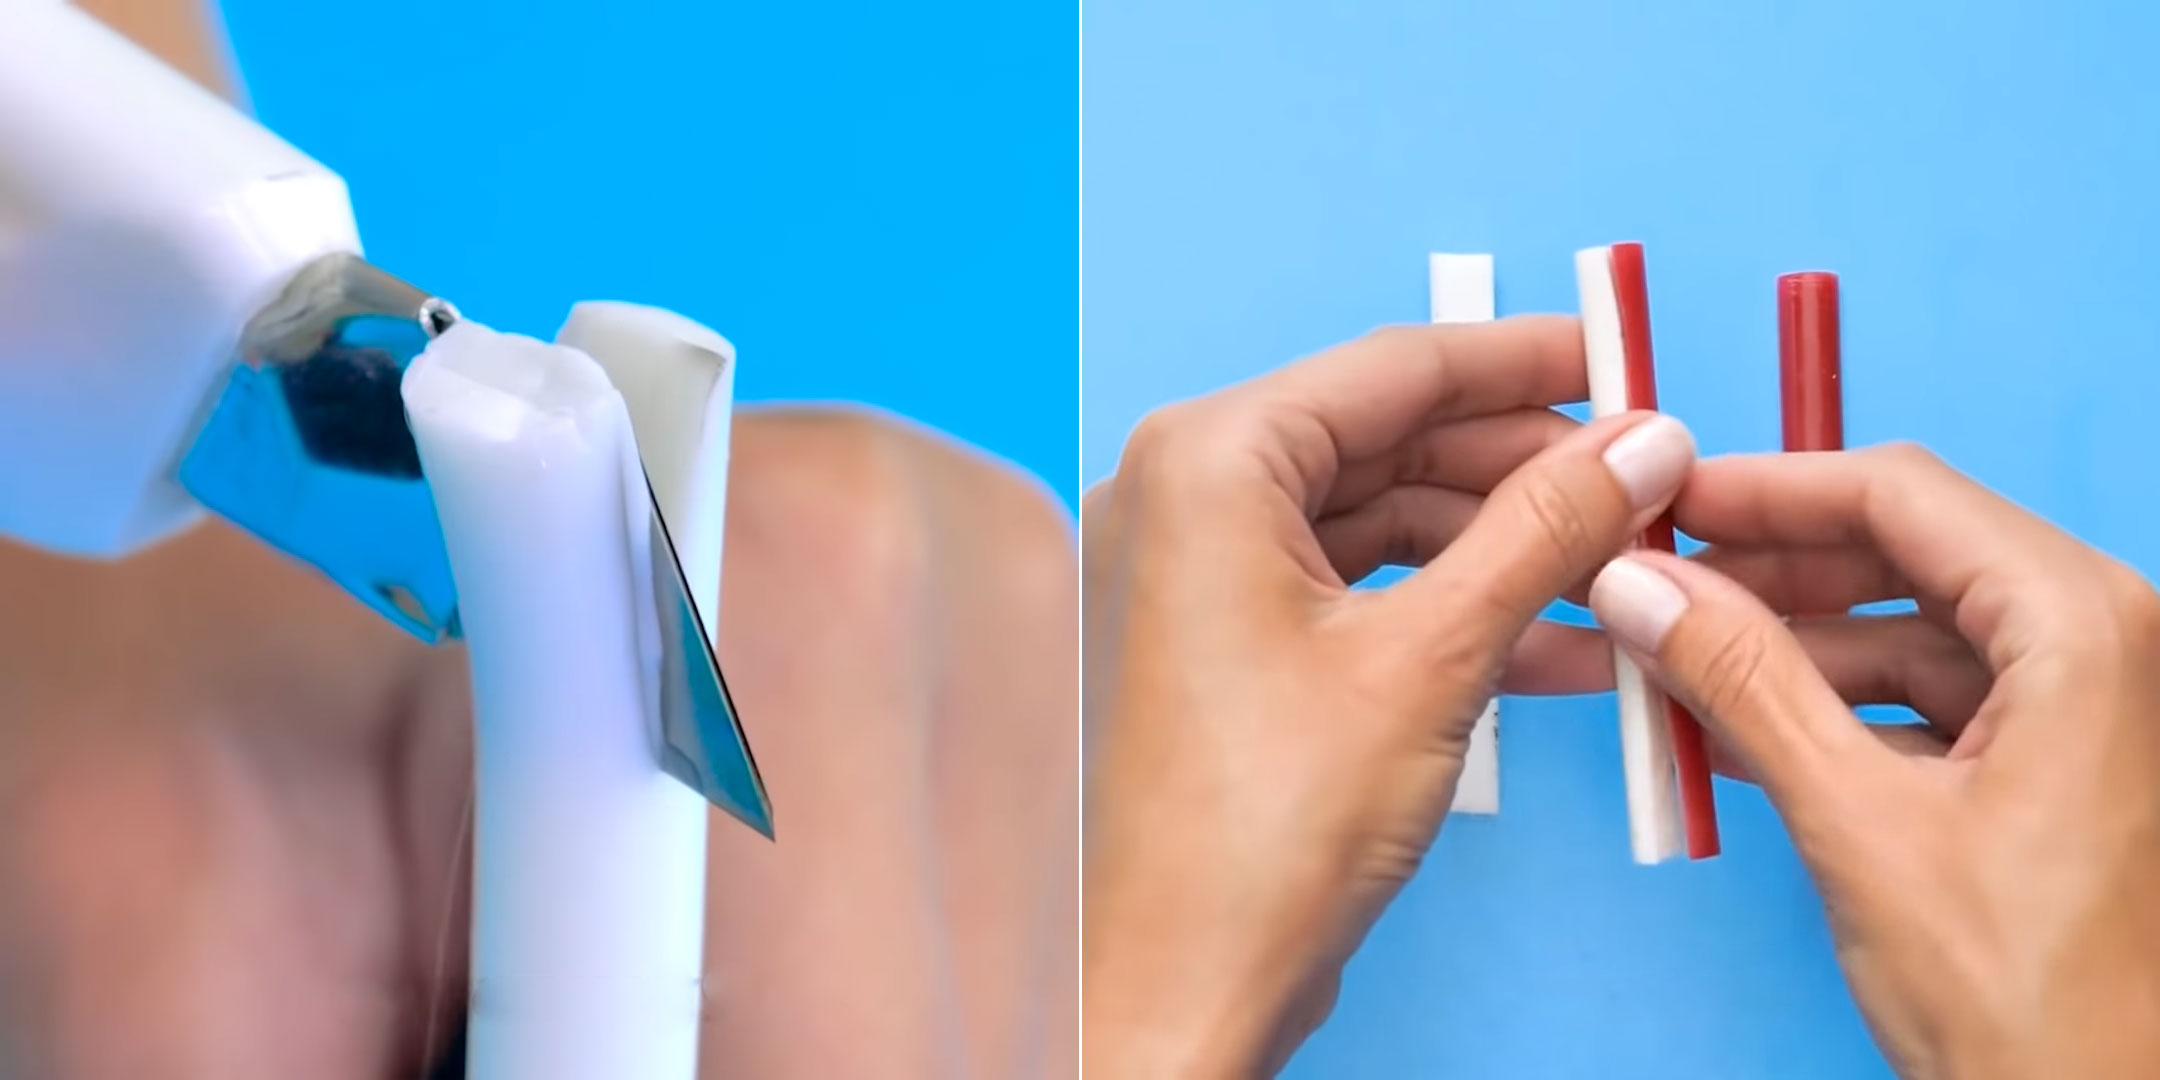
Step 3. Squeeze out two-color glue.
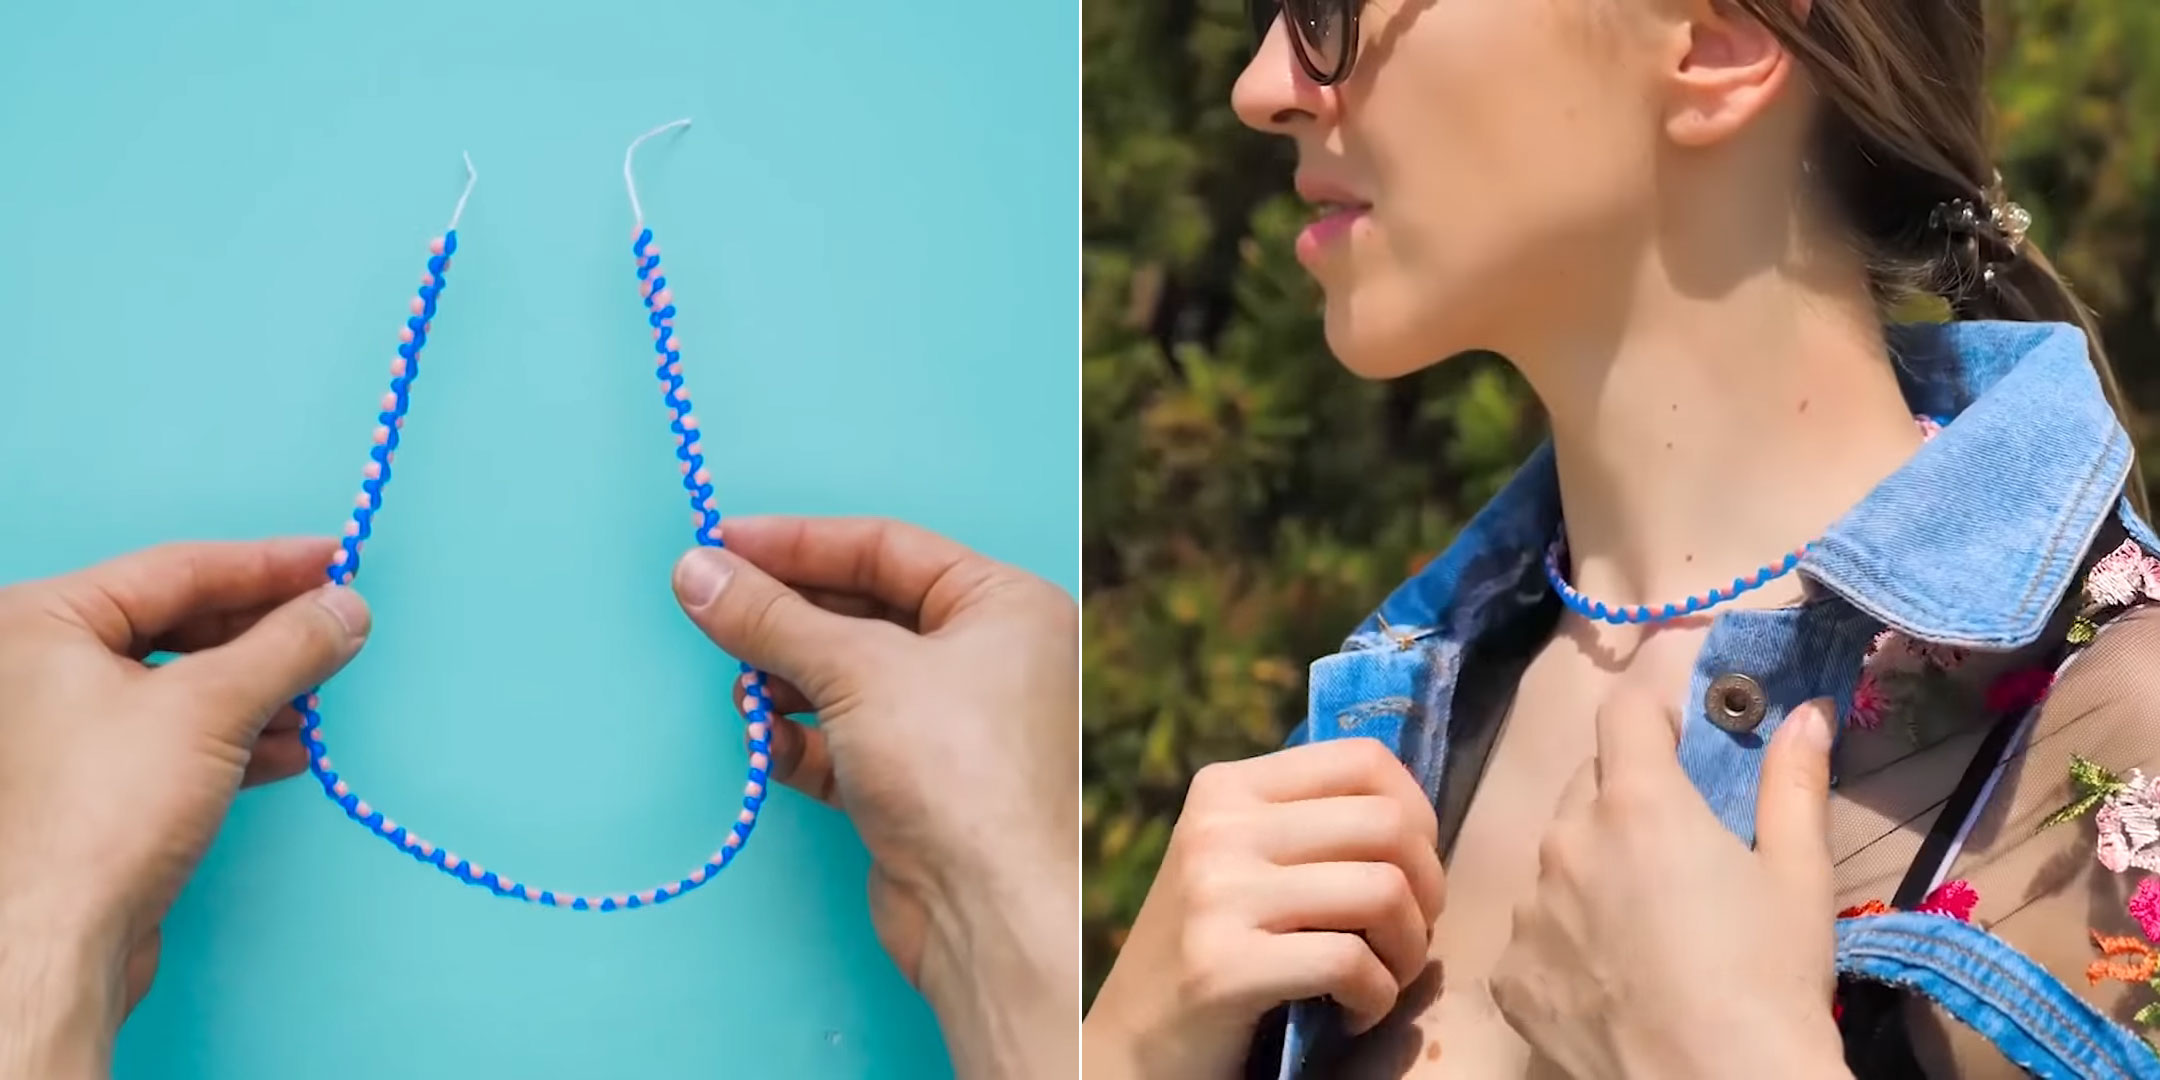
Color necklace
Step 1. On the table surface, spread the baby oil with a cotton pad.
Step 2. Stretch the thread.
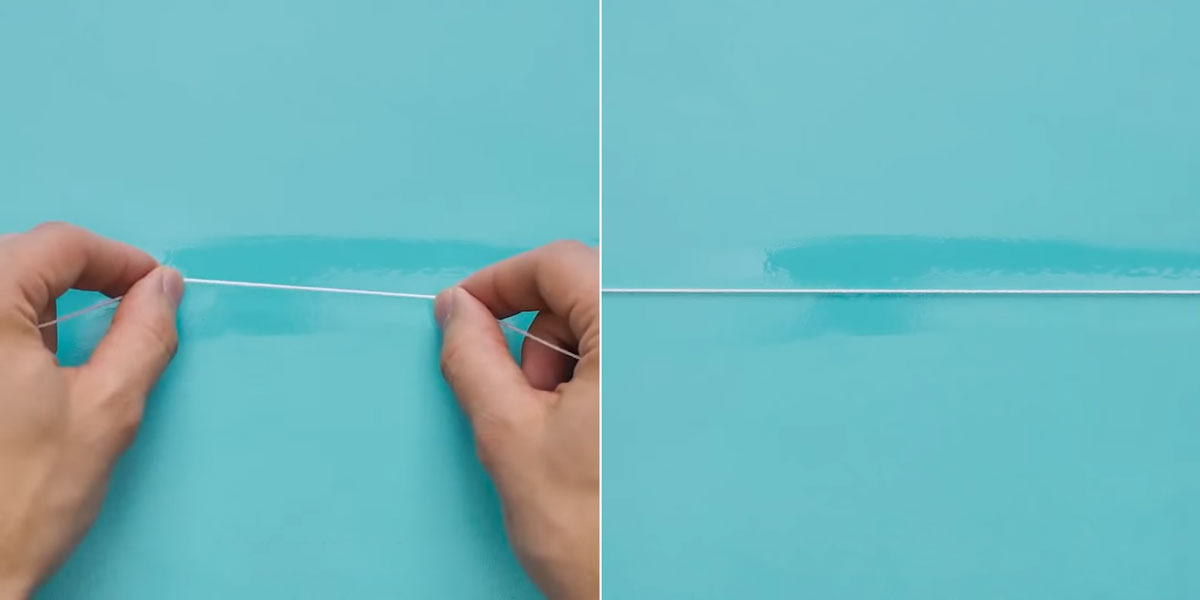
Step 3. We draw patterns along the pink thread and let it freeze.
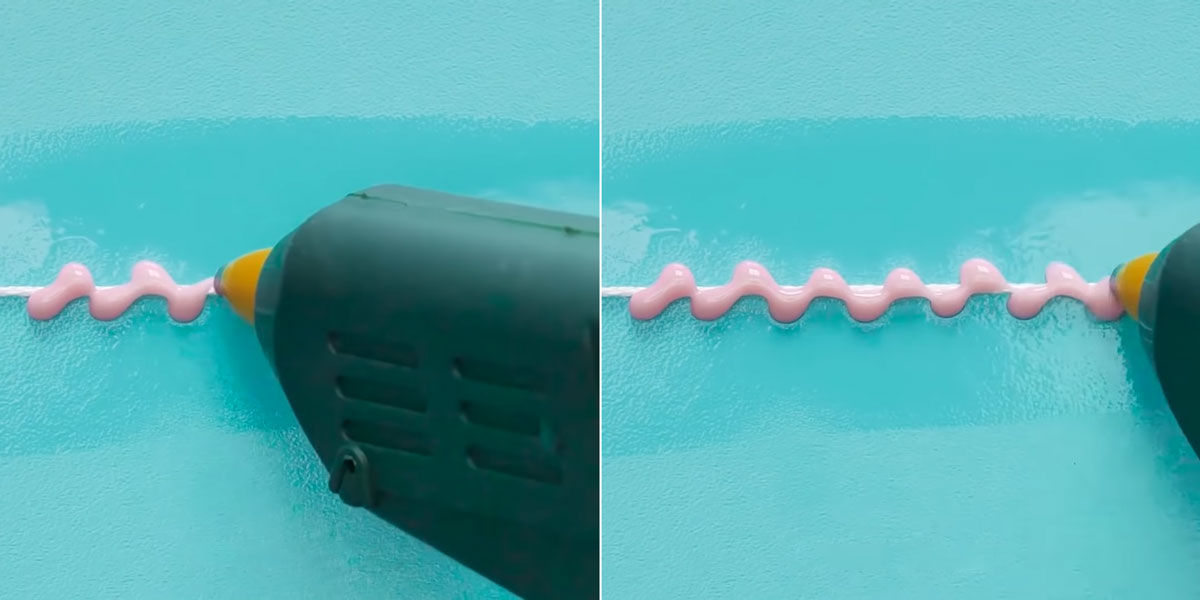
Step 5. Draw blue patterns in parallel with pink.
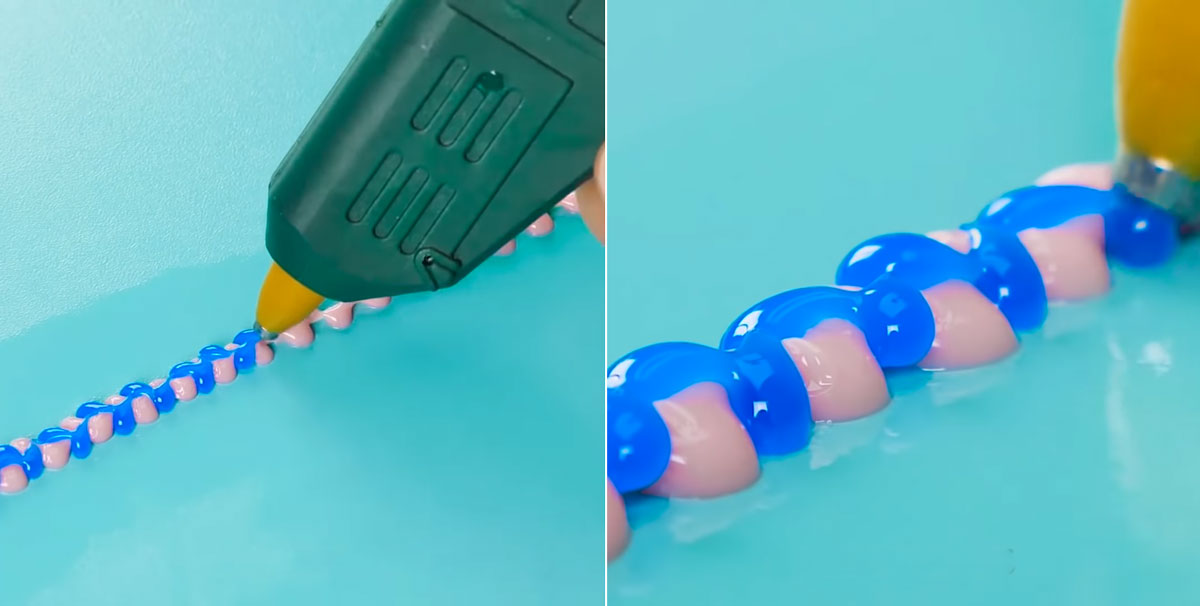
Step 6. Let's freeze and put on the necklace.
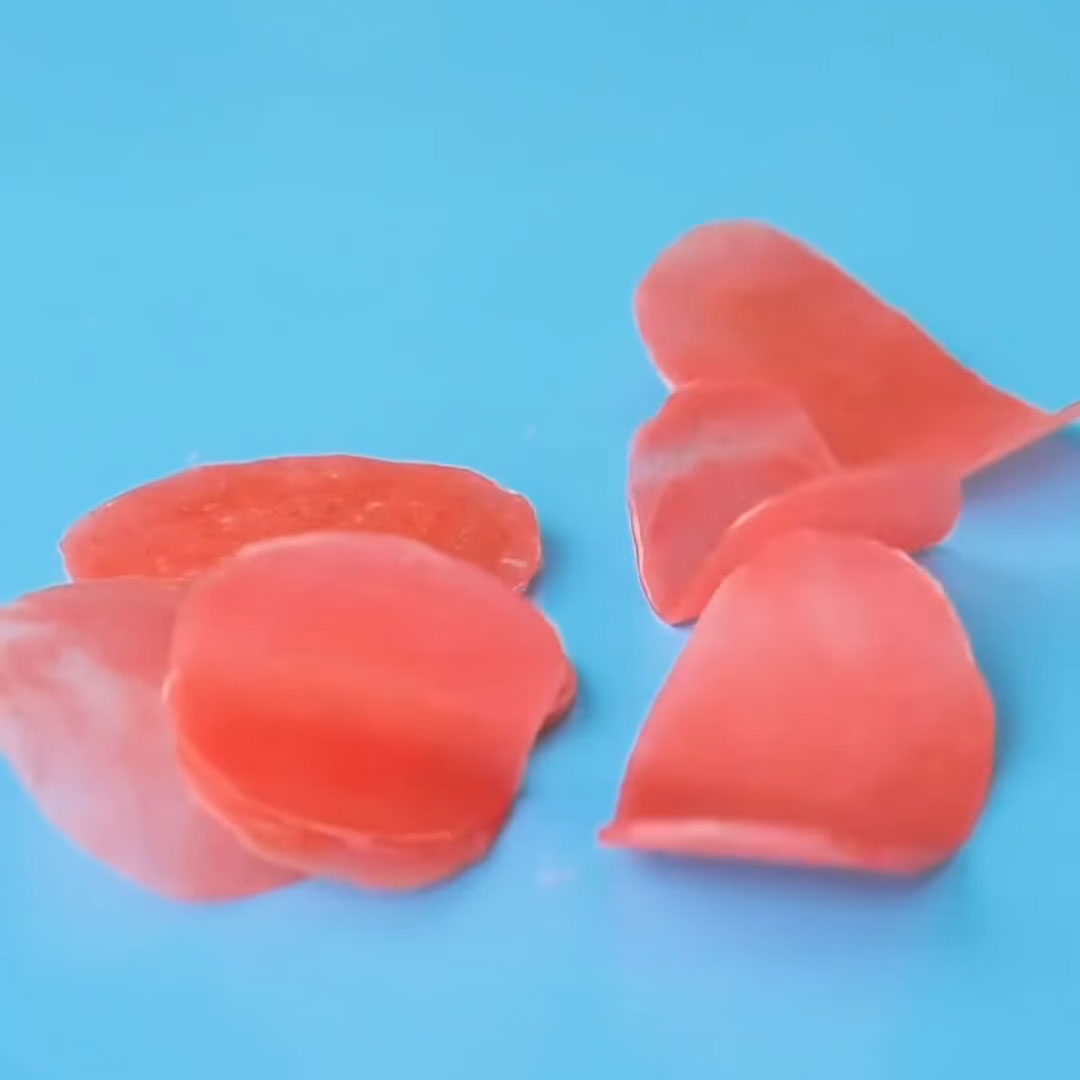
Hot Melt Rose
Step 1. Apply color glue to the paper in the form of oval drops.
Step 2. Press on top of the paper and roll out with a pencil to get the same petals.
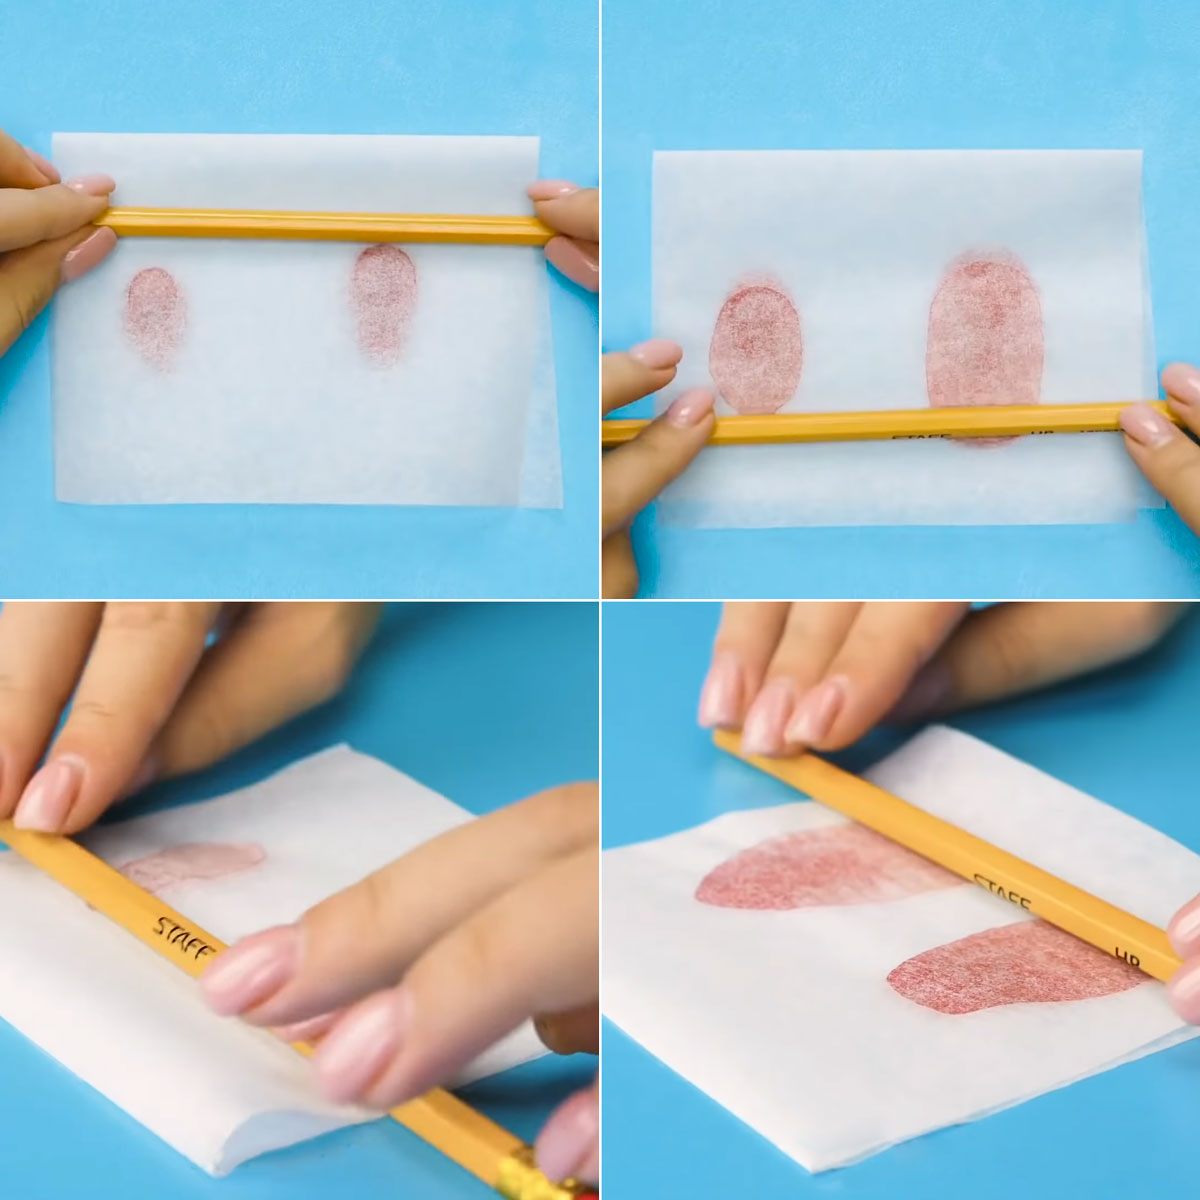
Step 3. Let it harden and remove from paper.
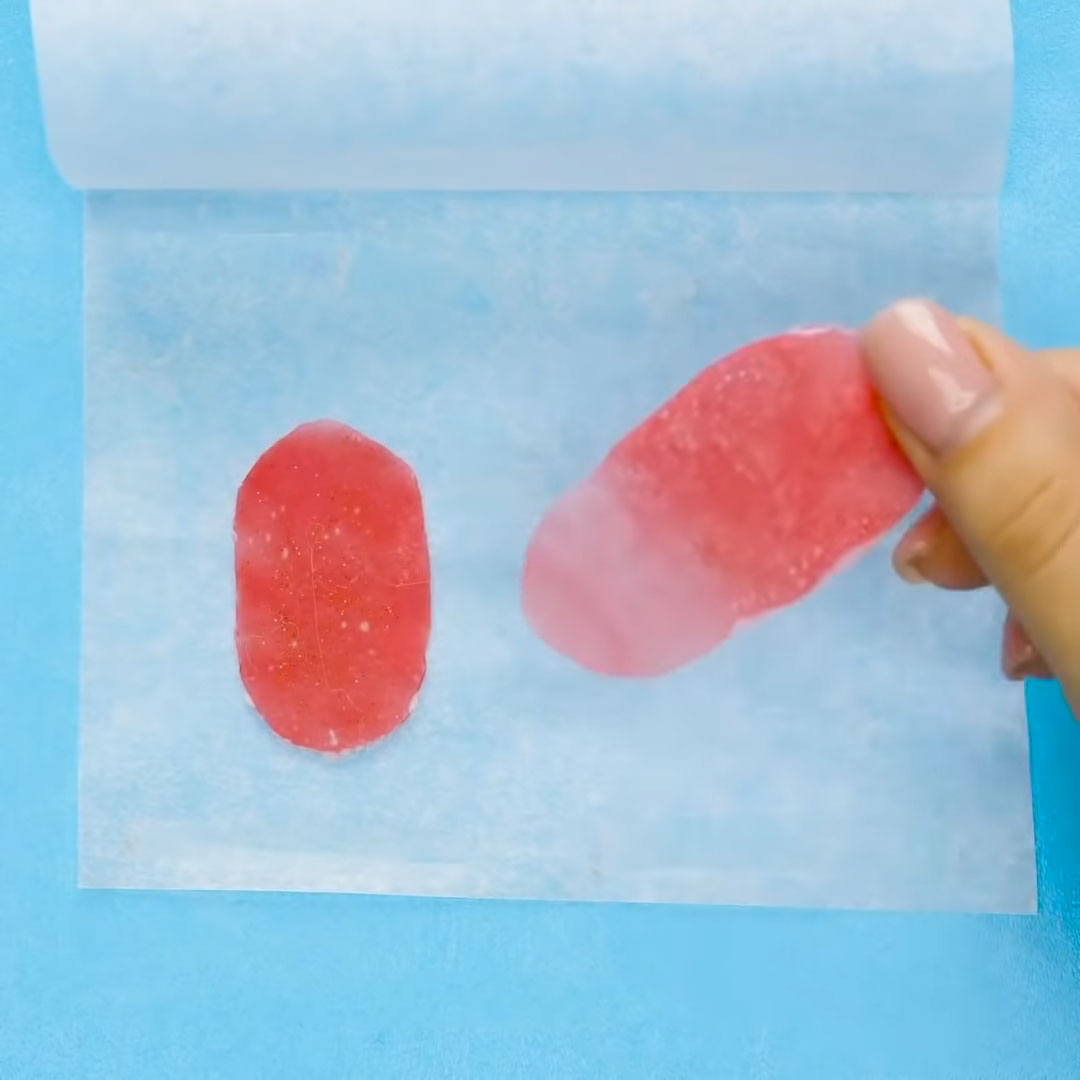
Step 4. We continue to manufacture the petals of different sizes in the required quantity.
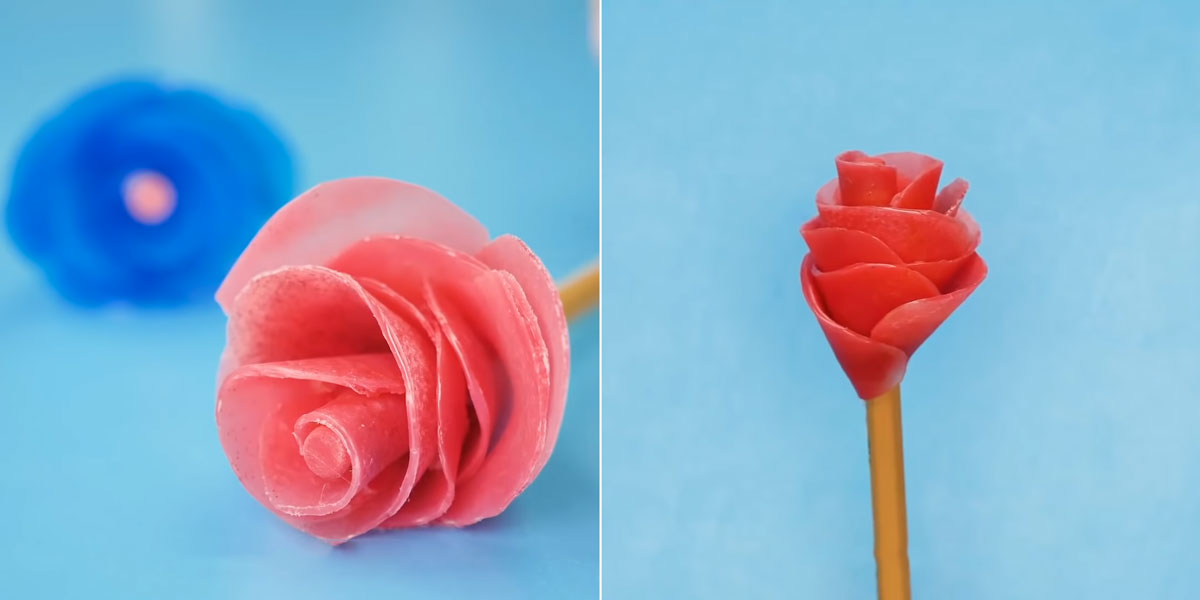
Step 6. Apply glue to the tip of the pencil and glue the petals.

Step 7. The rose is ready.
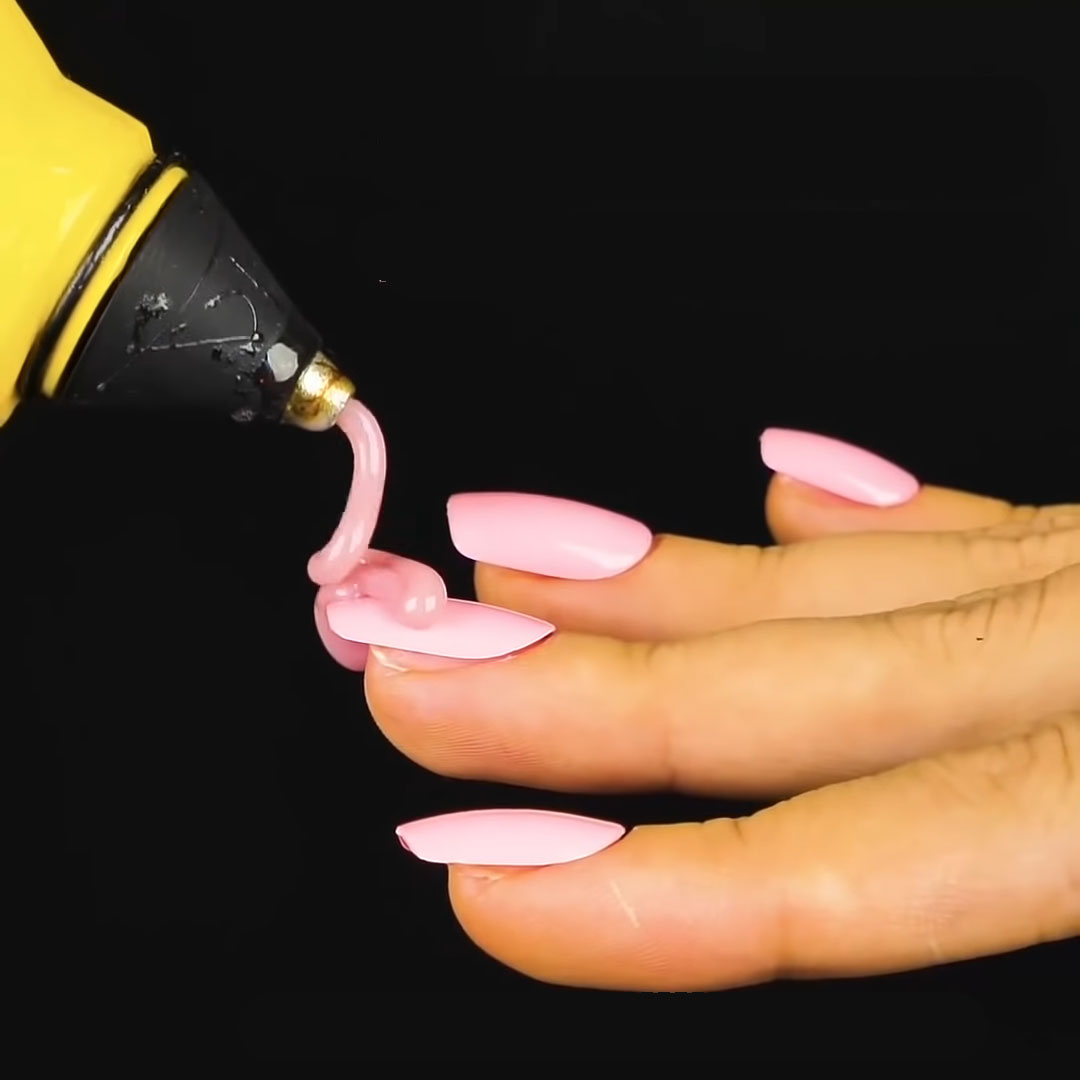
Nail polish remover
Step 1.We take tight rubber household gloves.
Step 2. Apply glue to the tips of the fingers up to the first phalanx of the finger.
Step 3. Let's freeze.
Step 4. We put cotton wool in each fingertip and pour the nail polish remover.
Step 5. Put on the fingers.
Step 6. After some time, remove.
Rhinestone bracelet
Step 1. On a piece of paper, drop a drop of glue and glue rhinestones one after another.
Step 2. At the beginning and at the end of the bracelet we glue the lock for the bracelet.
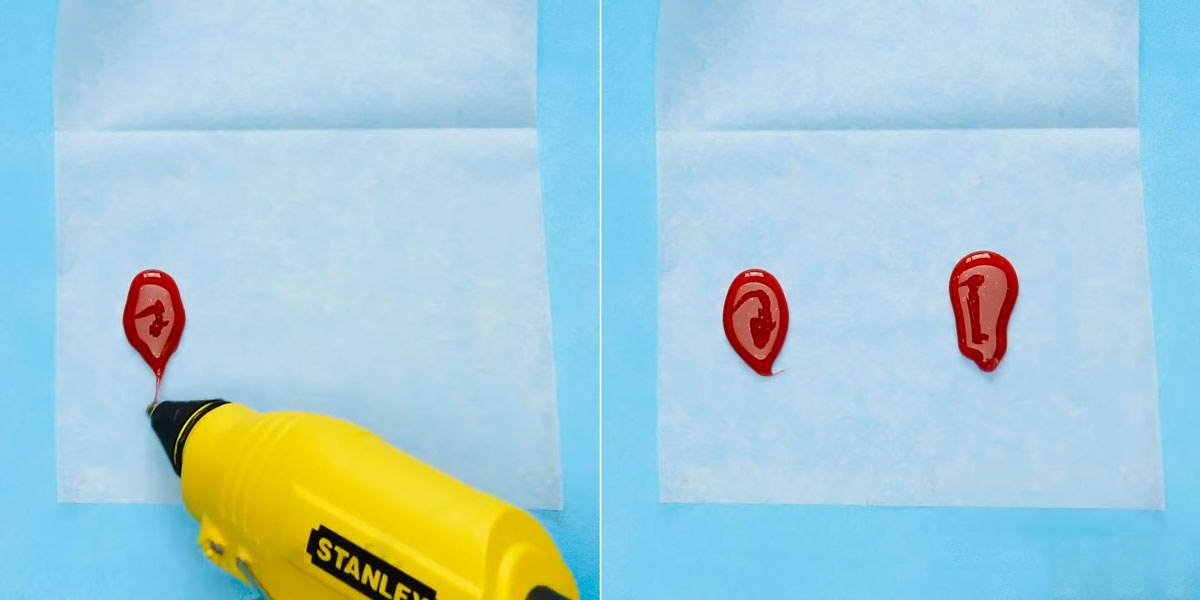
Halloween neck decoration
Step 1. Apply glue to the paper in the form of dripping drops.
Step 2. Let's freeze.
Step 3. Separate from paper.
Step 4. Turn over and paint with red paint.
Step 5. Glue the ropes on both sides.
There are options in the form of black barbed wire or black cobwebs.
Glass bottle stopper
Step 1. Take an empty glass bottle.
Step 2. We install a condom on the neck and fill it with glue.
Step 3. Let's freeze.
Step 4. Remove the resulting cork.
Step 5. Close the bottle with a stopper.
Long match
Step 1. Take a match and glue one to the other.
Step 2. Let's freeze.
Non-slippery bath mat under your feet
Step 1. Take a piece of paper.
Step 2. Glue and draw patterns.
Step 3. Let's freeze.
Step 4. Paint over.
Step 5. Carefully remove from paper.
Pin holder
Step 1. Take a cap from a plastic bottle.
Step 2. Fill with glue.
Step 3. Let's freeze.
Volumetric model of the Eiffel Tower
Step 1. Take a picture of the Eiffel Tower.
Step 2. Top with food paper.
Step 3. We apply glue in the form of a tower with a gun.
Step 4. Let's freeze.
Step 5. Carefully remove from paper.
Step 6. Repeat the same for the other parties.
Step 7. Glue the towers to each other.
Step 8. Paint over with gray paint.
Decoration of champagne glasses
Step 1. Apply color glue to the glass.
Step 2. Let's freeze.
Hair dryer holder in the bathroom
Step 1. We cut the box from under the chips to the width of the handle of the hair dryer.
Step 2. Glue a self-adhesive film around the perimeter.
Step 3. Glue two suction cups.
Step 4. Attach with a suction cup to the mirror in the bathroom.
Step 5. Install a hairdryer in the stand.
Light show
Step 1. Take a round box of candy.
Step 2. Cut a spiral strip in the lid.
Step 3. Paint the box from the spray can.
Step 4. Press the gun into the rods of the transparent glue.
Step 5. Install the garland bulbs inside.
Step 6. We put the garland inside the box and install the rods.
Step 7. Turn on the garland.
Drawing with multiple pencils at the same time
Step 1. Glue several pencils or felt-tip pens to each other with three straight parallel strips.
Step 2. Let's freeze.
Step 3. We draw.
Fly swatter
Step 1. Lay out the paper.
Step 2. Draw a rectangle with glue.
Step 3. Shade it with a mesh of glue.
Step 4. Let's freeze.
Step 5. Glue another same mesh to the rectangular mesh.
Step 6. Install and glue the handle.
Step 7. Let's freeze.
Step 8. Carefully remove from paper.
Tablespoon
Step 1. Apply glue on the outside of the tablespoon.
Step 2. Let's freeze.
Step 3. Remove the spoon.


