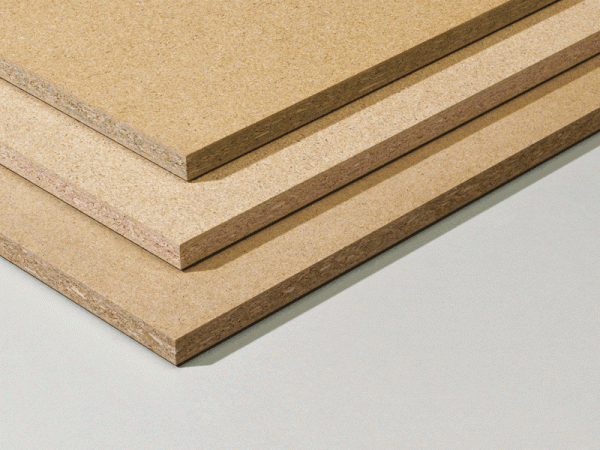
Particleboard is an excellent structural material, but not very attractive in comparison with wood, and is also particularly susceptible to environmental factors. Particleboard products receive some protection during the manufacturing process. For this, various impregnations and additives are used. However, under intensive operating conditions, such factory measures are not enough, therefore, it is recommended to further protect the material. How to protect chipboard, as well as process it with finishing materials, will be discussed below.
- Plate surface treatment
- Lamination
- Caching
- Paint coating
- Paper Laminating
- Wrapping with polymer films
- Vacuum pressing
- Veneering
- Chipboard or MDF worktop
- Joint and edge protection
- Floor joint protection
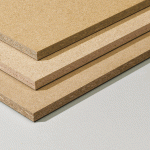
Plate surface treatment
The front and the inside of the slab have the largest areas, therefore, if they are not protected, they account for the greatest amount of moisture. At the same time as protection, you can decorate the material. Below are a few of these techniques.
Lamination
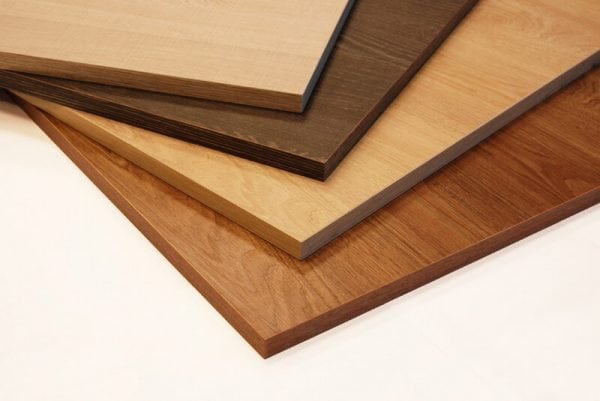
The lamination process is the finishing of particleboard with paper-resin films. Facing is carried out at high temperature (150-200 degrees) and high pressure (25-30 MPa). The protective and decorative layer arises due to the spreading of hot resin on the surface. Further, the resin polymerizes, forming a solid uniform coating.
If the process is followed, reliable adhesion occurs between the chipboard and the resin. During lamination, a certain surface texture is created - usually it is gloss or "under the tree". Laminated surfaces are resistant to mechanical stress, moisture, ultraviolet radiation and high temperatures.
to contents ↑Caching
During lamination, the chipboard is covered with an adhesive layer, on which solid paper-resinous unvarnished films are then placed. The difference between lamination and lamination is that when laminating, a decorative coating is glued to the plate in a finished form. For example, “wood grain” stamping is done in advance. Such films are called "finishing".
As in the case of lamination, high pressure and high temperature are also used when processing the material by laminating. However, the parameters in this case are more sparing: temperature - from 20 to 150 degrees, pressure - from 5 to 7 MPa.
The disadvantage of lamination is the instability of the coating to mechanical stress and moisture. Such a surface is easily scratched and swollen. Lamination is used mainly in the manufacture of inexpensive furniture, as well as for the production of parts not subject to aggressive environmental influences (for example, the rear walls of the cabinet).
to contents ↑Paint coating
Unlaminated chipboard sheet can be coated with several layers of paint material. Workflow for chipboard staining presented below:
- remove dust and dirt from the sheet;
- Coat a sheet of chipboard with heated drying oil;
- again we coat the sheet, but this time with cold drying oil (a thin crust should appear);
- apply the first coat of paint;
- after drying the first layer, apply the second.
Paper Laminating
Laminated plastic is a polymer in which there are niches for filler.As a filler, fabric, paper, veneer and other materials are used. The basis for the manufacture of paper-layered filler is paper. It acts as a reinforcing layer, and also gives the layered polymer plasticity, strength and appearance.
Finishing begins with cutting sheets of chipboard of the desired dimension. Using compressed air and brushes, dirt and dust are removed from the sheets. If contamination is not removed before painting, high-quality adhesion will not work.
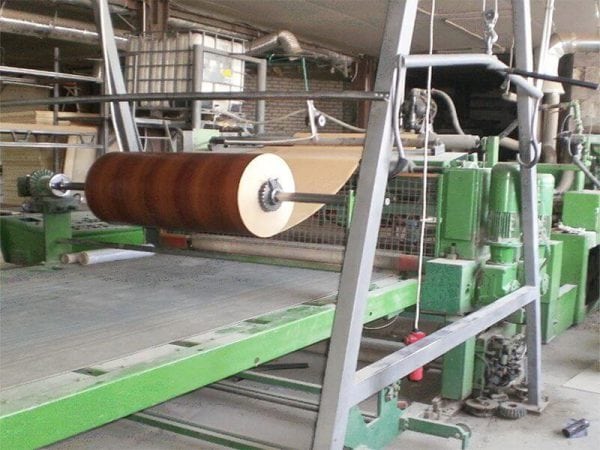
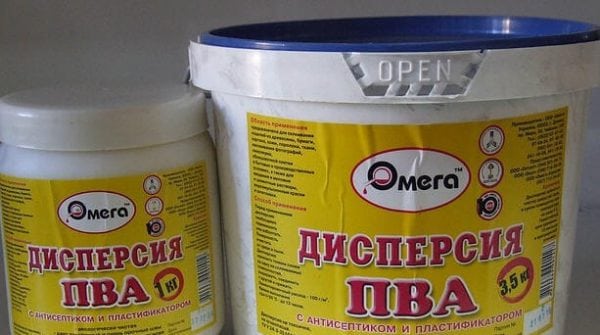
The gluing of the facing material is carried out by direct pressing of a paper-layered polymer, on which glue and chipboard are preliminarily applied. Pressing can be carried out hot (adhesives based on urea or PVA are used) or cold (contact adhesives are used PVA dispersion). In practice, cold pressing is not used as often as the process requires vast areas, and productivity is relatively low.
Finishes with postforming. The task is to give plastic bends and other irregular shapes. The process is carried out on special equipment at elevated temperatures.
to contents ↑Wrapping with polymer films
The process of applying polymer films is similar to decorative plastic lining. The difference is in the materials used. In this case, we are talking about a thermoplastic film applied by pressing on a chipboard treated with an adhesive composition.
Polyvinyl chloride films are used for finishing chipboard. Polystyrene and acrylic films are rarely used.
Finishing with polymer films is carried out on the same technological equipment on which such finishing materials as veneer or paper-layered polymers are applied. The cladding process can be either hot or cold.
The advantage of polymer coating is the ability to process profile parts. However, the use of polymer films has limited potential, since the coating does not have high physical and mechanical properties, and is also unstable to temperature effects.
to contents ↑Vacuum pressing
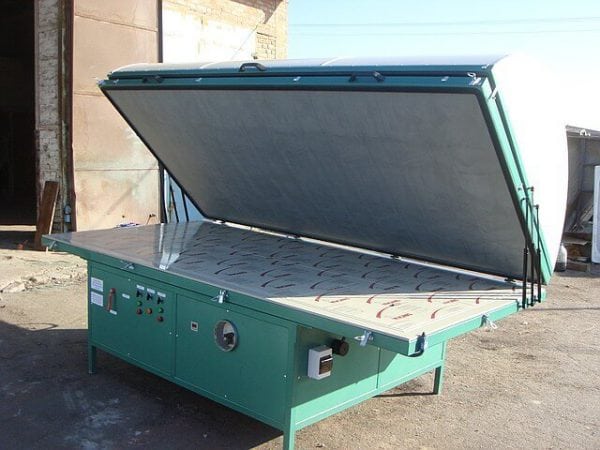
Vacuum (or as it is called differently - membrane) pressing is a technological process during which furniture is covered with a decorative film. The main advantage of the method is the ability to cover parts of complex shape.
For example, using membrane pressing, you can veneer handmade furniture with all kinds of recesses, cutouts, miniature details, etc. The part is placed in a vacuum press, where it is tightly, repeating the surface topography, encircled by a heated polyvinyl chloride film.
to contents ↑Veneering
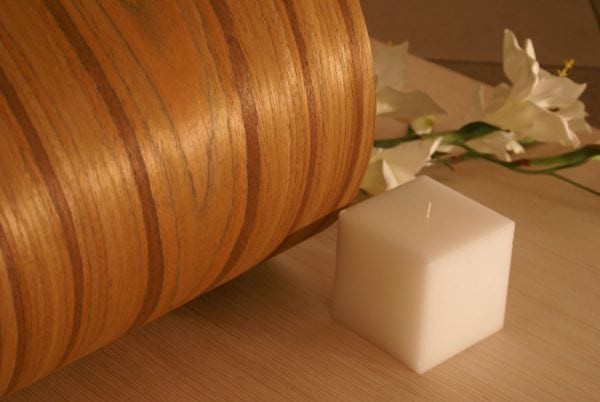
The correct process name is plywood. However, the term “veneering” is often used in everyday life. Natural veneer can be finished both chipboard and furniture board. Veneered furniture is of a higher quality than laminated furniture. However, maintaining the preservation of veneered furniture is quite difficult, as the veneer is not as strong as a laminate.
Chipboard or MDF worktop
To finish a sheet of chipboard or MDF, you need plastic (paper-layered, polycarbonate, polystyrene).
Progress of work:
- We cut out the necessary details from the chipboard, connect them with a stapler.
- The joints between the parts of the chipboard base should be the same. If this is not the case, align them with sandpaper.
- We make facing for the ends.
- We cut the facing part with the help of a grinder.
- We glue the finishing material and fix it with light blows of a rubber hammer.
- Set the end plate at the level with the bottom edge of the countertop.
- At the same time, we glue the base and the apron with glue.
- When installing the laminate, we use dividers. After installing the sheet, remove the dividers.
- Smooth the surface with a roller.
- Using a milling cutter, we cut a hole under the sink.
- When the structure is assembled, we grind all the edges.
to contents ↑
Joint and edge protection
Any liquid always seeks and finds the lowest place on the surface. Joints are indentations, therefore vulnerable to water ingress. A considerable number of joints are available in cabinet furniture, where the main structural material is particleboard.
Due to increased humidity and frequent contact with liquids, kitchen furniture is particularly vulnerable. A sink, countertop, furniture next to the stove are the most frequently moistened pieces of furniture in the house. An example is the part of the countertop that is in contact with the mixer. Sooner or later, the crane leaks, which means that an unprotected chipboard will inevitably become wet and destroyed.
To protect the joints, we first clean these places and dry them with a hairdryer. Then we apply PVA glue to the joints, and when it dries, we treat the protected surface with silicone or, as an option, with building sealant.
If there is no pan in the cupboard, sooner or later the liquid draining from the wet dishes will destroy the chipboard. Therefore, the material must be degreased, and then treated with sealant.
We close the joints with sanitary silicone of the corresponding color furniture. This will prevent mold from appearing on the furniture.
In those places of the edges of the countertops where there is no lamination, we install end or connecting strips. These elements can be made of metal or plastic. The strips are not ideal protection, so the edges still need to be pre-treated with sealant. Another common method of protecting chipboard is applying PVA or furniture varnish to the edges of the glue.
to contents ↑Floor joint protection
The main difficulty in protecting joints on the floor is that such plates are subject to increased mechanical stresses and constantly slightly shift under loads. Because of this, putty does not hold well on chipboard.
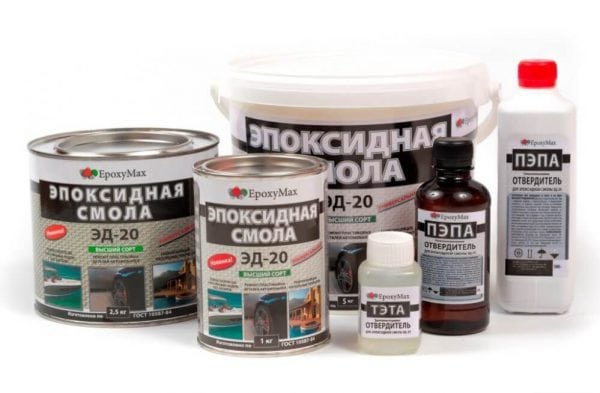
To protect the joints on the floor, the joints are treated with epoxy mixed with sawdust. Moreover, the sawdust should be very small - they need to be sieved in advance.
Note! The epoxy-sawdust compound sets extremely quickly. Based on this, do not knead too much putty immediately.
A mixture of epoxy and sawdust will reliably protect the joints, however, the cost of such a solution is quite high. Replace epoxy with wood glue. Sawdust should be added to the hot glue, and then the seams should be processed with the resulting composition. If everything is done correctly, the effect will be even better than when treated with epoxy resin, since the glue penetrates deeper.
After processing the joints, the joints of the chipboard will become more resistant to moisture and, no less important, they will stop “playing” with each other. If you finish the particleboard with linoleum, you can no longer worry about the safety of the plates.
After processing the seams, it will take several days for the putty to dry. At this time, you can’t walk on the plates, so as not to break the joints.
Covering chipboard with protective and finishing materials in many cases requires certain experience and qualifications, and sometimes the availability of special equipment. If there is no self-confidence, it is better to entrust the work to specialists.




A plasterboard sub-base for a tile is constructed by analogy with the previous schemes as a floating floor, according to which a technological gap should be left around the perimeter of the room.The joints between the plates are filled with sealant, then the entire area is primed with a universal primer.
I tested 2 methods of sealing a slice laminated with 18mm chipboard sealant and paraffin.
Sealant (carefully rubbed and generously plastered) after 12 hours in water gave a swelling up to 25mm
Paraffin (melted and rubbed with a soldering iron-2 layers) - zero inflation.
I can provide a photo.