In the event of streaks and stains, the first thought is usually to apply another coat of paint. However, this will not solve the problem, the defects will become even more noticeable and new ones may be added to them. It is best, of course, to immediately prevent their occurrence.
- Reasons for smudges
- If defects have already appeared
- What to do with old spots
- Secrets of a great result
- What else to consider

Reasons for smudges
There may be one reason, or maybe several at the same time. When painting any surface, the following factors should be avoided:
- The thicker the coating, the harder it is to distribute it on the wall or ceiling. Before starting the painting, the paint should be sufficiently diluted, this is most important for the very first layer.
- Manufacturers of paints and varnishes often indicate on banks that the paint is ready for use or that it can be diluted no more than 10%. However, any coating needs to be diluted. Water-based paints are diluted with water, oil and enamels with a solvent. The amount of liquid may exceed 10% of the volume of paint, but at the same time more than 20% should not be added.
- After dilution and thorough mixing, check the thickness of the coating. Lower the roller into the paint and lift. If the paint slowly drains from it (it drains, not flops), then the viscosity is normal.
- Apply and roll paint on the surface quickly, without interruption. Otherwise, the stained areas will dry earlier than you roll the boundaries between them. And after complete drying, the walls will become striped.
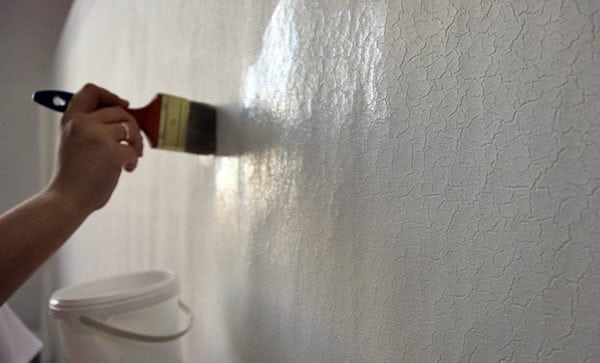
- It is best to paint a smooth plane with a short pile roller. The use of a long-nosed roller is advisable only if you are working with a textured coating. In all other cases, such a roller will certainly “decorate” the ceiling and walls with smudges.
- The problem of poorly stained areas occurs with insufficient lighting or low vision of the painter. On a wet surface, it is difficult to discern areas that are not completely stained. Therefore, you need to take care of a bright, but not dazzling lamp or do not be shy to wear glasses.
- If you apply paint to the plane in stripes, their borders after drying become very clearly visible. The coating should be applied with W-shaped movements, which will be described in more detail below.
- A poorly putty, sanded, or cleaned plane after painting will certainly expose defects to the public eye. Hoping that the paint will hide some irregularities is deeply mistaken. On the contrary, it will manifest them "in all its glory."
If defects have already appeared
To prevent the appearance of smudges is easier than then removing them. But still no one is safe from mistakes, and if this has already happened, there’s no need to groan and gasp. We need to arm ourselves with patience and take on the correction.
Firstly, the area must be cleaned of the applied paint layer using fine sandpaper or a special device. Care must be taken not to remove the putty together with the paint.
Secondly, the cleaned area is sanded until it becomes perfectly flat. Then the wall (or ceiling) is wiped with a damp cloth and inspected for possible flaws. If any are found, finishing putty is applied to the surface and another grinding is performed.
When the area becomes flat and smooth, it should be primed. The primer is applied in 1 layer, which should completely dry, then another 1 layer. After drying again, evaluate the smoothness of the wall or ceiling. If doubts still remain, repeat the priming procedure.
What to do with old spots
There are perennial spots that appeared from long-standing leaks and are not eliminated. No matter how much you make repairs, they will again and again appear through painting.
To remove these unsympathetic places, they should be well cleaned and washed. Then the problem areas need to be treated with any biocidal solution (a means to kill fungus, mold, etc.). Do not rinse the solution!
Be sure to let it dry completely to make sure that no re-cleaning is necessary.
Next, a blocking primer is applied to the areas. It is waterproof and protects your walls and ceiling from stains and smudges. After drying, you can start staining.
to contents ↑Secrets of a great result
- Lighting. Engage in daylight. You should see well the painted areas and their borders.
- Humidity. The humidity level in the room should be above average (45%). That is why the painting work carried out in the summer gives the best results. In winter, the air in the room is very dry, which speeds up the drying of the paint. You just do not have time to distribute it throughout the area. In the cold season, it is advisable to use a humidifier.
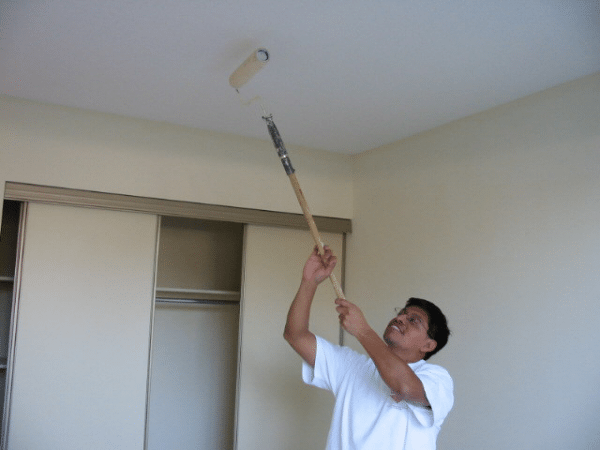
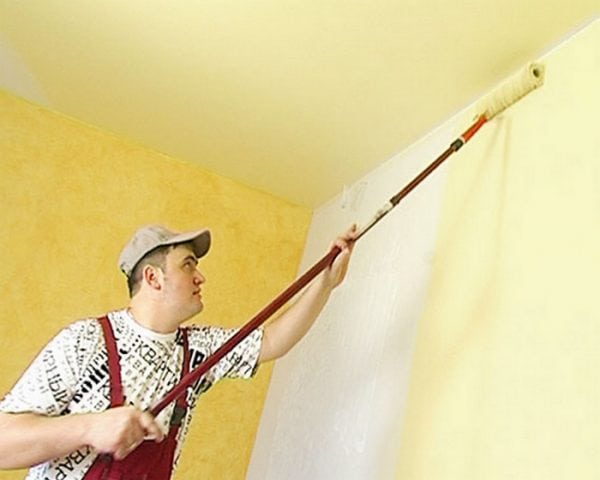
- Order. Agree that it’s uncomfortable to paint the walls and ceiling when you have to step over something all the time. Before finishing work, all objects should be removed from the room, in extreme cases, move them to the middle of the room. Instead of using a stepladder, use an extension for the roller, so you won’t waste time descending and ascending, and when working with the ceiling you won’t have to lift your head very much.
- Consistency of paint. Be sure to dilute the paint with water or solvent and mix well to make it uniform. It happens that a film forms on the oil paint. In this case, it must be filtered through tulle fabric or kapron stocking.
- Spin the roller. In the painting cuvette, one wall is inclined and covered with protrusions. This is necessary for uniform distribution of paint on the roller coat, and not for wringing. The roller should not be dry. Dip it in paint and “walk” without pressing along the ribbed slope. The paint will be distributed over the fur coat, and its excess will flow into the cuvette.
- Zeal. When moving the roller on the working surface, you do not need to press on it. It should be easy to ride.
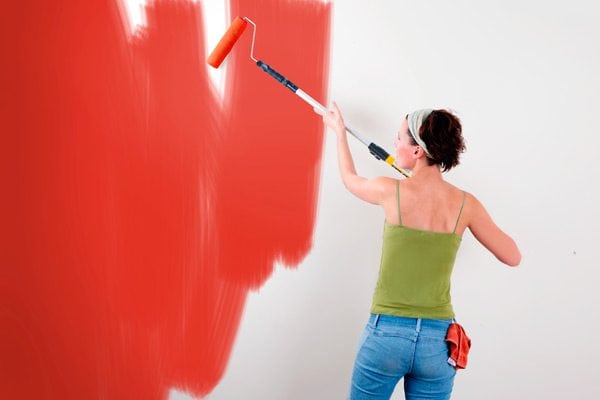
- Coating. As was noted, the paint over large areas should not be applied in stripes, but in W-shaped movements. Divide the area into squares and paint each one in turn. They made a zigzag, distributed the coating in a square - moved on to the next. We rolled out the boundaries of the plots - we went further. And drips of paint will not appear. If you are painting walls that were previously plastered, distribute the paint in vertical movements. In log cabins, paint is rolled horizontally - in the direction of wood fibers.
- Control inspection. After staining, the plane should be inspected immediately. To make possible nekrokras better visible, illuminate yourself with a bright flashlight. If there are unpainted areas, immediately roll them.
What else to consider
Stains often appear when working with glossy and semi-gloss coatings. If you are unsure of your skills, use matte paint. From the link you can find out how to make matte from glossy paint.
Flaws are best shown in white. To protect yourself from possible failure, do not take a snow-white coating or add a little color to it.
Over a large area, there are more defects.The wider the surface to be painted, the more responsibly you need to approach the work.
To paint the walls, take the paint that you like best. For the ceiling, take the highest quality. The ceiling of all planes is the most finicky, the more flaws on it you can not close with furniture or paintings.
The main components of an excellent result: a well-prepared base, an inviscid coating and adherence to staining technology. But at the same time, know that the ideal does not exist, which means that it is not worth squeezing all the juices out of yourself.


