Finishing the ceiling by painting is a popular way to give it a dignified and updated look. This option is inexpensive, it does not require special preparation either from the surface or from the master, and therefore it is possible for independent execution.
- Why spots and stains appear
- TOP 6 reasons for defects on the ceiling
- Popular mistakes when painting
- What the master misses
- How to fix painting problems
- Removing local issues
- Flood Removal
- How to paint without streaks

True, after the end of events and drying out, unpleasant spots are often observed. It is unlikely that this is how a freshly renovated ceiling should look like, so it’s doubly disappointing for our own labors. It is all the more important to find out the popular mistakes that lead to defects - it will turn out to be prevented in advance.
to contents ↑Why spots and stains appear
There are problems for various reasons - from technical errors to elementary flooding by neighbors. It is practically impossible to protect oneself from the latter, but it is possible to exclude a direct influence on future errors.
TOP 6 reasons for defects on the ceiling
A complex of reasons will not always affect the deplorable outcome. Even one of them is enough to ruin everything. This is how the set of all possible factors looks, because of which bald spots arise:
- illiterate actions;
- poor or too thick emulsion;
- using the wrong tools - a roller from the wrong material;
- lack or insufficient primer coating;
- temperature changes, draft, unstable humidity in the room;
- insufficient cleansing of foreign spots.
to contents ↑In addition to unskilled actions, there are other factors that can ruin even an ideal job. However, most of the responsibility lies precisely with the quality of the mixture and the technique.
Popular mistakes when painting
It doesn’t matter who will do the work - a novice or a master with great experience. Errors are inherent in both. But recognition of one’s own error or incompetence will help to cope with the task.
What the master misses
Competent masters with experience can list the "weaknesses" for a good and high-quality coverage for a couple of times. And the rest is better to get acquainted with them in order to affect the quality of the result:
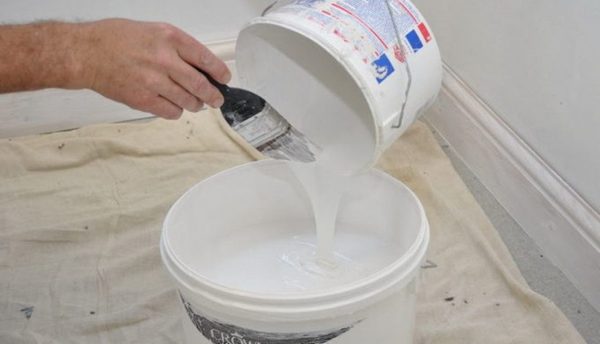
- The density of the emulsion. Sometimes in the instructions the manufacturer eliminates the need to dilute the composition. However, you should focus only on consistency, and, if necessary, add a solvent. A good consistency of the composition is a smoothly flowing liquid. When preparing a solution for the second application, the consistency may already be a little thicker.
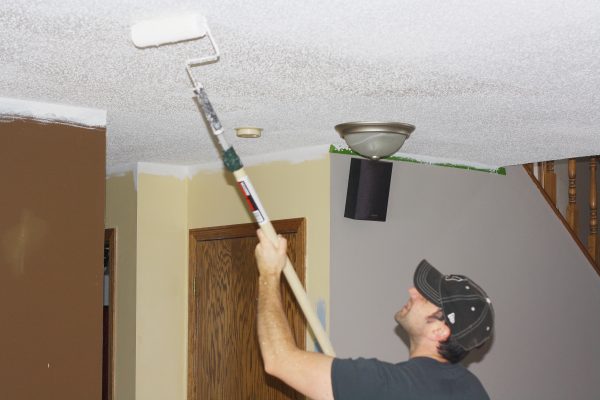
- Instruments. Good paint can only be with a roller that has a short or medium pile. It is not recommended to use velor or foam models. You can not use different tools for actions on the same area, to combine the roller and brush. This is the direct reason for the difference in shades.The only places where you can act with a brush are corners, borders, plinths.
- Speed action. The smear carried out by the tool can dry quickly, and the new hire forms a visible strip border. However, the paints do not freeze in a minute, therefore they are quite intensive in their work. A medium-sized room takes no more than 20 minutes.
- Surface preparation. The new material does not mix well with the old, so you can not ignore the stage of removing the old coating. Then the site should be checked for rust spots or other highly visible spots. Be sure to go through the priming stage. The main misconception - a fresh emulsion will “hide” all the flaws. In fact, this will not happen - it will only “reveal” the spots.
to contents ↑There are still reasons for the appearance of deficiencies - the addition of another pigment, color or trivial non-staining to the solution. But they are not so common and, rather, relate to exceptional reasons.
How to fix painting problems
Regardless of the reasons why the streaks and divorces appeared, eliminating them locally will be extremely difficult. Experts advise a complete repainting. To do this, you will have to remove the previous layer, sand, primer and start a new stain.
Removing local issues
If it is decided to fix the problem pointwise, proceed according to the following algorithm:
- Clean up the problem area. To do this, use sandpaper, a spatula or a special wash.
- Clean the free space from dust and leave for a while to dry.
- If it is rust, remove it with a damp cloth and apply suitable impregnation. If the strips “shone through” due to a crack, it must be repaired with putty, then sanded.
- Now it's time for the ground. It is important not to be limited to one application, this must be done at least twice.
- The plot is putty, but so that the putty does not exceed the general level of the current coating.
- After drying, the putty should be sanded and primed again.
- Next, apply fresh paint, observing the correct technique.
After the local defect is painted over, it is necessary to monitor the maintenance of a normal level of humidity and exclude temperature differences in the room.
to contents ↑Flood Removal
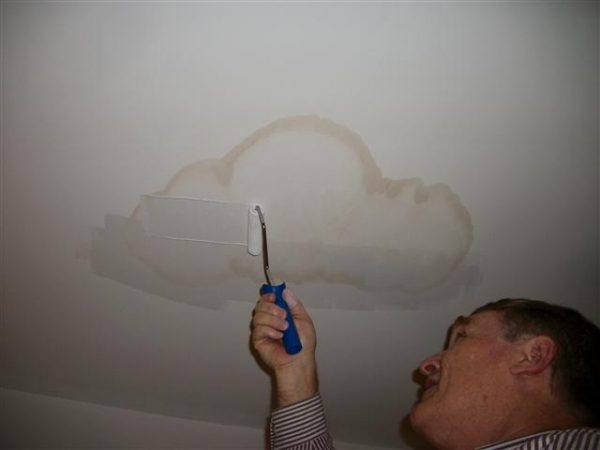
If divorces appeared due to a neighbor's flood, they act differently. After removing the previous coating, they work with rust separately - they clean it, let it dry and treat it with biocidal solutions. Such mixtures do not require rinsing, so it is enough to apply a primer. Only then can you begin to paint over.
to contents ↑How to paint without streaks
When the factors leading to the appearance of spots are clarified, you can find out how guaranteed to paint the surface well. In addition to quality material, good preparation and the level of humidity in the room, there are several more details:
- The room where staining is carried out must be freed from furniture and appliances. All the attention of the master should be focused on the movements, and nothing on the floor should interfere with movement.
- If the procedures are carried out during the heating season, the radiators should be wrapped to prevent local heating. The same applies to bulbs - they will have to turn out for a while.
- The room should be lit as much as possible - it is better to remove any curtains from the windows and carry out work only during the day.
- True movements seriously affect the success of an event. Stain more correctly with W-shaped movements, but it is better to visually divide the area into sectors and act on each one in turn.
- After the initial staining, you need to wait - the layer needs to dry well. Then, places with obvious defects will be clearly visible, and applying a second layer to the dried area will achieve a brilliant result.
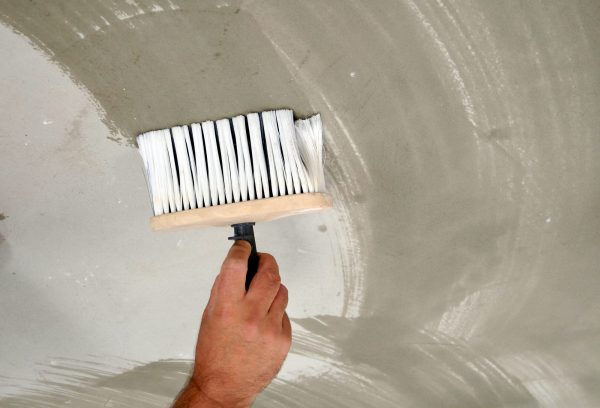
- The primer is not a useless step.Impregnation with this solution will make it possible to easily put the finishing material on a flat surface so that it does not absorb into the pores. Paint under its own weight is difficult to dry without the formation of stains and cracks. And only the soil will create the desired level of adhesion. After processing, the primer must be given sufficient time to completely dry.
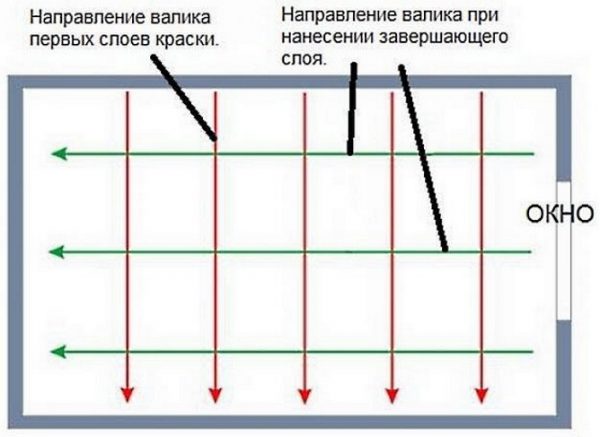
- The first layer is best applied perpendicular to the windows, and the second - parallel to them. If there is a third “run”, it is again made perpendicular to the window openings.
- The emulsion of choice should have a fresh production date. It is worth clarifying the storage methods - if the mixture is frozen, it will be difficult to work.
The rules for perfect painting are not so complicated. Not everyone is familiar with them “from childhood”, but with a competent approach, you can achieve a beautiful, evenly painted ceiling, even on your own.

