Ordinary flower pots are a huge scope for creativity. A nondescript, unattractive object can be turned into a real work of art. Enough to show imagination and a little patience. Why spend money on buying stylish designer pots if you can make them yourself and at no extra cost?
A useful workshop will help inspire a creative impulse. In just 10-15 minutes, you can effectively paint flower pots that will look wonderful on a bookcase or window sill. The main thing - for painting, you will need available materials sold in a hardware store, and some devices will probably be found at home.
to contents ↑
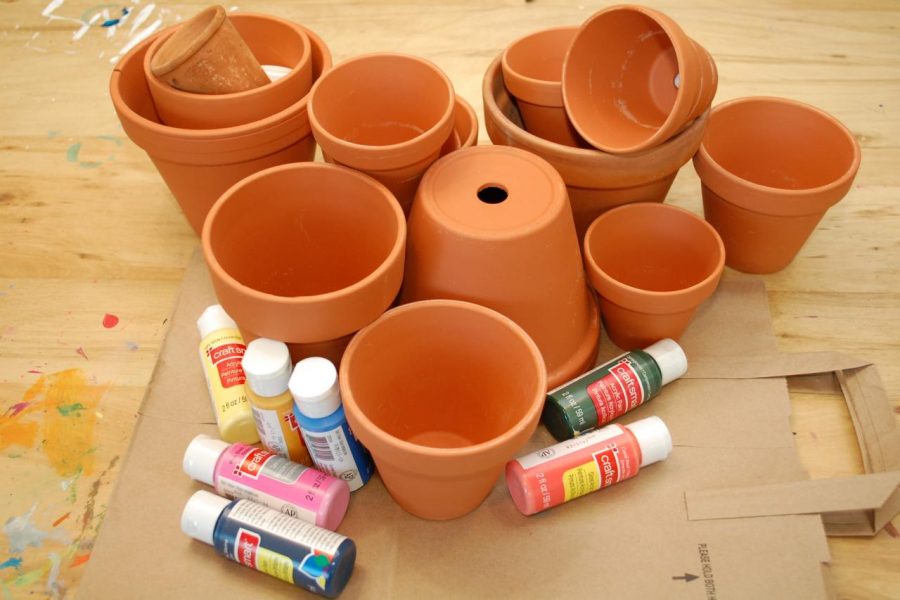
What is required for work
Painting pots for indoor plants is a simple procedure, but there are a number of features that must be taken into account. It is recommended to apply the paint the first time, since repainting will make the surface ugly. It is better to practice on an unnecessary pot, which will help to “fill your hand”.
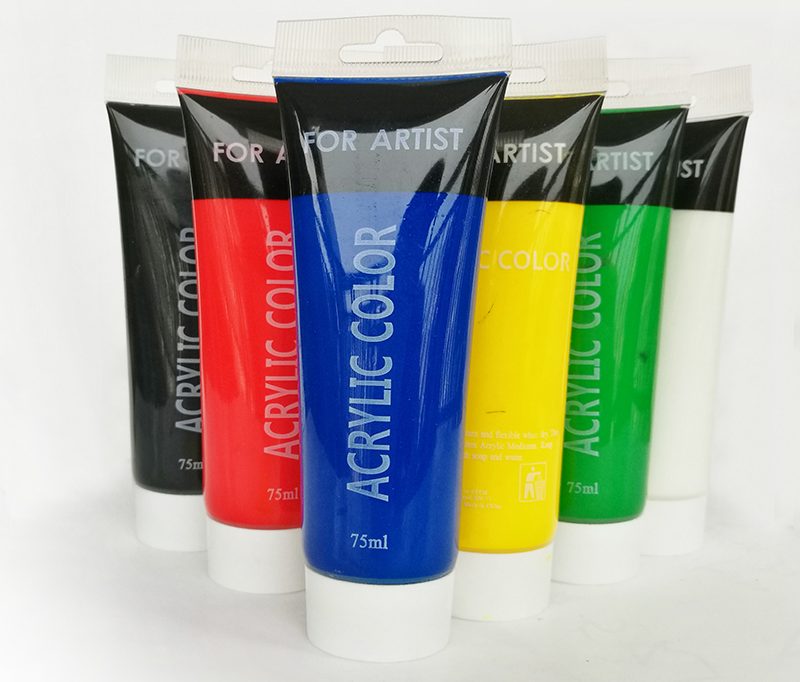
Use high-quality craft paint. Acrylic is good: it fits perfectly on a rough surface and is also resistant to external factors. We recommend staining ordinary clay pots, without glaze. Acrylic adheres well to them and sets quickly.
to contents ↑Of the additional devices, soft rags will be required. Take a cloth without a long pile (it will not leave marks on the surface). It is advisable to stock up with a large oilcloth or a large sheet of polyethylene, which will help protect the floor from stains of paint.
Why is this life hack good?
There are several key benefits:
- does not require special skills in painting;
- the result is unpredictable (feel free to experiment countless times);
- Suitable for children, so you can have fun family fun on a free Sunday.
to contents ↑This master class has no limitations. It is convenient, simple, does not take much time and is also cheap.
Let's get started!
Here is the step-by-step process of painting pots:
Cover the floor, collect pots, rags and paint together so as not to be distracted from work.
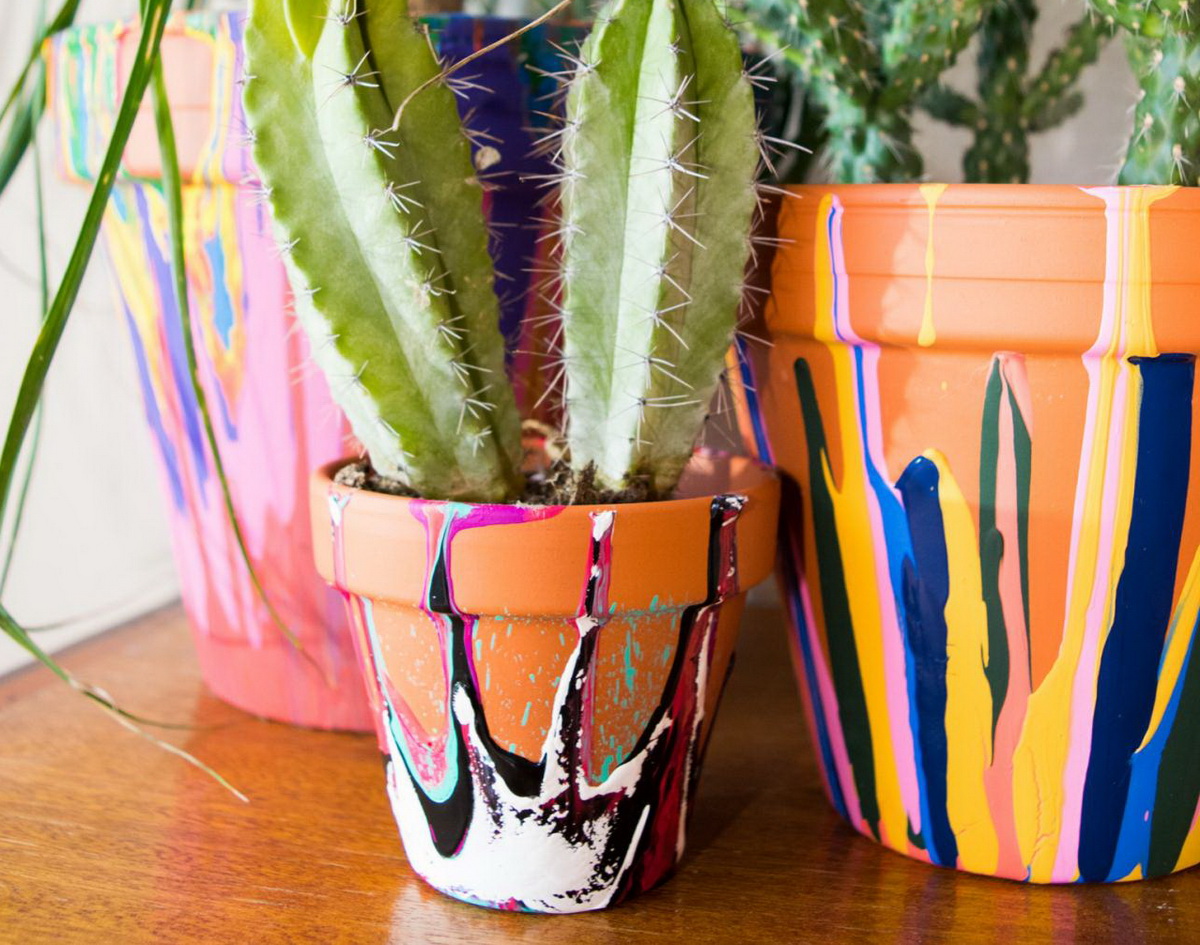
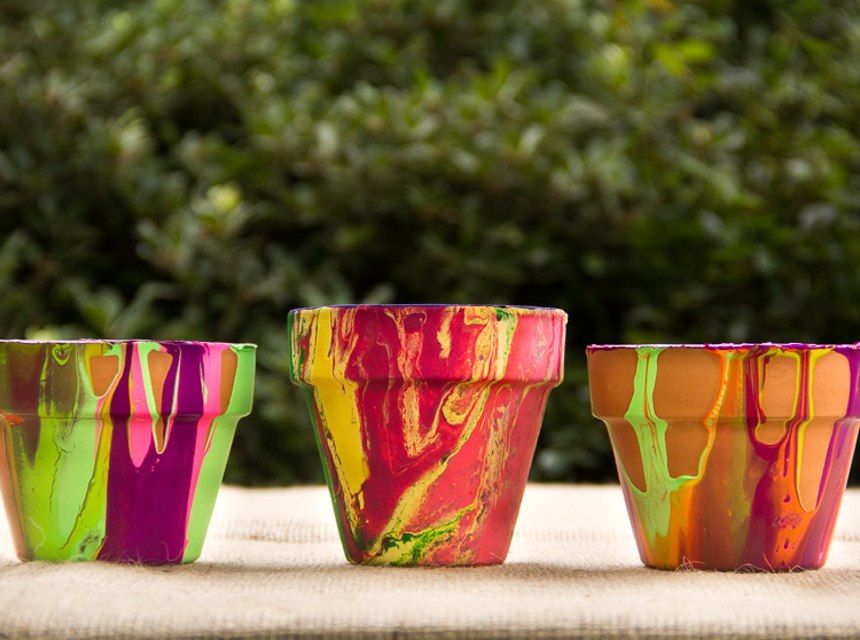
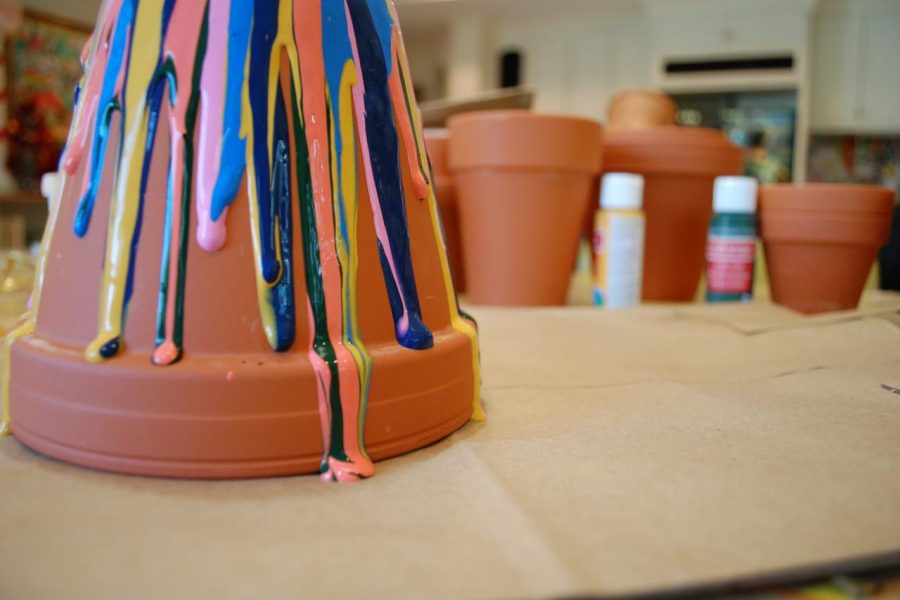
Turn the first pot upside down (put it on the floor) and pour a little paint on the bottom. Small smudges should result. Then use a different color on top of the previous one to mix the paint. So you achieve a beautiful effect.

Paint the edges of the clay pot in a circle. Feel free to use different colors and shades, mix them, pour in, try. Do not limit imagination, give it free rein!
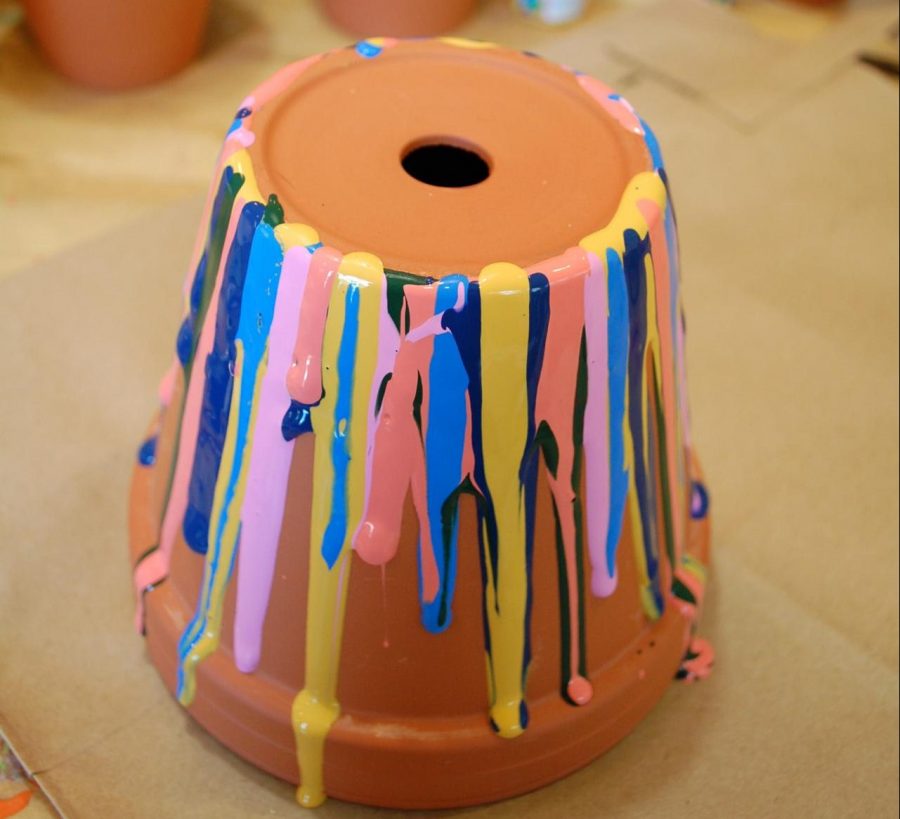
Add a few more colors if desired. You can paint over the surface of the pot completely or leave smudges (this will create the effect that the pot was dropped with a bottom in a puddle of paint, and its spray froze on its walls).If excess is formed, remove it with a cloth.
Wait until the surface is completely dry.
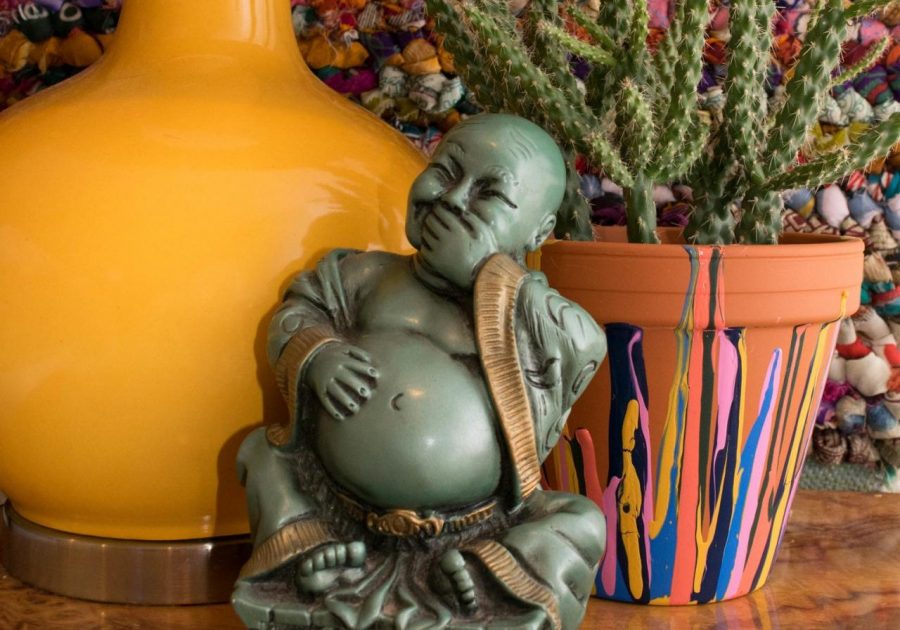
Done! As you can see, this process really takes a little time. Want to add a touch of variety? Take an ordinary wooden skewer and move with a sharp end over the non-hardened paint. This will help create amazing patterns on the surface of the pot.


