Fencing has always been almost the only way to show your right to a certain territory. That is why today there are many methods and tools that will help the owner to avoid curious neighborly views, and installing a mesh netting is one of them.
- How profitable is the purchase of mesh netting
- The choice of paint and tools
- Surface preparation
- Staining methods
- Brushing
- Roller processing
- Fur mitten processing
- Spray gun

But anyone who has ever come across this material knows for sure that over time, without proper protection, such a fence becomes worthless. And here a logical question arises: how to paint the grid in order to extend its life?
How profitable is the purchase of mesh netting
To begin with, it should be noted why many owners of summer cottages or houses in the private sector prefer to opt for a protective tool such as netting.
The advantages of mesh fencing must include:
- quick installation or removal;
- installation without shtaketiny or levels (skeleton of a fence from bars);
- lack of need for strengthening with cement or concrete mortar;
- lack of need for weekly monitoring;
- legality (recently, horticultural cooperatives introduced a ban on tightly fenced areas);
- saving of useful space;
- unhindered penetration of sunlight and rain into areas adjacent to the fence.
But the main advantage of the grid, of course, is its cost. Technological developments have advanced quite far and quickly, therefore, along with the usual mesh fence, you can also purchase a galvanized fence or already covered in the factory anticorrosion polymer protection fence. But, as it happens at the most inopportune moment, there is not enough money to buy such a mesh, so you have to be content with a cheap analogue - an ordinary chain-link made of soon rusting black metal.
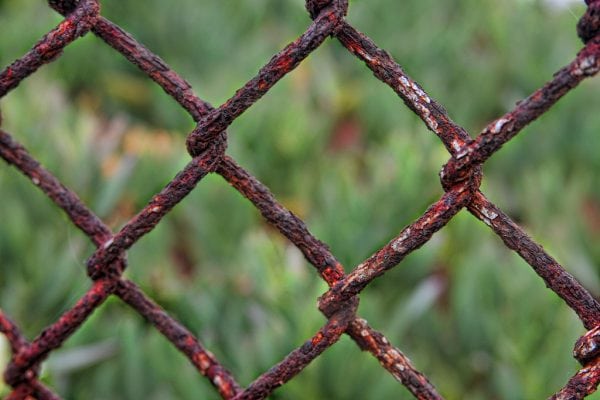
If you do not take care of the timely protection of the net, then after a year and a half, or even a couple of months, depending on the degree of intensity of sedimentary phenomena, you will have to dismantle the fence and again go to the store for a new one. To avoid such a meaningless and impractical waste of money, as soon as the chain-link was purchased, it's time to start putting it in order, that is, painting.
to contents ↑The choice of paint and tools
At first glance, it can show that there is nothing easier than painting the netting net. On the one hand, this is indeed so, because the area of the grid is not hollow, but cellular, and consists of a thin wire, which eliminates the need to carry out several times to paint over each recess or click. On the other hand, you should still take into account several nuances in matters of painting.
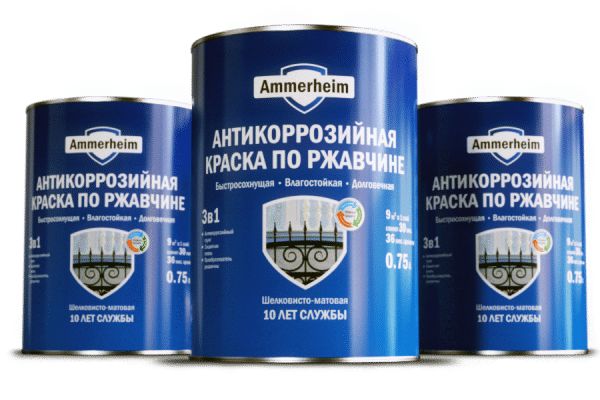
At first. Should I figure out what paint to paint? In short, any enamel or paint designed for painting metal surfaces from the outside is suitable.Why can not I use paint for interior decoration? The answer is simple: it does not contain aggressive substances that can deal with external climatic factors (strong winds, heavy rain, sun rays, etc.).
Spray paint is also suitable, but its use is permissible only as a last resort, suppose if it has been drying for a long time in the pantry. And so its use is irrational due to excessive cost and impossibility of spray control: there is always a risk to paint over not only the fence, but also the nearest plants or objects.
Secondly. What tools can come in handy at work? Depending on the method of dyeing, working tools may include either a standard set for painting (brush, roller, spray gun, patches for the mixture), or more original devices (fur mittens).
to contents ↑So, the paint is bought, and the tools are ready to go. But the stage of painting is preceded by preliminary preparation of the surface for work.
Surface preparation
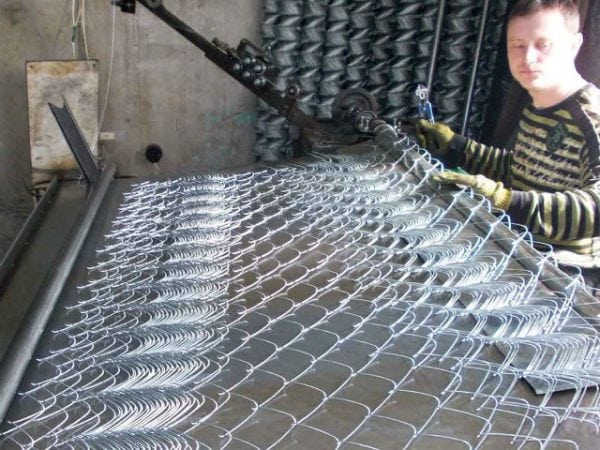
Before painting the netting netting, it must be prepared. It doesn’t matter whether it has just been bought or has already managed to fulfill a protective function for some time and as a result has already become rusty, first of all, it is important to bring the wire in readiness for further manipulations. This business is tedious and lengthy, so it is best to deal with it in four, and preferably six, hands. In order to prepare the surface, you need to have sandpaper, degreasing liquid (such as gasoline or acetone) and a primer on hand.
Cleaning is carried out in several stages:
- First you should thoroughly draw sandpaper over each cell. With grinding movements, remove all old coatings. This stage can be skipped if the chain-link is new or installed recently, so it has not yet had time to become corroded.
- Then the surface is degreased using a special solution and waiting for complete drying.
- The last step in preparing the surface for painting is priming in several layers. The second layer of primer will smooth out the flaws made at the beginning and create an additional protective barrier. This action should be skipped if further painting work will be carried out using modern metal paint.
Now you can begin to directly stain the fence.
to contents ↑Staining methods
There are several ways to stain this kind of fence. They vary depending on the number of employees, the tool used and the method chosen. But not all of them are acceptable for reliable, fast and high-quality staining of the mesh fence.
Brushing
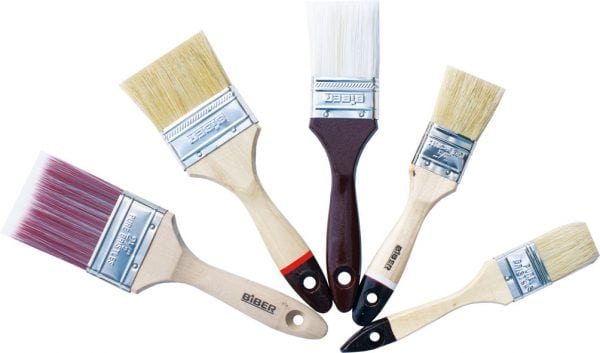
This "grandfather" method, it seems, is the very first that comes to mind, therefore it is not surprising that it is so popular among owners of private houses. It is true that with a brush you can reach hard to reach places, but, nevertheless, it is full of flaws.
It is worth noting that the brush, although an acceptable tool, is far from the most effective. There are at least many reasons why such a traditional device in the paint industry is not recommended:
- Painting requires careful attention. It has been empirically calculated that work with one side equal to 12 m will take on average about two days: one coat of paint is applied, it takes some time to dry, a second coat is applied and the blemishes of the first layer are corrected. As a result, forces, invaluable time and nerves were wasted.
- Paint is not only not saved, but also increases in consumption. Here's how it happens: after dipping the brush into a bucket of staining solution, the paint drips onto the ground and green spaces along the path to the fence. A few more drops will “settle” on the clothes, while others will drain from the wire. As a result, part of the paint will be wasted.
- The quality of the paint suffers. No matter how carefully the work is carried out, the villi of the brush will leave smudges. Also, if bad material was used, the paint will collect in droplets, forming unattractive thickenings on the cells, which, in turn, will dry for a long time. Therefore, in the next 3-4 days it is better not to approach the fence, otherwise you will have to think about how to wash a beautiful ornament from your palms.
Roller processing
It is convenient to paint with a roller only in the situation when two people are busy in business. Otherwise, the flexible mesh structure of the mesh will not provide sufficient adhesion to the roller, and the paint will remain on the tool material.
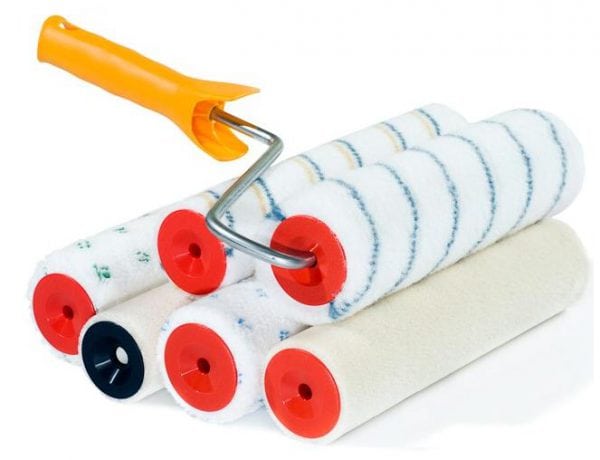
The best option: the fence is painted on both sides with synchronously moving rollers. It is best to take rollers made of faux fur with a long pile, and put a “screen” (plywood, sheet of plastic or metal) under the bottom, so that it is possible to use higher quality paint in the future. Thus, you can not only save the coloring matter, but also do all the work at least twice as fast.
to contents ↑Fur mitten processing
"Making a homemade roller from improvised materials is nothing easier," thought the person who first tried this method. A mitt is put on the hand (faux fur, an old hat), turned inside out, and dipped in a bucket with a coloring solution. Then, in a circular motion, like a window washes, paint is applied to the grid. Only under the gauntlet must be worn medical or household gloves, as gradually the “tool” absorbs the paint and begins to stain the hands. By the way, it is for this reason that there should be several mittens if the length of the fence exceeds a meter.
This exotic way can very well save paint consumption and reach the most difficult places. But you will also have to spend a lot of time, and it is suitable only for oil-based paints, as nitro-paint will simply “eat” the mittens material.
to contents ↑Spray gun
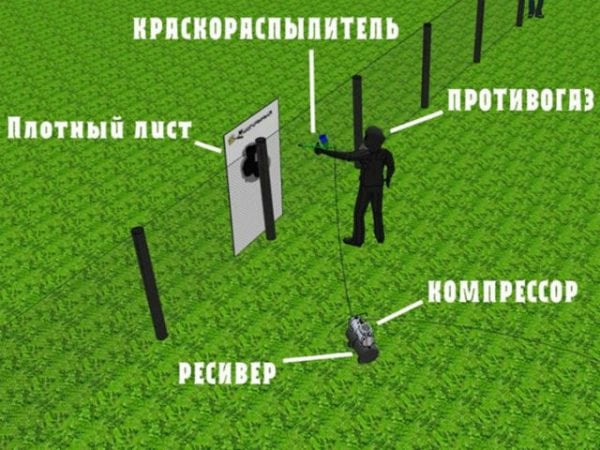
The method of painting with a spray gun or spray cans is suitable for those who do not like long fuss. Indeed, the spray gun paints the surface very quickly. But this is perhaps the only advantage of this method.
The negative points include:
- high consumption of paintwork,
- the need to maintain an optimal angle of inclination of 30-50 degrees with respect to the grid,
- the need for work with gloves, a jumpsuit with a hood, glasses and a respirator (gas mask).
Fighting the first minus is possible when using a “screen” placed under the grid. In the same way, you can paint a mesh fence, rolled up. Alas, you have to put up with the rest of the shortcomings.
In conclusion, we summarize the small results. The best way to color the netting of the chain-link, apparently, has not yet been invented by mankind. Everything that remains to the owner who wants to paint his fence nevertheless, be content with one of the above methods, or come up with his own. One thing is certain for sure: the mesh fence necessarily requires a protective coating with a paint and varnish solution.


