Bumper scratches are the most common type of damage a car receives, especially in urban areas. It is the bumper that protects more important parts of the machine from problems, mitigates shock during accidents. This part of the car may lose attractiveness from time to time, due to age-related wear and tear. Painting a bumper for the purpose of repairing it can be carried out independently, if you study all the nuances of the technology in advance.
- Ways of painting
- Room, materials and tools for painting
- Work sequence
- Preparing the bumper for painting
- Putty
- Primer bumper
- Sanding
- Paint application
- Advantages and disadvantages of home repair
- Spray painting the bumper
- Useful Tips

Ways of painting
In garage conditions, without the involvement of specialists, it is possible to paint the bumper in several ways:
- tinting with an ordinary paint brush, if there are tiny defects in inconspicuous areas;
- spraying paint from a spray can for full or partial coloring;
- work with a spray gun connected to the compressor unit.
Room, materials and tools for painting
For a novice without proper experience, painting can seem rather difficult. Nevertheless, the step-by-step following of the technology will help to color the bumper correctly and efficiently. But the task will be impossible if it is not possible to find a suitable room. The main problem for the master is dust. If the work is carried out using a spray gun, it raises the dust, which is deposited on the freshly painted part and spoils it. Therefore, in professional workshops it is always very clean, there is no trash.
To create optimal conditions for coloring, you need to carefully prepare the workplace. Usually all painting work is carried out in a garage, where there are many shelves, drawers with accumulated dust.
If you plan to use a spray gun, you will have to carefully hang the walls and ceiling with cellophane or even put up a tent. A tent is made of dense material, which is suspended from the ceiling of the garage at the upper corners and secured with tape. A door is cut through the front of the “chamber”. Only in this case the machine will be completely isolated from dust. In any case, the garage itself should also be clean.
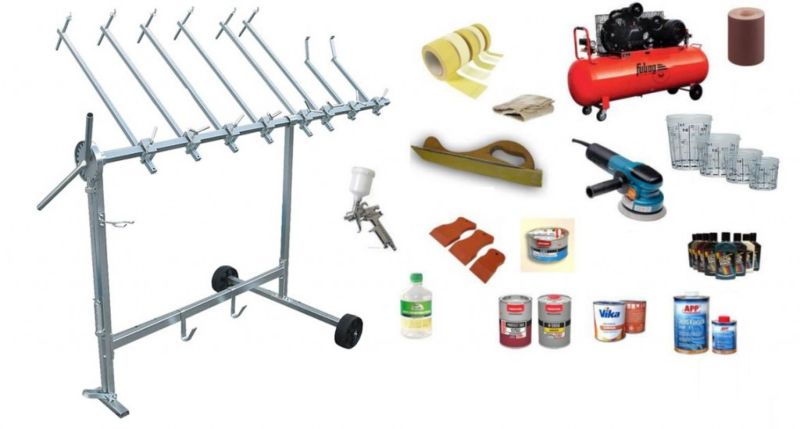
In addition to a well-prepared room, you need to purchase tools and consumables. Here is the complete list:
- paint of the right shade (liquid or in a bottle);
- primer (200-300 ml);
- a grinding machine or sandpaper with different grain sizes;
- degreaser and a set of napkins;
- rags (rags);
- metal spatula;
- spray gun or brush;
- finish car lacquer;
- respirator, goggles, gloves, protective clothing;
- soldering iron (if there are cracks on the metal bumper);
- putty;
- anti-silicone;
- developing powder;
- cellophane, construction tape.
to contents ↑
Work sequence
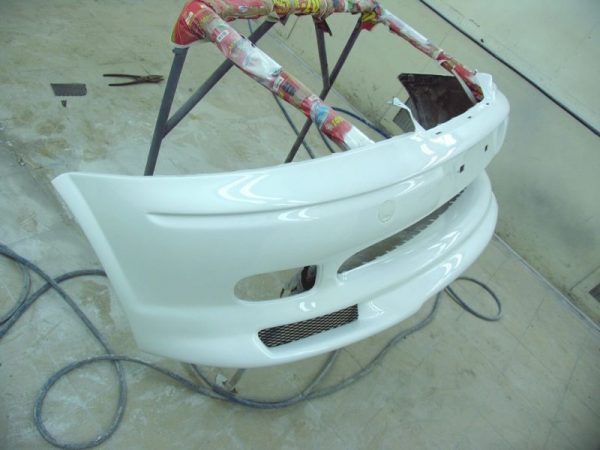
First, the bumper is dismantled. If there are small scratches on the corners, you will not need to remove the part. If you want to completely repaint the bumper, you can’t do without dismantling, otherwise the paint will get on the body elements, optics. If there are serious chips and cracks, they clean off the old paint and perform soldering.
Preparing the bumper for painting
First, the bumper must be cleaned of dirt and old coatings, as well as wipe it from grease, tar. Existing paint is erased by special means (for example, “VIKA”). Chemical washings are applied to the surface with a brush, after 10 minutes they clean the coating with a spatula. After wiping the product with a dry cloth, removing the remnants of the wash. At the end of the work, degrease the bumper again with solvent.
Also, to remove old paint, you can use the mechanical method - grinding with a machine with special nozzles. For a plastic bumper, this method is undesirable, as the material begins to deteriorate. The metal bumper is carefully polished with a machine, passing through each corner, carefully clearing chips, cracks. In some places, it is better to carry out manual processing with sandpaper.
Immediately before the start of the next stages of painting, the part should be clean and dry. If it is not removed from the car, then all body surfaces are carefully covered with cellophane or newspapers, fixing them with masking tape.
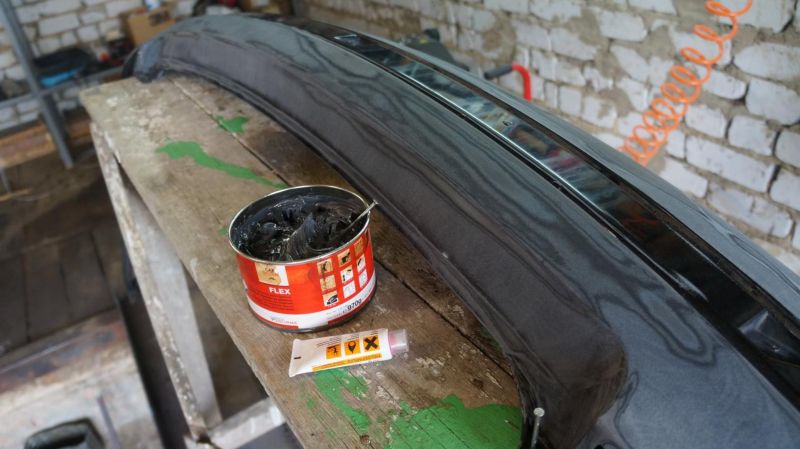
to contents ↑Putty
In the process of grinding the surface, small scratches form, and the putty will help smooth them out. It is best to choose a special filler with fiberglass content. After drying, it creates a particularly strong reinforcing layer. As the product solidifies, grind the bumper with emery cloth No. P120. Then perform another thin (finish) layer of putty, which is ground in the same way, but already with sandpaper with fine grain (P220).

Next, perform the following actions:
- grinding by machine;
- blowing the surface of the compressor;
- degreasing;
- anti-silicone treatment.
As a result of the work performed, the bumper should become perfectly smooth, otherwise the paint will lie unevenly.
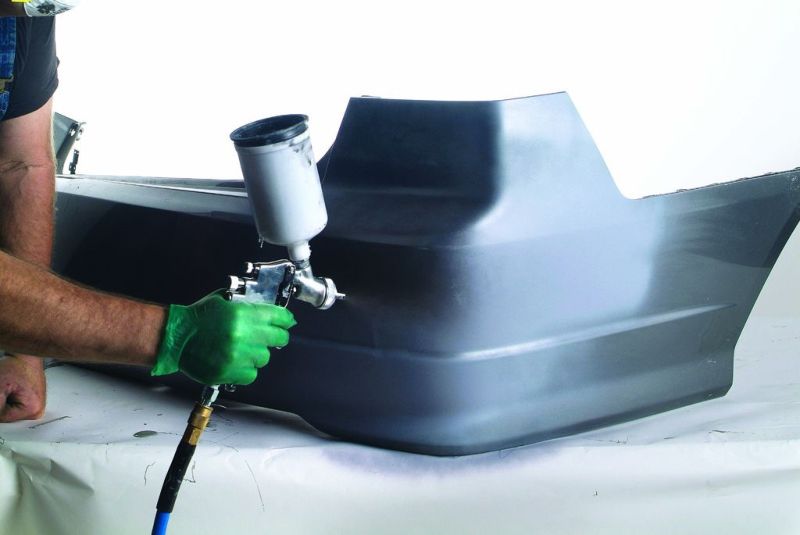
to contents ↑Primer bumper
For priming, you need to buy a two-component acrylic primer (primer). It is applied to the entire surface of the part, but in a small amount so that there are no drips. After drying, when the coating becomes dull, make another 1-2 layers of soil. General drying of the primer lasts 24 hours, and when using an infrared heater - 3 hours.
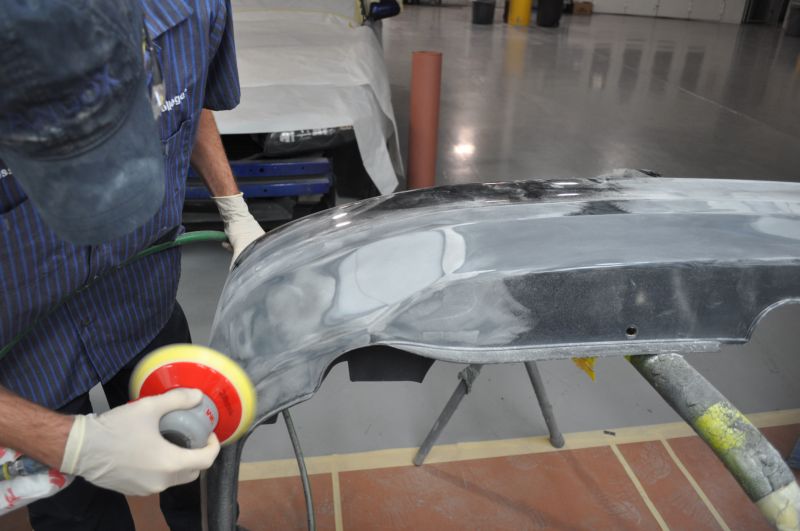
Sanding
After complete drying, grind the primer with P400-500 sandpaper, after sprinkling with developing powder, it will help to detect all defects. Grinding with a machine gives the best result: the surface will become smoother than with manual processing. And from the ends, the bumper should be sanded manually, since the machine damages the primer layers. Before staining, blow off the bumper with a compressor and degrease.
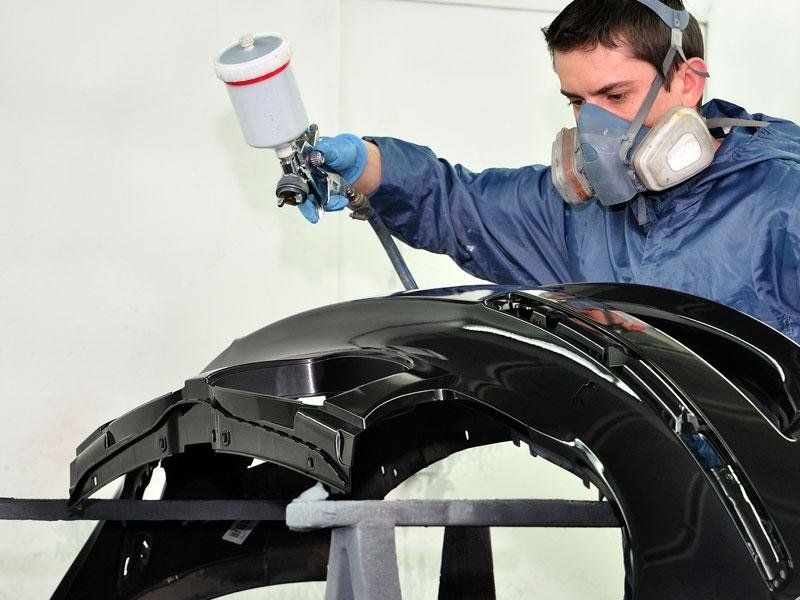
Paint application
Painting is usually carried out in 3 layers. Intermediate drying should be 10-15 minutes. Then apply 2 layers of varnish, also with intermediate drying, leave a coating for final drying.
Advantages and disadvantages of home repair
Do-it-yourself bumper coloring has a lot of advantages:
- saving money by 4–5 times compared to painting in a car workshop;
- gaining practical experience, which in the future will allow to carry out painting work without problems;
- no need to wait in line with the master;
- lack of risk of running into grief-masters who perform poor quality work;
- the opportunity to show creativity, imagination: paint the bumper in a contrasting color, depict a suitable picture.
Among the shortcomings of self-repair of a bumper are the following:
- difficulties with arranging the garage, cramped space, a large amount of dust inside;
- lack of normal ventilation in ordinary garages, harmful health of fumes of paint and varnish for health;
- the risk of settling of fine dust from paint in the yard, in the garden and in the garden (if the garage is located on the territory of a private house, cottage);
- the need for equipment, tools for grinding, soldering, blowing, drying;
- the need to work in a spray booth, and in a respirator, which causes inconvenience due to crowding and stuffiness.
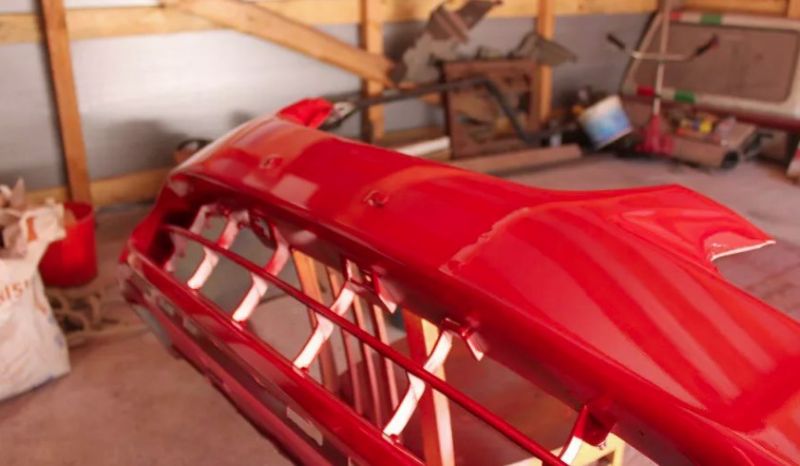
Spray painting the bumper
This is one of the most convenient and popular ways to paint bumpers and other car parts. To work, you need to purchase paint of a suitable color in the spray can. All steps are performed as described above, only the application procedure is different:
- the can shakes well for 2-3 minutes;
- paint is sprayed onto the surface in one layer from a distance of 20–25 cm;
- after half an hour, a second coat is applied, and after another half an hour - varnish.
to contents ↑
Useful Tips
In order for the master to please the result of work, you need to follow these tips:
- Paint the bumper only in a warm room without drafts. Otherwise, drying will occur unevenly, and particles of dust and debris will stick to the part.
- If the bumper is new, still do not forget about washing and degreasing it. When particles of fat remain on the surface, the paint does not hold firmly, peels off.
- Do not blow dry the painted bumper. If there is no infrared heater, then drying should occur in a natural way.
- When drips and sag appear, remove them immediately. To do this, it is necessary to polish the defective area well and treat it with polish.
- Make sure that insects do not fly into the room. Mosquitoes, flies can stick to the paint and ruin all the work. To avoid their appearance, it is worth hanging a grid on the door.
- If possible, use materials of the same brand. If paint, primer, varnish and putty are made by one company, they will be better combined with each other. The quality of the finished coating will improve, the risk of mutual rejection of the layers will be reduced to zero.
- Work in the warmer months. If it is winter outside, you will have to look for a heated room or wait until the onset of heat. Otherwise, the drying process will be disrupted, the coating will quickly crack.
When painting skills are completely absent, it is better to try painting on an old car part or on any other surface. After gaining a little experience, you can work on the finishing line - the probability of getting an excellent result will seriously increase.