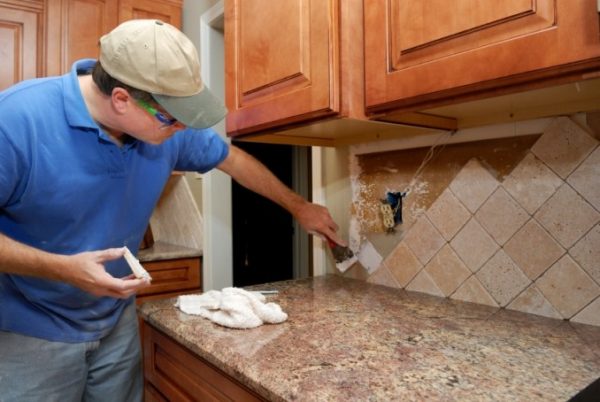
A kitchen apron can be made from different materials, but the “classic of the genre” is considered tiled. There are several methods for sticking tiles on the wall in the kitchen, most of them are affordable even for beginners. You need to purchase tools, high-quality glue, dilute the solution and get to work.
- The relevance of the tiles on the walls
- Pros and cons of ceramic tiles
- Types of tiles, shapes and sizes
- Material quantity calculation
- Technology of sticking material
- Tools and materials
- Layout Options
- Foundation preparation
- Priming
- Preparation of fixing compound
- Working process
- Grouting
- Facing another surface
The relevance of the tiles on the walls
The tile in the kitchen is the place, because the material is considered practical and lasts for decades. The tile is diverse in styles and colors, fits perfectly into any design. It is ceramic tile that protects the walls well from grease, steam, water, food particles, which inevitably appear during cooking.
to contents ↑Pros and cons of ceramic tiles
Tiles are the easiest to wash. Most types of this material can easily withstand cleaning with abrasive substances, applying household chemicals. Removing old splashes of grease from a tile is easier than removing it from plastic - you can even scrape them carefully with a knife. Caring for the material is simple and easy, but this is not the only advantage. Here are the other benefits of tiles:
- a large selection of shape, size, color (mosaic, widescreen tiles, etc.);
- moisture resistance, immunity to heat and temperature extremes;
- high strength to mechanical damage;
- wear resistance - the appearance does not deteriorate for 40-50 years or more;
- environmental friendliness (a tile is made from natural raw materials);
- fire resistance, low flammability.
The material also has flaws. Laying some types of tiles is time-consuming. For example, smoothly gluing a small mosaic is difficult, you need to constantly monitor the level. Any material sits beautifully only on a smooth wall, so you will have to pay attention to preparation. The wall must be dry, and with increased humidity in the room will have to take measures for drainage. Due to the low thermal insulation ability, a wall with tiles is unpleasant for a person’s hand, it is cold. Although this may be important only for the floor and walls available for touch.
to contents ↑Types of tiles, shapes and sizes
For facing a horizontal surface, you can choose a tile made in any style, if only it fits the headset and the overall design. It is permissible to choose the material in accordance with individual elements or wallpaper. The style of products can be as follows: classic, minimalism, country, techno, etc.
By classes, the tile is divided as follows:
- Class A - has a smooth surface, clear edges, even. More expensive, higher valued.
- Class B - minor flaws are allowed, as it is molded by pressing. It is cheaper than the previous one.
According to water absorption, the material is divided into 4 groups with indicators equal to 3%, 3-6%, 6-10%, more than 10%. Resistance to the action of chemistry is reflected by the letters A, AA, B, C, D (in descending order of the indicator). In appearance, the tiles are classified as follows:
- glossy - glitters, reflects light;
- matte - easy to care for, but more modest in appearance;
- embossed - has a textured surface.
According to the peculiarities of the composition and manufacturing technology, ceramic tiles (covered with glaze), porcelain (more fragile), and ceramic tiles are distinguished. Moreover, the last is considered the strongest, usually it imitates granite or marble. There is also clinker tile ("boar") with high strength, but it costs an order of magnitude more expensive than others.
The shape of the material is square, rectangular, curly and mosaic. The configuration is selected based on the dimensions of the kitchen apron and the parameters of the kitchen. After all, large tiles will look rough in a small room. The main dimensions of the tile are as follows:
- 10x10 cm - standard, rarely requires trimming, easy to use, ideal for beginners;
- 1x1-5x5 cm - mosaic, a good option for professionals;
- 15x15, 20x20 cm - medium format tile;
- 20x30, 25x30 cm - rectangular tiles.
Material quantity calculation
To correctly calculate the consumption of tiles, it is important to correctly measure the walls. Apply roulette, better laser with high accuracy. All protrusions, niches, the walls of which will also have to be trimmed, are taken into account. If you decide to stick the material with a pattern or a special laying method, the consumption will increase.
Next, you need to calculate the area of the kitchen apron or other pasted surface. Then determine the size of each tile and calculate its area. When dividing the total area by the area of the tile, the amount of material in pieces is obtained. Products should be taken with a margin of 10-15% for battle and improper pruning.
to contents ↑Technology of sticking material
So that the tile does not fall off in the near future, you must strictly follow the methodology and buy high-quality glue.
Tools and materials
To work, you need a number of tools - rubber and iron spatulas, tape measure, metal ruler and level. A grinder, an aluminum rule, a metal profile, a tile cutting machine, a hammer, pliers, a roller with a tray and a rubber mallet are also useful. In addition to the tile itself, you will need to buy:
- plaster;
- nails
- good primer;
- grout for joints;
- glue;
- liquid Nails;
- crosses, plastic corners;
- dowels;
- GKL sheets (drywall).
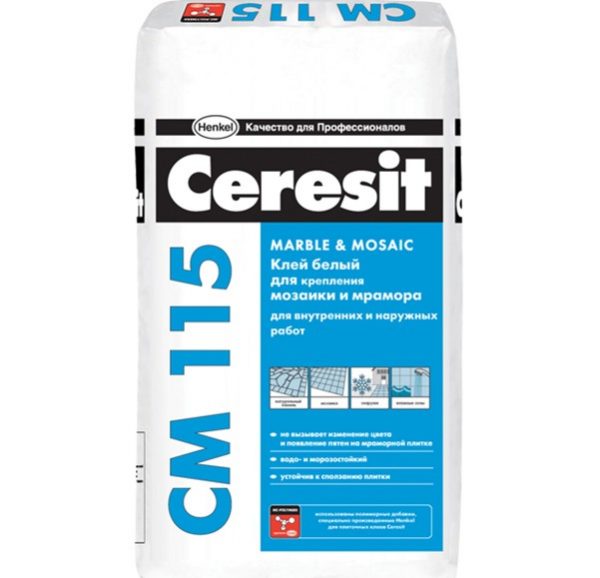
Which tile adhesive is best suited for a kitchen apron or floor, we will consider further. Firstly, the package must be marked "for internal work". In new homes, prone to shrinkage, use elastic glue, for the rest they get standard. Transparent (glass) tiles, marble, mosaics must be glued to white glue, ceramics and porcelain tiles to gray. Among the brands that are worth paying attention to are Ceresit, Knauf, Mapei, Litokol.
to contents ↑Layout Options
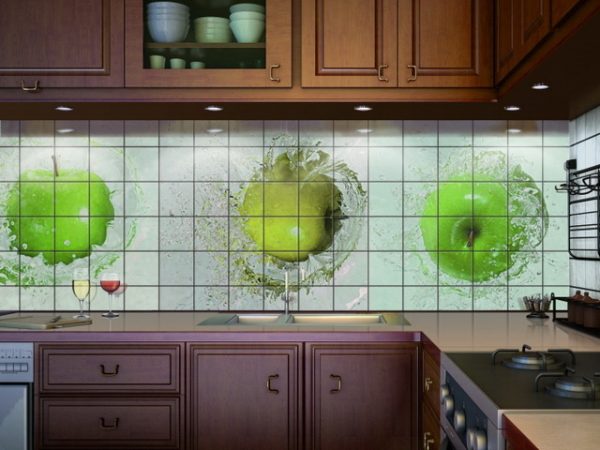
If there are small irregularities in the walls, it is better to purchase a mosaic, it will help to hide unsightly ledges. To visually increase the height of the walls and expand the room, use tiled panels, paintings, material with vertical stripes. There are several ways to stack products. They can be like this:
- Parallel. The tile on the wall must be laid parallel to the floor.
- Diagonal. The material is laid diagonally, which visually expands the room.
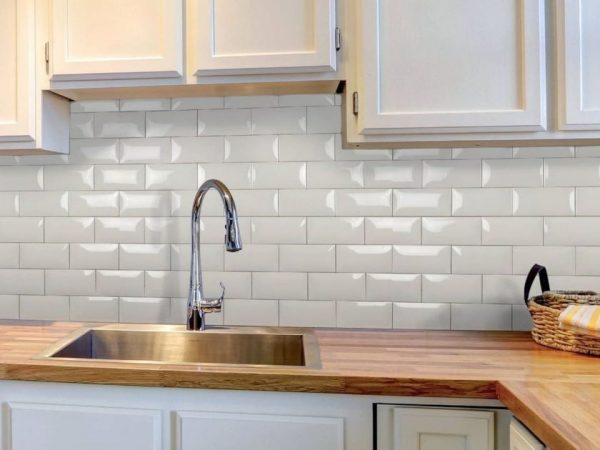
- Deck. Imitating brickwork, each subsequent row is shifted. This is only possible if the tile is rectangular.
- Carpet. The composition is a complex panel, where the tile itself forms the pattern. The method is available mainly to professionals.
- Modular. It is a combination of different tiles.
Beginners can choose one of the following methods:
- Seam to seam. This is the simplest tiled technique. It must be glued in rows, one element strictly under the other. It’s easy to calculate material consumption, and the result is usually decent.
- Rushing apart. In the middle of the bottom tile there should be a seam of the top element. The method is widely used by beginners.
- Diagonally. For a beginner tiler, the method is more complicated than the above. You will have to direct the rows of tiles strictly at an angle of 45 degrees. The consumption of material will be greater, it will often have to be cut, which also requires skill.
- The combined method.Part of the tile must be glued in the usual way, the rest - diagonally, like chess cells, which will allow you to achieve an interesting design.
Foundation preparation
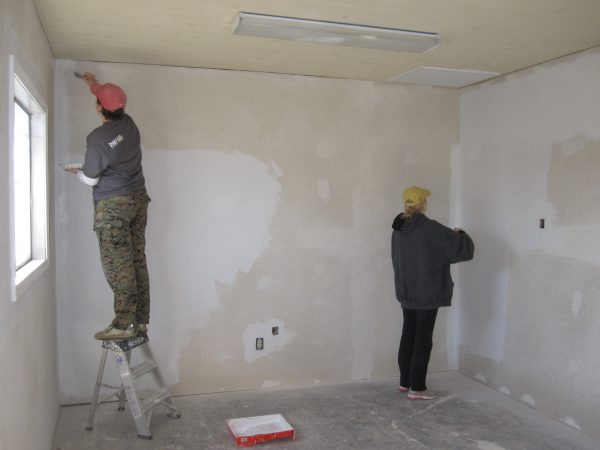
So that the tile does not fall off, you need to prepare the walls well. Tiles may fall off from uneven surfaces. It must be cleaned of the old coating, leveled. For this purpose, two options are used:
- Plaster. Usually, sand-cement mortars are taken, and lime, gypsum and clay are not suitable. Walls are cleaned from dust, dirt and roughened. To do this, notches are made on concrete, shingles are nailed on wood. Then the walls are primed with a deep penetration means, they put beacons, they attach corner profiles. The solution is kneaded and applied to the surface.
- Drywall. If the wall differences are more than 5 cm, it is better to use GCR. First you need to exclude falling off areas and primed walls. After they measure and cut the GCR, make holes for the sockets, mount the wiring. Sheets are fixed to the wall, applying mounting glue to them. To complete hardening of the composition, drywall is leveled by tapping with a hammer in different areas. After drying, the GCR is primed.
If the wall is covered with paint, it is erased with a special liquid, then the remains are cleaned with a metal spatula. Otherwise, the tile can peel off quickly.
to contents ↑Priming
For work, you need to choose a high-quality primer of a solid brand, which is able to penetrate deeply and reliably grasp with cement or plaster. Apply it only on a dry surface. The liquid is poured into the tray, dipped in a roller and squeezed a little. Brushstrokes are done arbitrarily, as conveniently. Soil should penetrate the wall well so that there are no dry areas. In the corners, the solution is applied with a brush. Then let the soil dry completely.
to contents ↑Preparation of fixing compound
The adhesive solution is diluted immediately before laying the tiles. Pour water into the bucket (as indicated in the instructions), pour glue and mix well. To avoid lumps, it is better to use a drill with a nozzle or a construction mixer. You don’t need to breed a lot of glue right away, just a solution of 1-1.5 square meters is enough. m tiles.
Working process
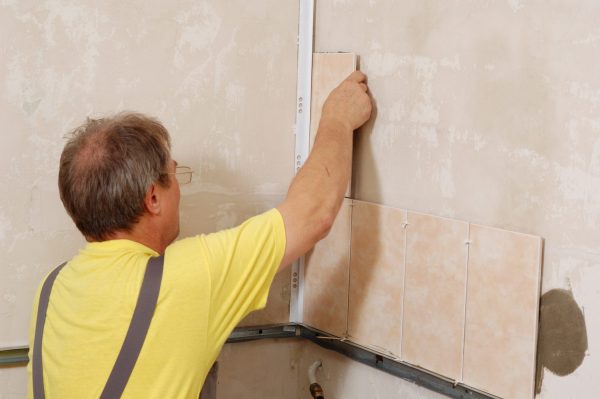
The first row of tiles should be 2-3 cm below the working surface. The last row is extended by a similar distance under the upper cabinets. Depending on this, draw lines for the beginning of the row below and above. An iron profile is drilled under the bottom (it can be replaced with a wooden block). It will serve as a support, which will not allow the tile to slip until the glue completely dries.
The first elements are glued from the center of the bottom row, moving to the edges. Glue mass is put on a spatula, applied to a tile or to a wall - as it is more convenient. The lower edge of the tile rests in profile, well pressed. With a mallet tap the glued material to expel air. At the upper and lower corners of the tiles put suture crosses.
Making tile joints is very important. They prevent tiles from cracking when they expand at elevated temperatures. They also give the masonry beauty, hide errors. After the first tile, paste the second, then lay out the entire row, putting crosses. Every 10 elements are interrupted to remove exposed adhesive with a damp cloth.
Further, the procedure is as follows:
- the next row is glued in a day, when the first dries out;
- finish work on the second day;
- allow the masonry to dry;
- tap the wall with a mallet to find voids by a dull sound, remove the tiles from such areas and re-glue them;
- crosses are removed;
- thoroughly wipe the entire tile, removing dirt and glue residue;
- unscrew the support profile.
Grouting
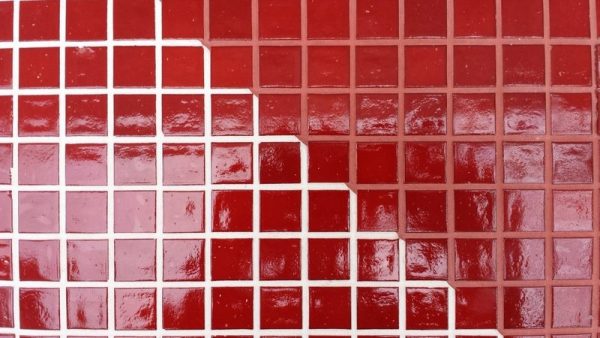
Joints are overwritten only after the adhesive has completely dried. This is the last stage of tile laying.Grout acquire high quality, matched by color. Dilute the mass, as indicated in the instructions (or buy ready-made). Gather a little composition on a rubber spatula or a special grater and put on the seam. Wipe off excess immediately with a damp cloth. As the grout dries from above, you can once again pass with liquid glass, liquid silicone or waterproof varnish.
to contents ↑Facing another surface
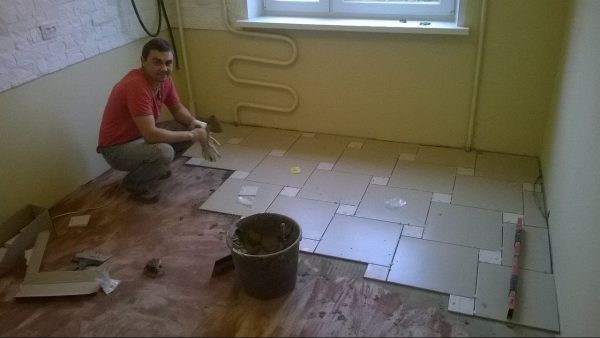
In the kitchen, tiles are often laid on the floor. To level it, a screed is made, and the surface must be absolutely even. Otherwise, the tile will quickly peel off. The kitchen is visually divided into 4 parts, the surface is drawn. Installation begins from the center of the room. In the middle, lay 4 tiles on the glue, press them tightly. Seams are left between them, for which crosses are used. After drying, grout.
A good tool and quality materials will greatly speed up and facilitate the laying of tiles in the kitchen. If necessary, beginners can use the clamp system, they will level the tiles in one plane without a level. The result will be an updated room, pleasing to the eye, especially, given the savings on the hiring of master tilers.

