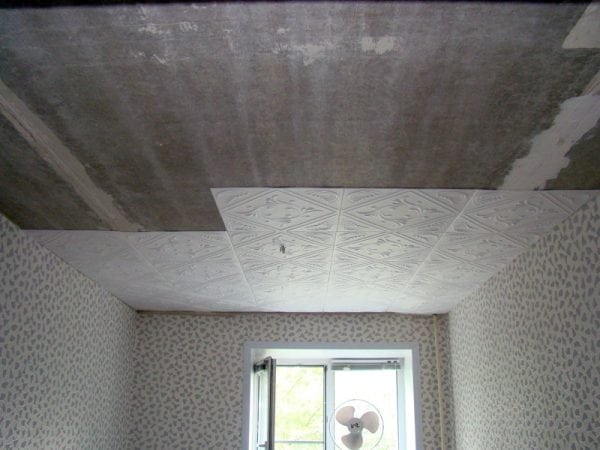
Polyfoam has long been used as one of the easiest to use, inexpensive materials. Repairing a ceiling with foam tiles will become a budget option at home, in the country. Foam square panels are very convenient to use, not afraid of moisture, suitable even in the bathroom, safe for human health. Before gluing the ceiling tile, it is necessary to determine the material, prepare the ceiling and only then proceed with installation.
- Varieties of tiles
- What to glue tiles - materials
- Tile requirement calculation
- Ceiling preparation
- Placement and layout
- Diamond placement
- Diagonal placement
- Sticking material
- Beginning of work
- Bonding to a flat ceiling
- Adhesion to uneven surface
- Seam Cleaning and Coating
- Seamless tile
- Tiled Ceiling Care
- Ceiling Tile Painting
Varieties of tiles
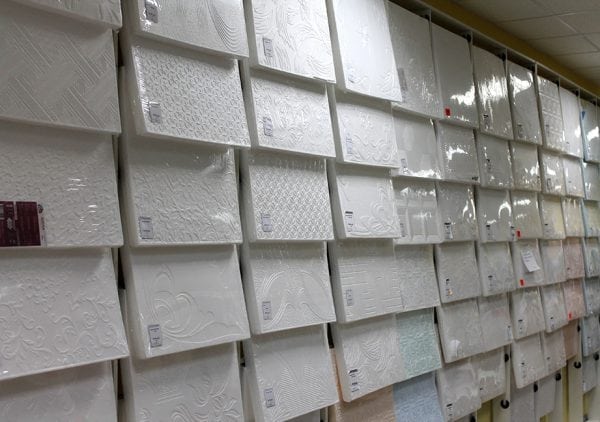
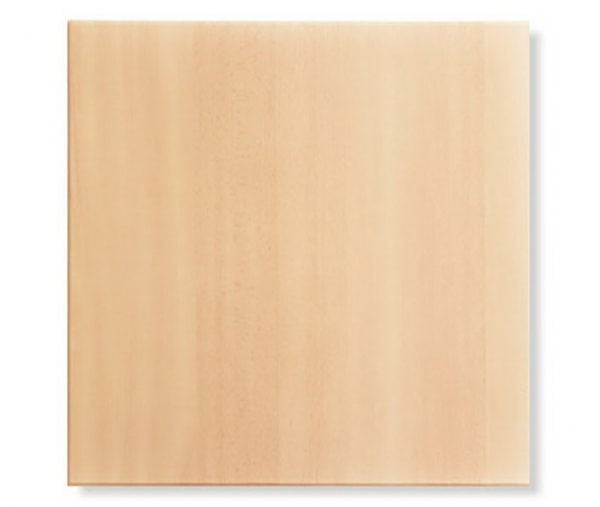
Styrofoam tiles are sold in every hardware store. There are a huge number of options - with different patterns, colors, square-shaped, rectangular. They even make wood-like tiles, under the coffered ceiling - with square indentations. To make the coating look beautiful, you should purchase a baseboard in tone with the main material, stick it around the perimeter. To simulate gypsum molding on top of the tile is coated with water-based paint.
The choice of tiles is rich, it differs in density, smoothness, and service life. There are three main types of products:
- Extruded Plates. Made of expanded polystyrene. Thickness - no more than 3 mm, good density, no graininess, high variety of colors. To paint such a material does not work - the paint simply rolls off.
- Injection plates. For the manufacture of expanded polystyrene baked in a special way. The products have a drawn pattern. Such material can be painted after gluing.
- Stamped plates. The cheapest, brittle, the surface is loose, grainy. Due to friability, the pores are clogged with dirt, so it is advisable to paint the material immediately after gluing the ceiling.
Typically, slabs have an equal length and width of 50 cm, but rectangular options are also found. On sale there are beautiful products with a canting that form a seam at the joints, and seamless material is also sold. Such tiles are seamless, their edges are even or wavy. All corners of square products must be straight - otherwise the quality of laying will suffer.
to contents ↑What to glue tiles - materials
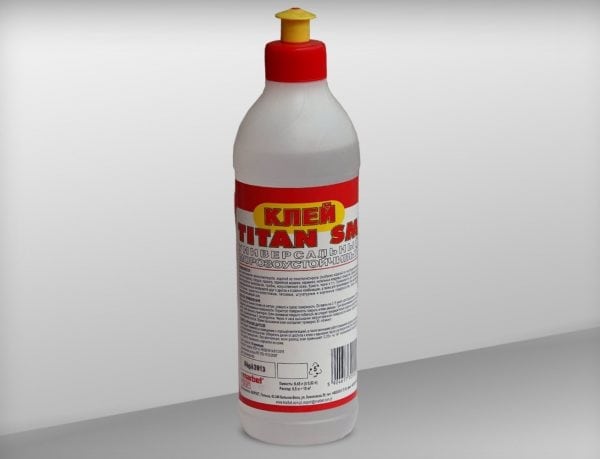
To glue the ceiling tiles, you need to purchase tile adhesive. It is not necessary to buy glue for ceramic tiles, because polystyrene is a much lighter material. However, for a long service life, you should choose high-quality compositions. Here are the main varieties of tools on which you can glue boards:
- water-based - consist of cellulose, water, a number of additives, environmentally friendly, but have a minus - fungi and bacteria can multiply under the coating;
- with solvents - they dry very quickly, to cover the ceiling, you have to work without delay;
- on epoxy resins - expensive, but very high-quality adhesives, it is most advisable to use them for tiles;
- liquid nails are a good option, cheaper than the previous one, will keep the material even on an uneven ceiling.
Among the popular brands of adhesives you can specify Titanium, Moment, Eco-naset. It will take no more than 3-5 seconds to hold the material with your hands. What is the best way to stick the tiles if the ceiling is uneven? For this, a ready-made paste (mastic) is sold, which closes up small surface defects, smooths out elevation changes.
to contents ↑Tile requirement calculation
In order to correctly, qualitatively glue the plates to the ceiling, before starting work, the amount of material required for the room should be calculated. If the size of the plates is standard, then 4 pieces per square meter. It is enough to multiply the area of the room by 4, an approximate number of tiles will be obtained. Of course, the figure should then be rounded to an even number, make a margin. This is necessary, because some products may break, break off, others will have to be cut. For the stock usually take 10–20% of the total.
to contents ↑Ceiling preparation
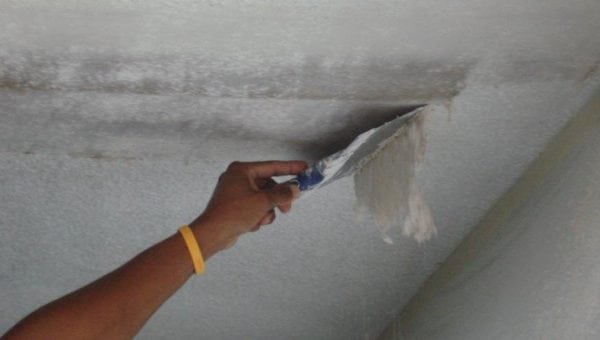
Before gluing the plates, it is necessary to make a quality preparation of the base. Old whitewash will have to be removed, it is better to wash it right down to concrete. Otherwise, the glue will fall off along with the residual lime. A soap solution is applied to wash, a brush, spatula is used. Dry whitewashing is also possible, but this leads to the appearance of a large amount of dust. After bleaching, the ceiling should be allowed to dry. To do this, open all windows or (in winter) turn on the heater.
Other types of paint are also recommended to be removed, in extreme cases, remove all swollen areas with a spatula. A water emulsion is easier to remove than other paints. To do this, water is abundantly sprayed onto the ceiling, a draft is created in the room, after half an hour, the coating is easily removed with a spatula. Also, do not stick foam tiles to the wallpaper - this type of ceiling coating must also be removed.
The resulting pits, large defects should be repaired with the help of starting putty. The finished even ceiling should be coated with a primer using deep penetration agents. Priming is also mandatory if the boards are glued onto drywall. Only after complete drying can the tile be glued.
to contents ↑Placement and layout
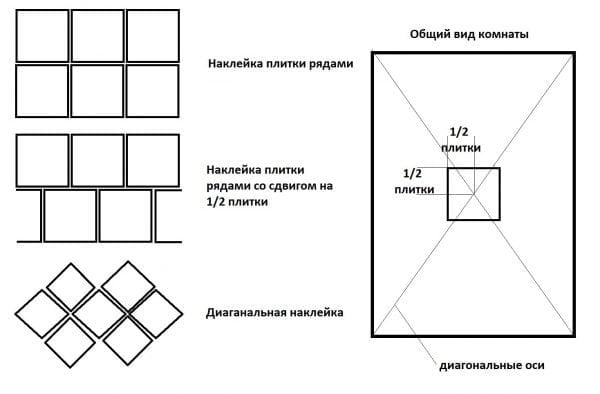
There are different ways to stick the material. The tile is glued with a rhombus, diagonally, traditionally (in stripes). In any case, before starting work, the scheme should be clarified, markup made. First, the center of the ceiling is determined - for many, a chandelier hangs at this place. To accurately identify the center, there is a simple method: you need to mark the middle on each wall, draw lines. In the center of the room, the lines will intersect.
From the center it is convenient to glue the tiles in the traditional way - in ordinary rows. Tiles can be glued in rows with offset - when the next row is shifted by ½ from the previous one. For diagonal marking, you also need to correctly mark the ceiling. From the center draw lines at an angle of 45 degrees, which will divide all 4 segments of the ceiling in half.
to contents ↑Diamond placement
For gluing plates with a rhombus, the center of the first will be located exactly at the intersection of the axes. They do this if there is a chandelier, otherwise the picture will be damaged. Next, the ceiling is finished in different directions, as a result, the desired pattern is obtained.
Diagonal placement
This option is not much different from the previous one. It is the diagonal-laid tile that will allow you to hide all the unevenness of the coating in the best way. Each cell is glued from the four central ones along the drawn diagonal lines. The sticker process goes from the center to the perimeter. Thus, in the previous version, one tile is central, in this - four. Both methods are more suitable for spacious rooms.
to contents ↑Sticking material
Before gluing the plates, you can watch a video on how to do it yourself. But usually the process is not difficult even for a novice master. To work, you need a minimum of tools and supplies:
- a pencil or cord for marking;
- sharp construction knife;
- ruler;
- glue, if necessary - a glue gun;
- level.
Problems during operation can arise due to mismatch in the size of the plates.Poor quality products may have a slight discrepancy in size, which on the ceiling will result in a big nuisance. This is especially true for tiles with a pattern that needs to be customized.
to contents ↑It is better to measure all the material yourself, cut off the extra millimeters with a knife. This should be done on a ruler, putting on a sheet of corrugated cardboard. The gaps between the walls and the extreme plates should not be more than 1.5 cm, so they can easily be closed with a skirting board.
Beginning of work
Where to start the process of pasting the ceiling? This can be done from different places, which will depend on the chosen method of fastening products. If you decide to paste over with simple stripes, you can choose any place (near the wall, door, etc.), fix the first tile strictly parallel to the wall. Then the remaining squares are attached, the evenness of the lines is determined by the level or by the lines drawn in advance. How to start gluing if you decide to create a complex drawing? For pasting with diamonds or diagonally, work starts from the center of the room.
to contents ↑Bonding to a flat ceiling
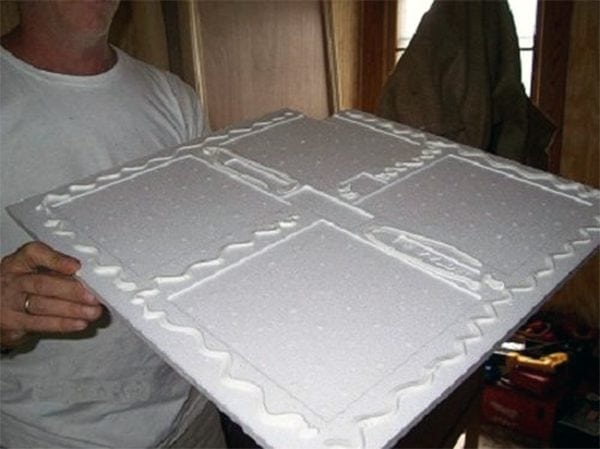
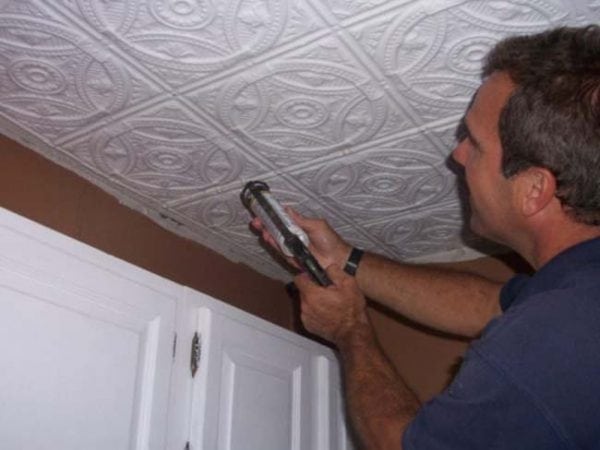
Tiling an even ceiling with tiles is easy. To do this, take glue, put on the back of the square a strip around the perimeter, along the diagonals. Close to the edges, do not lubricate the material, since the adhesive may protrude from under the seam. Further, the sequence of actions is as follows:
- hold the tile in the air for about a minute to weather the glue;
- put the square in the right place;
- smooth by hand;
- hold a little for initial fixation;
- do the same with the second square.
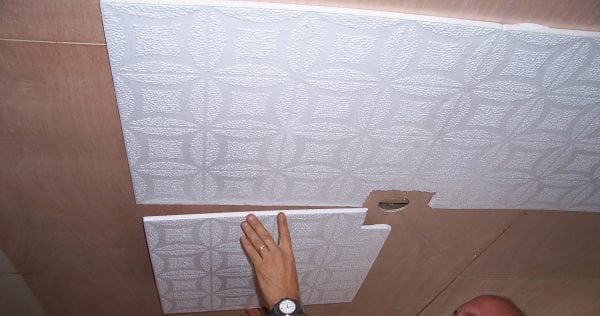
It is important that you end up with the correct pattern. To do this, you do not need to lay the tile on the tile, allowing overlapping edges. Do not leave gaps, make squares butt. Docking is carried out accurately, accurately and beautifully, aligning the edges to a millimeter. Extreme from the wall of the plate most often have to be cut.
to contents ↑Adhesion to uneven surface
For an uneven surface, the use of conventional glue will not be enough. For this purpose, they acquire glue for drywall or work with putty. After diluting the mixture according to the instructions, it is taken on a spatula, a layer is formed on the ceiling. It is advisable to use a small amount of mass, but this will depend on the curvature of the ceiling.
The composition is applied to an area of about 4 tiles, stick them, then repeat with others. The edges are adjusted in level, knocking out the crawled out squares.
to contents ↑Seam Cleaning and Coating
Often the glue remains in the form of spots on the front side of the material. It is important to remove stains immediately, before hardening. To do this, use a cloth, sponge, water. For operational work, these materials should always be at hand.
Small seams between the squares can be repaired with mastic, putty, sealant, picking up a lot of the right color. The excess is removed with a spatula. Additional processing of gaps will give a more beautiful look, it should not be neglected. To do this stage of work is important after the glue has completely dried.
to contents ↑Seamless tile
The bonding procedure for such a material will be similar. First, make markings, reveal the center, then proceed to gluing. This can be done both diagonally and parallel to the wall. It is better to start bonding with seamless material from the wall opposite the window. So the seams between the squares will be less noticeable. It is better to smooth softer seamless products not with your hands, but with a rag.
Tiled Ceiling Care
In order for the ceiling to always look beautiful, you will have to properly care for it. If dust has accumulated on the ceiling, you need to clean it. Dry cleaning will help, usually it is done as needed with a soft brush or vacuum cleaner (neatly).
to contents ↑Once every 2 months, you can wash the tile with a mop, but do not use aggressive detergents. Enough soap or utensils. Spots are washed with a sponge with soapy water.Moisture from the surface of the tiles must be removed with napkins.
Ceiling Tile Painting
The paint adversely affects the seamless tile - the joints will darken, the material will look unaesthetically. All other types of boards can be painted, while in order to create the perfect coating it is better to apply paint in 2 layers. It is advisable to choose acrylic or aqueous emulsion formulations that are safe for humans.
The content of mold components will be a big plus. Staining will give dirt-repellent and moisture-resistant properties, increase the service life of the tile, and also significantly increase its external attractiveness.

