Recently, interior designers for interior decoration are increasingly using decorative stone. Unlike natural, it is made by man, while it has higher strength, practical, economical to use.
- Scopes of a plaster decorative stone
- Advantages and disadvantages of decorative stone
- Stone Adhesive
- Types of Solutions
- Brands of manufacturers of glue for artificial stone
- How to glue a decorative stone - instructions
- Load calculation
- Materials and Tools
- Surface and stone preparation
- Rules and principles of installation
- Features of the arrangement of seams and corners
- Protective compound
- Main mistakes
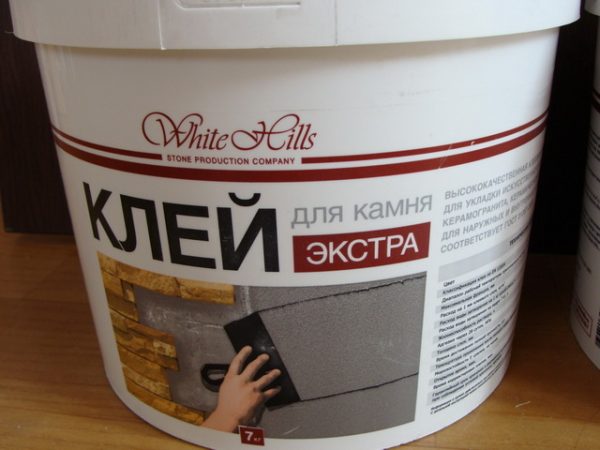
The easiest way is to mount artificial stone on the walls with a special adhesive composition that ensures reliable joints. Glue for stone can be selected from different groups of products, it is only important to select materials from trusted manufacturers.
to contents ↑Scopes of a plaster decorative stone
Artificial is understood as an industrial product that mimics wild, natural stone. Decorative material is created from gypsum, quartz and colored cement with the addition of polyester resins. Both gypsum and cement stones can include fillers from crumbs of natural marble, granite. Acrylic stone is also available (for example, the Tristone brand), which has a rich color palette.
The material is suitable for various substrates: drywall, concrete, brick, wood, plastered surfaces, it is used for interior and exterior use. The most durable is the quartz finish. It easily withstands temperature extremes, is not susceptible to mold development, is suitable for wet rooms, and is frost-resistant.
Scopes of a decorative stone are various:
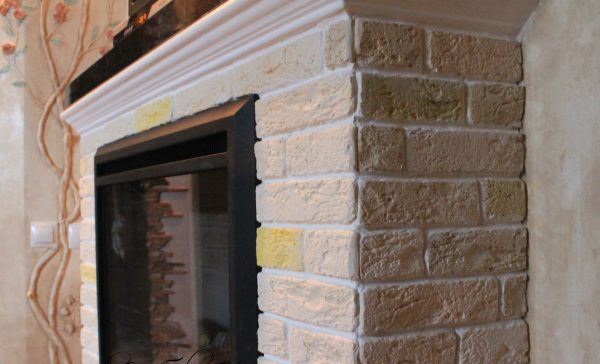
- facing of furnaces, fireplaces;
- decoration of bathrooms, showers, baths, saunas, pools;
- installation of sinks, countertops, bar counters;
- manufacturing of window sills, sinks, sanitary products;
- creation of decorative elements and sculptures, stucco moldings, baguettes.
Acrylic stone is often used for repairs in medical institutions, furniture. Concrete-based material is popular in decorating facades of buildings, structures, for interior decoration it can also be used, especially in offices and rooms with high traffic. Living rooms, kitchens, halls are often decorated with gypsum stone; it gives a cozy look to the apartment. They can also be framed with mirrors, niches, headboards. Due to its low mass, gypsum stone is well suited for the decoration of partitions and ceilings.
to contents ↑Advantages and disadvantages of decorative stone
White or colored stone is a beautiful, original material that looks advantageous in any interior. It has a lot of advantages:
- a variety of options, the ability to apply in almost any room, while creating original designs;
- beautiful imitation of the structure of natural stone;
- a pleasant texture upon tactile contact;
- simplicity in work, no need for special knowledge;
- light weight of the stone, no additional load on the walls, ceiling;
- opportunity to save (compared with the price of natural material);
- favorable microclimate in the room with such a finish, environmental friendliness;
- strength, durability of the material, resistance to deformation;
- resistance to temperature extremes;
- the suitability of most adhesive compositions for styling.
The disadvantages of artificial stone are few. It requires careful preparation of the surface - otherwise, differences, pits, potholes and defects will not allow you to create a really high-quality coating. Some types of gypsum stone do not respond well to the influence of moisture, are destroyed by the physical impact. If an element is dropped or hit, it most often breaks, so care must be taken. Also, inexpensive brands of stone are prone to fading, any artificial material with constant exposure to sunlight will fade.
to contents ↑Stone Adhesive
What to glue a decorative stone? Choosing the right gluing agent is very important, because only high-quality glue can ensure the reliability of the masonry. The adhesion of the finish to the base, which determines the life of the product, will directly depend on it.
Types of Solutions
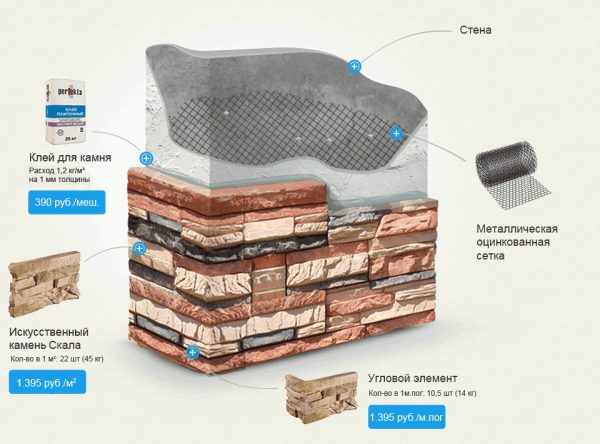
Glue for artificial stone can be selected depending on the type of finishing material. For example, dry cement mixtures based on white cement are well suited for cement products. Gypsum stones are glued on putties and tile adhesives with gypsum in the composition. Also for gluing stone, the following tools are suitable:
- two-component epoxy or polyester adhesive;
- reinforced PVA;
- acrylic putties and adhesives;
- Bustilate
- gypsum mastics;
- liquid Nails;
- mounting sealants.
Glue should be selected based on economic opportunities, ease of application and flow.
to contents ↑Brands of manufacturers of glue for artificial stone
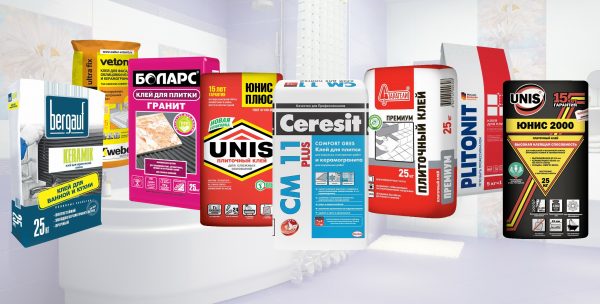
The most popular manufacturers of adhesives are Knauf, Ceresit, Unis, Kreps, Litokol, Korian, Plitonit, Perlfix. Examples of good adhesives include:
- "Cerezit SM 117." Differs in durability, low hygroscopicity, forms a flexible, elastic seam. It is used for laying any type of stone.
- "Mixonite Multistone." German glue with an extremely high setting force, used for laying artificial and natural stone.
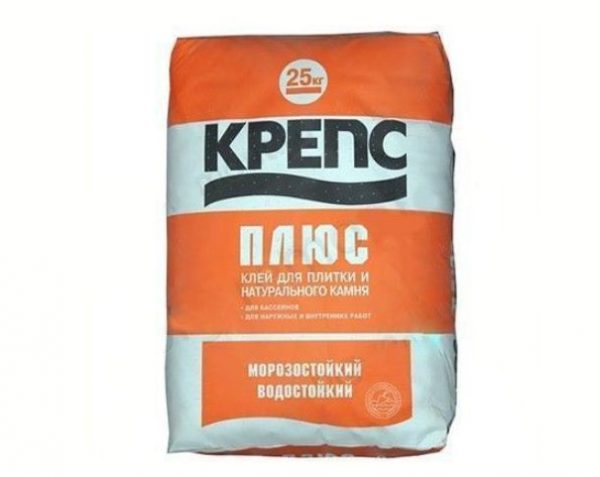
- Kreps Plus. Moisture-resistant cement glue that does not allow masonry to be damaged or shrink.
- "Tenax" (Tenax). Italian glue for all types of stone based on polyester resin, frost-resistant, has high adhesion to concrete, brick, and other substrates.
- Akepoks from Akemi. Glue is produced in Germany, is an epoxy acrylate material for natural and artificial stone. It has a transparent color, ideal for white and other light tiles.
How to glue a decorative stone - instructions
Before work, you need to buy the required amount of decorative stone. It will be equal to the area of walls that is supposed to be finished. When buying, it is important to consider the purpose of the material (for indoor or outdoor use), moisture resistance, if you have to stick it in wet rooms. For the hall, bedroom, hallway, usually choose gypsum stone, for a bathtub, kitchen - acrylic or cement. Products should be inspected to exclude the presence of cracks, chips, and also request certificates.
to contents ↑To determine exactly how much stone is needed, it is advisable to first draw up a sketch of the wall decor. The type of laying will also depend on the shape of the stone - rectangular products are laid in rows with an offset, like a brick. Wrong elements will have to be laid first on the floor, picking up to each other, only then glued to the wall. Similarly, you must do it if you want to lay out a picture on the wall (for example, in different colors).
Load calculation
The strength of the load will depend on the type of coating, as well as a number of other parameters. To calculate, you need to know such indicators:
- S total - wall area;
- S plates - the area of one tile.
Dividing these numbers, you can get the required number of tiles, which will be laid on the wall.You also need to think about how the masonry will be done - close or with seams, to clarify the thickness of the seam. When subtracting the area of the joints from the original, followed by dividing by S tiles, the rate of consumption of the stone will be more accurate. The wall load can be calculated by multiplying the weight of one element by their number.
to contents ↑Materials and Tools
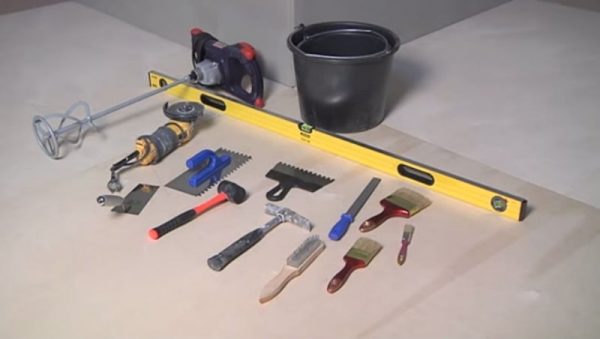
For laying artificial stone, it is worthwhile to prepare in advance everything necessary so as not to be distracted during work. Depending on the installation method and type of glue, you will need:
- level, pencil and tape measure;
- spatulas - simple, with teeth;
- square;
- trowel or trowel;
- rubber mallet;
- drill or construction mixer;
- glue gun;
- hacksaw and miter box;
- cross stitch;
- foam sponge;
- paint brush;
- container for diluting glue;
- wooden block;
- metal brush;
- Bulgarian.
You also need to buy the actual stone and glue, the joint mixture to match the color of artificial decor or a contrasting shade, primer for walls, acrylic varnish for final processing.
to contents ↑Surface and stone preparation
The ideal option is to stick the material on walls that have not previously been finished. In this case, you can simply remove minor defects, prime the base using acrylic or polyurethane primer. When the walls have paint, wallpaper, they will have to be removed. To do this, you can use a metal brush, a sharp spatula, after sprinkling the base with water.
Surface preparation may also include the following:
- applying plaster or putty;
- thorough priming of the base for dust removal and adhesion enhancement;
- priming of all elements from the inside (gypsum tiles are best treated 2 times);
- wall marking for easy gluing of trim elements.
Strongly uneven walls are recommended first to sheathe plasterboard or OSB-plate. In this case, the stone should be mounted on elastic acrylic adhesive, otherwise the masonry will crack in the future. Drywall, like even wooden substrates, can not be puttied, but only if the stone will be laid without seams.
Decorative stone also needs to be prepared:
- cut the elements into pieces of the desired shape, size with a hacksaw or grinder;
- it is necessary to cut the extreme tiles in the masonry through one (for a gypsum stone, it is better not to use a grinder, it helps to crack the plates);
- to clean the places of cuts with a file to give a natural look, also with this tool you can make torn edges of tiles;
- the attractiveness of the masonry will give the sawing of corners of individual elements;
- if necessary, apply acrylic paint (this is usually done when buying white material).
Rules and principles of installation
If the tiles are purchased and prepared, the glue is also purchased, you can begin to work. The principle of wall decoration is the same regardless of the method (with or without seams), the difference is only in the details.
The procedure will be as follows:
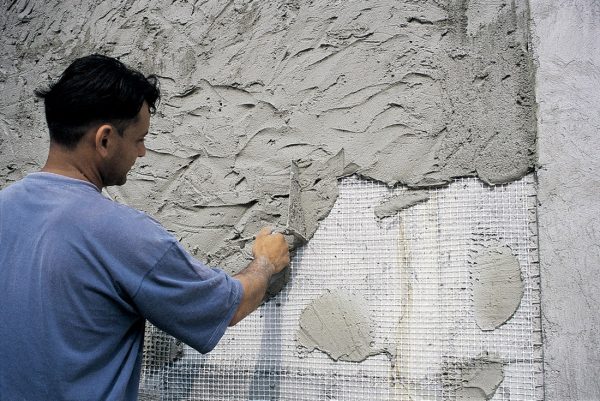
- Kneading the glue. Dry building mixes are added to a strictly measured amount of water, but not vice versa. Then the mass is mixed with a mixer, a drill with a nozzle, as a result, the glue should be thick, elastic, uniform. Ready-made formulations are used immediately.
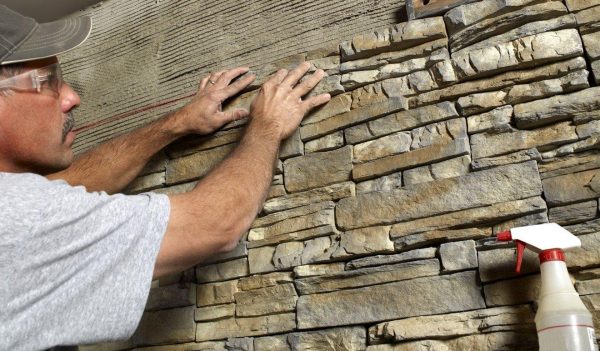
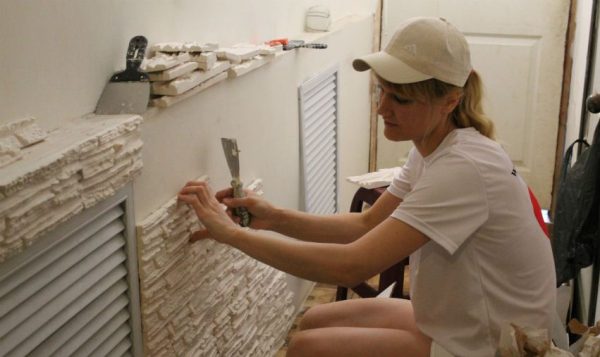
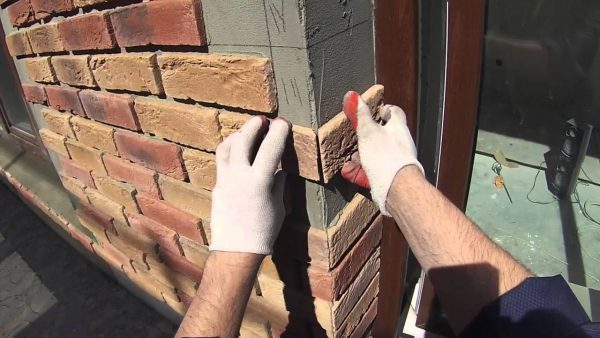
- Bonding tiles. The glue is applied to the wall with a spatula, observing the uniformity of the layer. You can’t cover the entire wall right away. It is enough to do this only on 1 square meter, otherwise the product will dry out and lose its adhesion to the tiles. If ready-made glue or sealant is used, then it is applied to the elements themselves in waves. The artificial stone needs to be pressed firmly against the wall, especially when laying on a cement mortar, but it is also impossible to allow the adhesive to come out too much. It is necessary that it comes out in a small amount, then the voids will fill up and complete sealing. Tile Laying Tips:
- start finishing from the bottom row using the seamless method, from any angle - with suture technique;
- if a stone of different sizes or colors is used, the asymmetry of the shapes will look beautiful, with the same details it is worth creating only clear, correct patterns;
- it is recommended that the cut edges be glued to places that are hardly noticeable to the eyes, so that the wall looks more aesthetically pleasing;
- laying is carried out row by row from bottom to top, you can also start installation from the middle of the wall, after attaching the guide rail (wooden block, metal profile);
- Tiling is best done with a rubber mallet.
- Creating seams. To form seams between the elements, gaps of up to 2-12 mm are left. They are necessarily made uniform, and the rows run parallel to each other. Some careless styling is permissible; it will hardly be noticeable. With a seamless technique, elements are glued tightly to each other. If glue gets on the front side of the material, it must be removed immediately, otherwise it will be difficult to clean the tile later.
- Seam cleaning. The glue that filled the seams should be removed to the maximum, because in its place there will be a special grout. Only the jointing and glue of the same composition suggest that the latter is left in the seams. After the adhesive has hardened, the joints can be painted in any tone to emphasize the beauty of the stone.
- Grout. To form beautiful seams, you need to dilute the trowel according to the instructions on the package, then put the serving in a small bag. From it it will be convenient to squeeze the mass onto the seams. A construction gun is perfect, you can even use a regular confectionery syringe, however, after applying it for food purposes it is undesirable. The extruded product must be carefully leveled with a narrow spatula. After drying the mass, the surface of the tiles is cleaned with a dry soft brush from the remnants of the grout. The final drying time of the glue and grout is 3 days.
to contents ↑
Features of the arrangement of seams and corners
Laying a decorative stone is usually considered easier than installing tiles. As a rule, problems arise only with the formation of corners and seams. Beginners often make lap angles, but this option will look normal only with even side walls. Elements cut in the corner look more beautiful by 45 degrees, and minor flaws can be covered with putty.
How to make seams between stone parts? Work with crosses is more reliable, but rather long. It’s easier to work without crosses at all, but you have to mark the wall in advance. Exactly drawn lines will allow to lay neat rows, and the seams will be the same. Glue is best applied with a layer of up to 3 mm, then the seams will require less processing.
to contents ↑Protective compound
The last step in creating a decorative stone coating is to process it with protective acrylic compounds. This clause is mandatory in such cases:
- tiles are made on the basis of gypsum;
- the room has high humidity;
- there is a risk of regular damage to the finish (for example, animals live in the house).
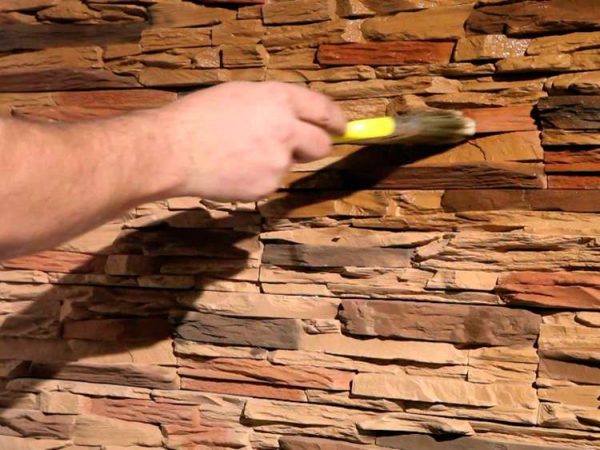
to contents ↑Coating with special means extends the period of use of the decor, creates a waterproofing film, and also allows you to give a new shade to the material. It is advisable to choose a composition without solvents, water-based - it is more environmentally friendly. Apply varnish only when the embroidery is completely dry. For work, apply a brush, spray, roller.
Main mistakes
With improper technology, the result may be less attractive and poor quality. It is also possible to increase the cost of the material if, when cutting, allow the appearance of a large amount of waste, damaged tiles. As for errors, the following are most common:
- leaving glue streaks before solidification, when it is difficult to remove them without damaging the parts;
- sloppy, uneven stitching;
- the formation of too wide seams;
- ignoring the priming of the inside of the tiles and the application of protective agents.
It is better not to allow such oversights, then the work will be of better quality, the masonry will be beautiful, as if it were done by a real professional.

