After purchasing the necessary primer for walls or ceilings, as a rule, the question arises, what is the best way to apply it. There are a lot of tools for this purpose, but they usually use:
- Brush. She works slowly, the consumption of material is large. It is suitable for processing hard-to-reach spots and local areas (cracks, potholes).
- Spray. It helps to quickly perform work, provides savings in the mixture, but greatly stains the room.
- Roller. Most preferred for applying the composition over large areas. When it is applied, the surfaces are processed quickly, evenly, the primer consumption is reduced.
A correctly selected roller for priming walls and a primer mixture will be the key to successful repair, strengthen the walls and ceiling, provide them with the necessary protection.
to contents ↑What does the roller look like?
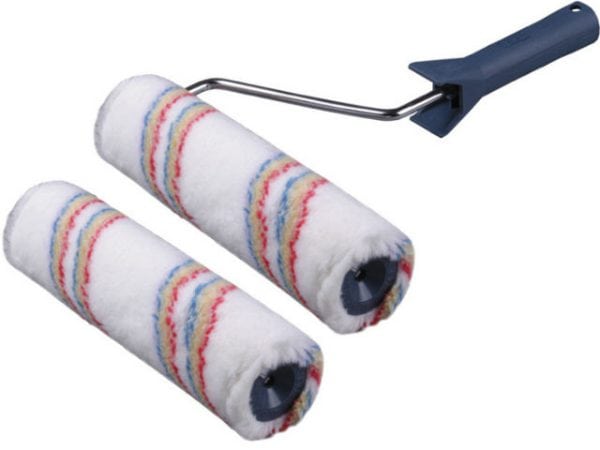
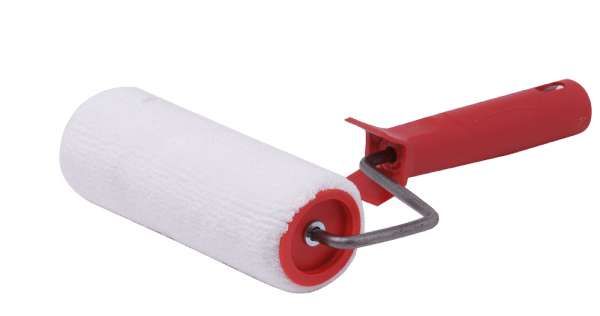
There are very few people who would not know this simple and convenient construction tool. The device consists of:
- Plastic handle with a curved metal rod (clasp). In most cases, it can be connected with an extension handle. Such a device allows you to minimize the use of scaffolding, ladders.
- Roller with a "fur coat", which is a removable cylinder. It is made of different materials: foam rubber, acrylic, fur.
What are the tools
Rollers can vary in type of coating:
- Foam rubber. They are well suited for applying viscous compositions, but not ideal for priming: the mixture can splatter, drip onto the floor, form streaks, stains.
- Fur When using them, the solution is not sprayed, lies in an even layer. They can be with a pile of different lengths, in this case it is better to take with a medium pile.
- Velor Good for flat, smooth surfaces.
Separately, there are decorative rollers. They are good at drawing on wet plaster, but their use on large surfaces will take a lot of time.
By size:
- Mini. Used for processing hard to reach places.
- Midi - the optimal size, providing a combination of speed and material savings. Using this roller, you can easily process the walls, floor, ceiling.
- Maxi. Not the best option. They are able to cover a large area, but it is difficult for an amateur to work with them. The tool is heavy, evenly priming the walls with it, without skill, is difficult.
Features of choice
When deciding which type of tool is best used, it is necessary to consider what further work will be performed after the priming.
- Before puttying, sticking dense wallpaper, laying tiles does not play a big role than applying the composition to the walls.
- if you have to paint, stick thin wallpaper, silkscreen, then it is only possible to use a velor roller.
The choice depends on the quality of the surfaces of the walls and ceiling:
- If the surfaces are porous, uneven, then the choice should be in favor of "long-haired" rollers. Long villi easily penetrate bumps, ensuring uniform surface penetration.The less even the surface, the longer the pile should be.
- On a relatively flat wall, using a medium-pile tool gives a good effect.
- On smooth surfaces and before painting, smooth ones are used.
Using the roller allows you to quickly, efficiently apply primers to the surface of any material, any texture, density.
Having correctly determined which type of roller to use, you can quickly and economically make home repairs.
It is easy to use, the bobbin rotates freely, applying the composition in an even layer, does not spray, fills pores, microcracks. The walls, floor and ceiling treated in this way will become smoother and stronger.


