Applying a primer on the walls and ceiling is one of the mandatory steps in the repair or construction of any type of premises. Not only convenience in work, but also the final quality of work depends on how correctly you choose a roller, brush and primer tank. The same applies to personal protective equipment and other tools.
- Common mistakes when choosing a primer
- Price race
- Decide on a task
- Highly specialized tool
- What is a primer for?
- What else do you need
Beginners in repair and construction believe that priming consists in quickly applying a special composition to the walls and ceiling, on which little depends. The result is sad cases when the finishing materials move away from the wall due to poor-quality application of the soil. Professionals are very attentive to preparation before priming, carefully select a tool that not only fits comfortably in your hand, but also allows you to evenly and thoroughly process the entire area of the wall, ceiling, concrete and plasterboard structures.
to contents ↑Common mistakes when choosing a primer
Price race
A professional plasterer painter will never buy a tool for himself just for the sake of low price. This not only often leads to an additional expenditure of time, but also entails more costs than the resulting benefits.
Do not use a used bucket or other container, brushes, rollers that come in contact with finishing materials, glues, oils, paints. This will lead to the fact that the dried fragments of the material simply fall into the container with the primer and are applied to the wall. Further, when finishing, these defects will become noticeable, and it will be very difficult to remove them, and sometimes - expensive.

Decide on a task
For large volumes of priming, special rollers and brushes are required to provide the required level of performance. You cannot process 100 sq.m. wall or ceiling with a small brush. The same applies to a large professional tool when working in small areas.
A large primer tank holds more composition, however, if you do not produce it quickly enough, the primer will simply dry out or sour. Hence the conclusion - for each task there should be a special tool, and the master needs to have tools in stock.
to contents ↑Highly specialized tool
Especially for hard-to-reach spots, applying a primer in corners, joints, for working on various types of surfaces, various types of rollers are used. If the surface, for example, is porous, quickly absorbs the primer, rollers with a large volume of the porous body or even with a pile are used. If you work with an ordinary tool, the roller or brush will be able to process small areas and the application cycles will be several tens more, which will affect the quality, speed and fatigue of the master.
to contents ↑What is a primer for?
When choosing a tool, it is important to understand what tasks the priming of walls and ceilings solves. When applying the composition, the base is strengthened.It is important to apply the primer in a uniform layer, previously the walls must be cleaned of large fragments of construction debris or finishing materials. This means that a tool such as a roller is more acceptable when applying a primer than a brush. In addition, working with a roller can process a large area in less time. A brush is required for such work:
- corner processing;
- priming along the demarcation line (masking tape);
- bottom wall treatment;
- priming in hard to reach places.

to contents ↑Only with high-quality application of the bonding composition is tenacity, strength and surface cleanliness achieved before applying finishing materials, such as wallpaper, paints, decorative plasters.
What else do you need
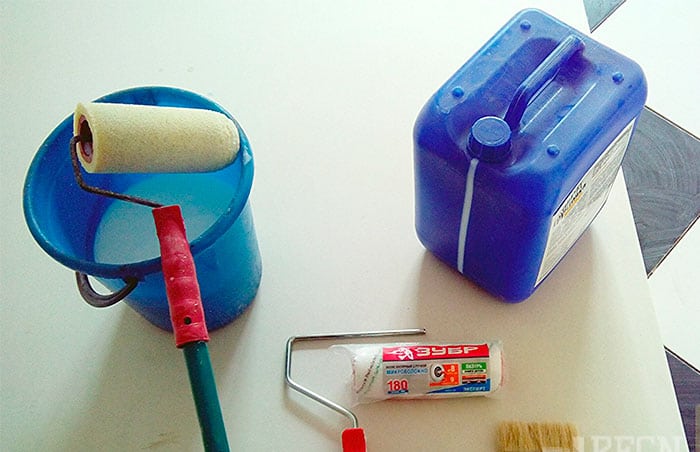
Priming is a complex process that is preparatory to finishing the surface. Before starting the priming, it is necessary to prepare all the tools and materials for the work:
- Broom and dustpan (if there is no industrial vacuum cleaner), for cleaning the floor, walls and even the ceiling. If the primer is applied to the wall, which is covered with a thick layer of building dust, defects may occur during subsequent processing: falling off pieces, the formation of plaques that have dried up with a drop of debris mixed with the primer.
- Ladder for work at height.
- Work gloves, glasses and a hat. The primer can be toxic, especially for deep penetration, work should only be in a well-ventilated area. In case of contact with skin, hair, eyes, rinse immediately with clean running water.
- A damp cloth with which you will immediately wipe off any surplus that has fallen on the floor.
- Often during the application of the primer, the master detects coating defects (humps, dried drops of putty, etc.). They are best removed with sandpaper, a hammer or a chisel.
- It is better to choose a convenient container with a reliable handle, if you work at height, reduce the amount of primer to be poured.
Always follow the primer manufacturer's recommendations, mix the material in the correct proportions and treat the surface thoroughly. For best results, keep an eye on temperature and humidity. Recall the optimal conditions for priming: from 5 degrees of heat, but not above 30, and with humidity up to 70 - 75%.


