Wall treatment before wallpapering is one of the stages of repair work that requires special attention. The fact is that the quality of wallpaper gluing, their external attractiveness and the lifespan directly depend on the correct preparation of the surface.

Surface requirements
The walls on which the wallpaper will be glued must meet a number of requirements:
- Low humidity. When wallpapering, the wall collects moisture from the glue solution, and if it is wet, the adhesive capabilities of the surface are drastically reduced. To determine the surface moisture, it is necessary to glue a piece of cellophane film to the wall for 8-10 hours. If after this time dew forms on the film, it is necessary to once again dry the surface and ventilate the room.
- Purity and uniform tone. If the surface is not plain or dirty, it will surely catch your eye after wallpapering. Therefore, all dirt must be removed in advance, and impregnated on the walls. Determining whether spots will appear through the wallpaper is easy when you look at the light through a roll of wallpaper. If the canvas is transparent or has streaks on it, spots will be noticeable. However, defects may not be visible, provided that the wallpaper is quite thick.

- Strength. The wall should not have any damage, its material should not peel off or crumble, otherwise the wallpaper will soon peel off. To test the wall for strength, just slightly pick it with a metal object. If pieces of material do not crack as a result, the surface condition is normal.
- The absence of lime type drips. Lime streaks indicate insufficient moisture absorption. The result of this in the future will be the appearance of bubbles on the wallpaper. Litmus paper is used to test the surface. If the alkali level is excessive, a reaction will occur.
- Lack of mold and mildew. If a wall section is affected by microorganisms, this does not add to the room's beauty and leads to the destruction of finishing materials. In addition, mold adversely affects the health of residents. If mold is present, it must be removed. In order to avoid new mold, the surfaces must be treated with an antifungal drug.
Next, you need to carry out preparatory activities. They consist of three stages, including:
- removal of old wallpapers;
- plastering;
- putty.

Dismantling old wallpapers
First of all, you need to remove the old wallpaper layer. Wallpapering over old ones is not allowed. Although the dismantling process is quite laborious, you cannot do without it. If you neglect this, the old layer will not withstand the mass of new rolls and the wallpaper will begin to fall off the wall. In addition, if the wallpaper is not thick enough, the pattern of the lower layer will be visible through them, and the entire surface will be covered with bubbles and other defects.
Even before you peel off the old wallpaper, you need to prepare the room. All furniture should be removed from the room to gain unhindered access to the desired sections of the walls. It is advisable to remove the skirting board completely. Although there are situations when dismantling the baseboard is unreasonable, since this element is made of wood, and therefore there is a great chance of damage to it. Sockets should be disconnected from the power supply, the lighting fixtures should be removed, and heating radiators, floors and window sills should be covered with a layer of thick plastic film.

The procedure for removing the old coating:
- wet the surface with a paint roller dipped in a bucket of hot water;
- peel off the wallpaper using a patch spatula (if the material is torn off with difficulty, moisten the surface again);
- after removing the wallpaper, dismantle the layer of plaster (if it does not hold well), and also remove the cable, remove all kinds of nails, screws, etc .;
- we check the walls for defects (obvious roughness, indentations, bulges, cracks, etc.);
- using the building level, we check the verticality of the walls and determine the front of actions for plastering surfaces.
If the walls were previously painted, you need to remove the old paint layer and level the surface. In some cases Wallpaper can be glued to paint.
to contents ↑Plastering
The objective of this stage is to apply a leveling mass to the walls. It is necessary to achieve the most even surfaces on which the wallpaper will be glued.
Modern gypsum mixtures are characterized by good adhesive qualities. Such solutions are recommended to be applied with 5-7 mm layers in one approach, which is very convenient. The prices for gypsum mortars are higher than for cement-based plasters, but the simplicity of work and higher quality justify the increased costs.
Instructions for plastering surfaces:
- We prepare a solution of plaster. The mixture is diluted in a container of water (for example, in a bucket) using a construction mixer. The exact proportions can be found on the packaging with the mixture for the plaster.
- To apply the plaster you will need a pair of spatulas: wide and overlay. You need to work with two hands: with a trowel, put the plaster on a wide tool. After that, the solution is applied to the surface in smooth movements. Movements begin from above and go down.
- The depressions are closed by the usual movement from the bottom up.
- If there are significant bulges on the wall, we beat them off with a hammer or remove them with a perforator. Then we smooth the remains of the defect with plaster, gradually leveling the surface.

- It is much more difficult to fix the line of the wall that is blocked up and will require more time. You will need special beacons, a plumb line and a rule. Before plastering such a wall, it must be primed. We set the initial lighthouse in the most even place of the ledge. The next beacon is installed on the opposite side. To set the plane along the wall (top and bottom), skip the threads. After pulling the threads, we put a few more beacons at a distance of about a meter from each other. To put the beacons in one plane, we use the rule and the construction level.
- After the gypsum has dried, apply the plaster. First, make a spray with a liquid solution - this is the base on which, when it dries, the main layer will be applied. The meaning of the spray is to improve the adhesive properties of the surface. After spraying, slipping of the main layer of plaster will become less likely.
Finishing before wallpapering
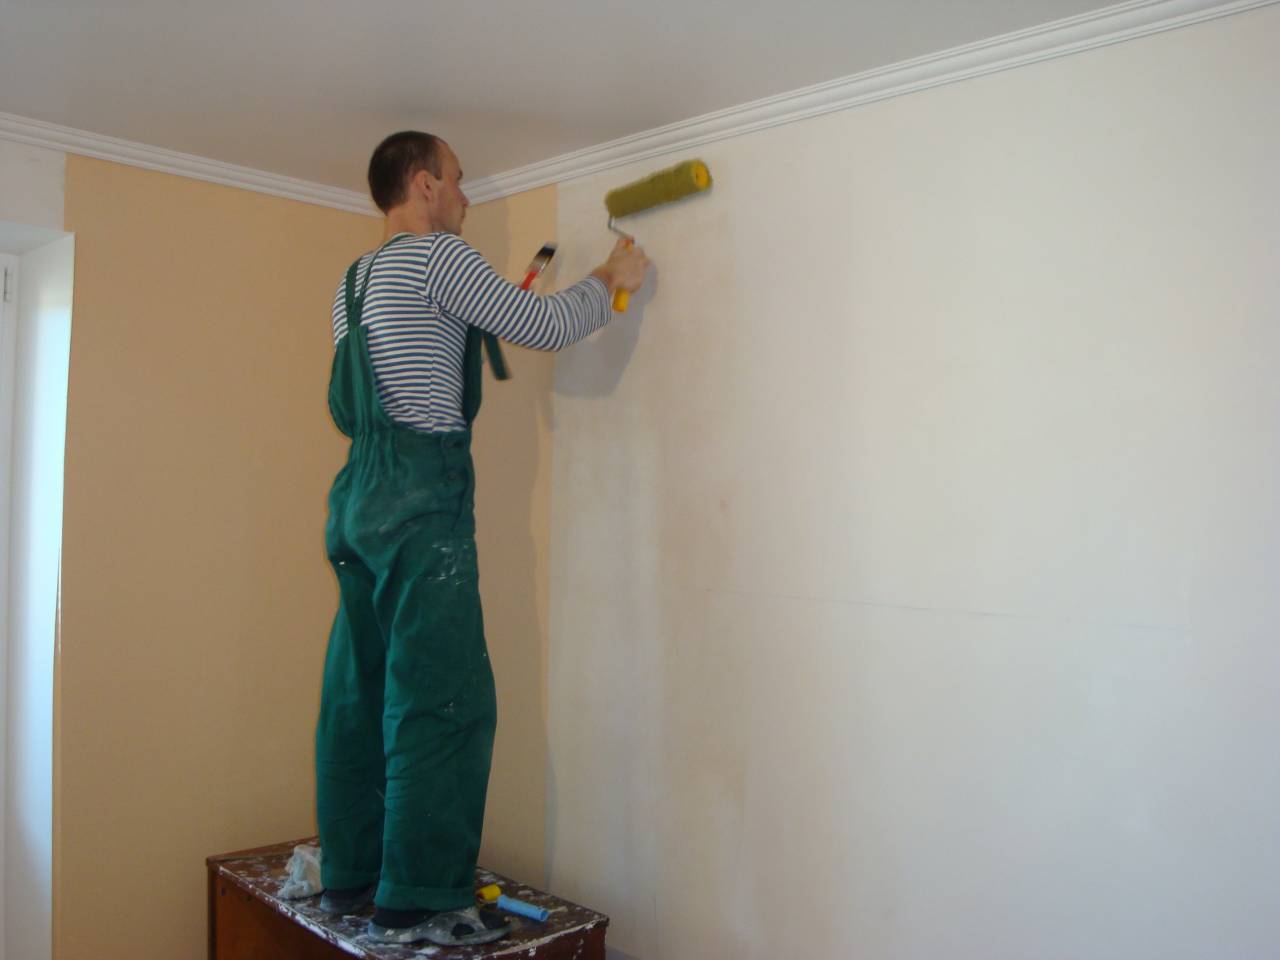
After the walls have become smooth, you need to make them smoother and cleaner. On such a surface the wallpaper will stick better. At this stage, putty should be applied to the walls. The surface will become plain, white.As a result, after gluing through the wallpaper, concrete or any stains will not shine through.
Note! Putty walls can be painted. This matters because in some cases the surface needs to be painted to match the wallpaper.
Putty Instructions:
- For priming, you need a roller (reinforcing or impregnating).
- To prepare the putty, in addition to the driest mass, you will need a container (for example, a bucket), a construction mixer and water. The exact proportions for creating the solution are indicated in the manufacturer's instructions on the package with the mixture. In this case, the finished solution should be thick enough and not drain from the spatula.
- The solution is applied to the wall with a wide spatula. Movements are circular. We put putty in several layers (at least in a couple of layers), while the thickness of each of them is from 1 to 4 millimeters. The next layer can be applied only after the previous one has completely dried. Usually, drying the layer takes from 6 hours to a day.
- For putting putty in hard-to-reach places (for example, behind radiators, heating pipes) we use a flexible rubber spatula.
- The finishing layer of the putty is applied very carefully. It is important to do everything so as not to leave any traces of the tools.
- After filling, you need to sand the walls with sandpaper. To make it more convenient to work, sandpaper can be fixed on a wooden bar. Sanding is carried out by movements in a circle from the upper corner down. In this case, the movements should be quite smooth, with uniform pressure.

Rubber spatula for hard to reach places

When the surface is sanded, it remains to apply another layer of primer to it and dry the wall. As soon as the surface becomes dry, it is ready for wallpapering.

