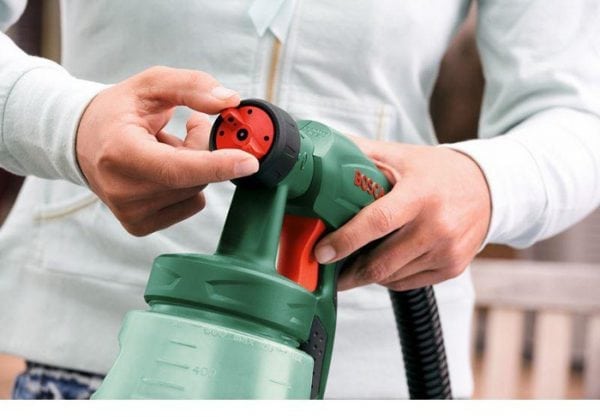
Proper adjustment of the spray gun is the basis of reliable operation of the tool and high-quality application of paint to the surface. The setting includes several steps: preparing the paint, setting the size of the torch, determining the optimal pressure and adjusting the flow of paint.
- Paint preparation
- Technical features of the spray gun
- Varieties of sprayers
- Customization
- Torch size adjustment
- Pressure setting
- Paint Supply Setting
- Damage Detection Actions
- Some useful tips
If the equipment is configured correctly, the paintwork material will lie in a uniform layer without sagging and sagging. An incorrectly configured paint sprayer is one of the main causes of unevenly painted and long-drying coatings. Therefore, the configuration process should be treated with utmost care.
to contents ↑Paint preparation
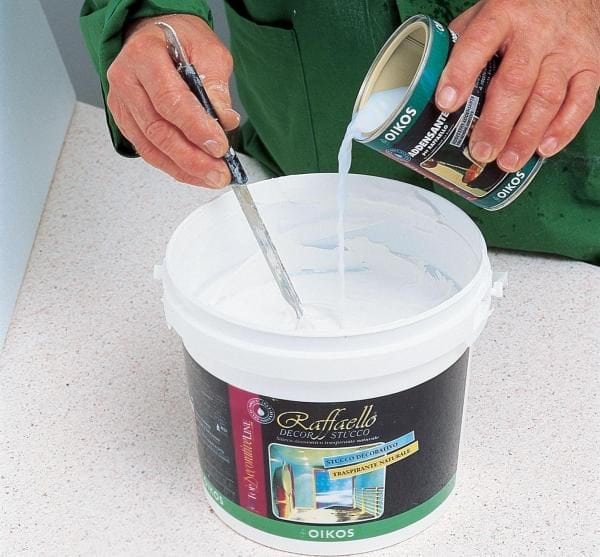
To prepare the paint, you need marked-up plastic dishes or a measuring line. Manufacturing companies place information on the proportions of mixing the mixture with the activating substance on the package. For example, 2x1 marking indicates the ratio of 2 parts of paint to one part of activator.
For more precise control of the proportions you will need a measuring ruler. If it is not available, you can use a container with a graduation applied on it.
One of the main indicators for high-quality staining with a spray gun is the viscosity of the composition. To get the paint of the desired density, a solvent is added to the activated mixture. It would seem that everything is simple, but not every manufacturer reports the required amount of solvent to be added to the paint. Therefore, in such cases, you will have to act by trial. Experienced craftsmen prepare the mixture by eye - without the use of measuring dishes. Beginners can be recommended to purchase only those formulations on the packaging of which there is a detailed briefing on the creation of the mixture.
Advice! If on the package it is written, for example, 2x1 + 15%, then in addition to 2 parts of paint and 1 part of activator, 15% of solvent will be needed.
If the plans include the creation of a metallic effect, or if the surface needs to be given special protective properties, it is necessary to apply 2 layers of paint. First, a base coat is applied, and then - acrylate based varnish.
Acrylic varnish is prepared based on the recommendations of the manufacturer. Moreover, if the coating will consist of 2 layers, you do not need to activate the paint, since the surface will dry out due to evaporation of the solvent.
to contents ↑Technical features of the spray gun
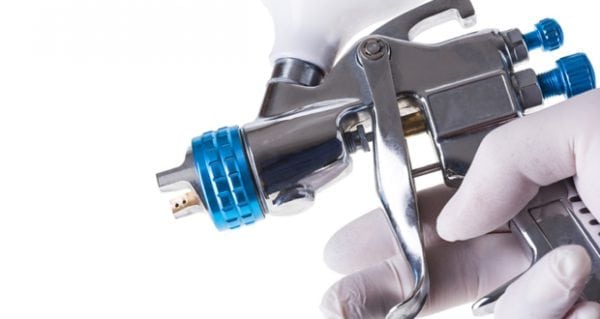
The spray gun is designed so that all important parameters of its operation can be regulated.
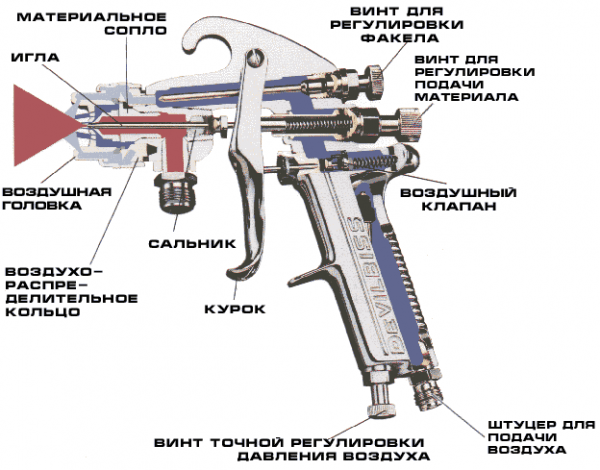
The device consists of the following elements:
- a tank with a filtration for a paint and varnish composition (volume from 100 to 250 milliliters);
- nozzles adapted for grinding paint;
- starter feed controller;
- handles;
- spray spot controller (round or flat breakdown is used);
- nozzles with a metal needle and a double pneumatic diffuser;
- air flow controller.
Varieties of sprayers
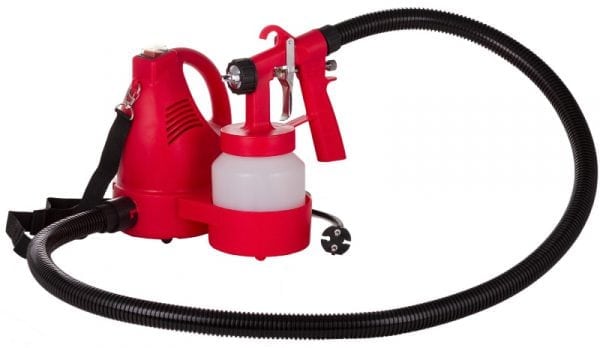
There are many types of spray guns, but the following systems are among the most advanced, providing the highest quality of paint:
- HVLP - consume a lot of compressed air and provide low outlet pressure.
- LVLP - characterized by a small volume of compressed air and low outlet pressure.
In addition, LVLP spray guns are divided into several types (LPH, Trans Tech, RP). At the same time, there is no significant difference between the listed models. We are talking only about different manufacturers who prefer their own labeling.
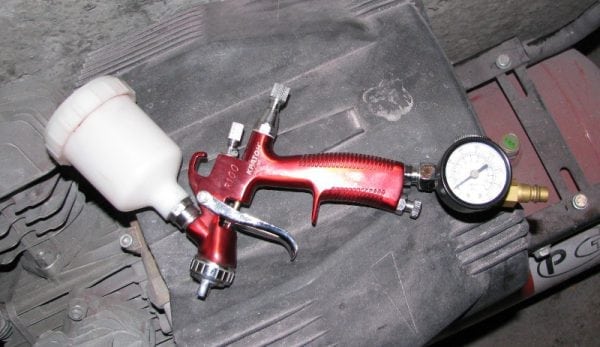
Standard conventional devices operate at an inlet pressure of 3-4 atmospheres. In this case, the pressure levels at the inlet and outlet are approximately the same. In this regard, according to the pressure readings on the manometer, one can also judge the level of spray pressure.
For HVLP pistols, the inlet pressure is usually 2 atmospheres and 0.7 atmospheres at the outlet. At the same time, there is a rigid proportional dependence of the indicators on each other: if you reduce the inlet pressure to 1 atmosphere, the output will be exactly 0.35 atmosphere.
LVLP type spray guns combine the advantages of the old conventional model and HVLP systems. Devices consume a little air, but at the same time provide an impressive paint transfer coefficient (over 65%). The pressure at the inlet of the system is from 1.5 to 2 atmospheres, and the output does not exceed 1.2 atmospheres.
More accurate pressure indicators are set using a special test air head equipped with a pair of pressure gauges. One pressure gauge measures pressure on the central channel, the other on the side channel. It is worth noting that such heads are used infrequently, since they are not included in the package. Typically, the outlet pressure is controlled based on the inlet pressure indicator.
Customization
First, the paintwork should be poured into the tank. The setup includes testing on a horizontal surface. It is recommended to use a paper sheet fixed on the wall for these purposes.
Torch size adjustment
The setting is to set a suitable torch width. When setting the width, it is recommended to start from the area of the surface to be treated. If you have a narrow color transition or you need to update a small area, you need a small width of the torch.
With full surface painting, it is advisable to set the maximum possible width of the torch. This will allow you to apply the paint evenly, as well as ensure a normal speed of staining.
to contents ↑Note! The smaller the width of the torch, the less intense the air supply should be.
Pressure setting
Choosing the right pressure is not easy. The problem is that the selection of this parameter may vary depending on the circumstances. The optimal indicator depends on the model of the spray gun, as well as on the type and viscosity of the paint material. Therefore, to select the desired pressure level, one cannot do without a test surface, on which several samples are made. In this case, before each breakdown, the air pressure increases.
After the first test, the surface is examined for the size and shape of the droplets, the relief of the coating, the pattern of spraying in the upper and lower parts of the pattern. According to the results of the study, we can come to certain conclusions:
- Stretched drops, large and densified spots arise due to too little pressure.
- If a figure-eight stain forms on the paper, the pressure must be reduced.
- If the pattern resembles a banana, crescent or pear, the air cap, nozzle or nozzle is most likely clogged.
During setup, you need to get a stretched shape of the torch. There should be no drips or seals. During adjustment, the optimal distance from the spray gun to the Whatman paper is 25-30 centimeters. When finishing the surface, the manufacturer's recommendations regarding the permissible distance should be followed. The head should be horizontal during testing.
The air controller in different versions of the spray gun can be built into the handle or removable. When working with a removable regulator, it is recommended to open it at the docking area of the receiver with the hose. If the regulator is built-in, you can change the pressure only when the trigger is pulled, otherwise after pressing the trigger the pressure will drop sharply, and the device will break the paint poorly.

Paint Supply Setting
When the size of the torch is set and the appropriate pressure is selected, begin to adjust the flow of paint. To this end, the screw is fully tightened and then released a couple of turns.
Note! You should not immediately set up a powerful feed, as this will lead to increased material consumption, contamination of the paint booth and surface damage due to leaks. It’s much more rational to add a feed slowly.
The adjusting screw limits the movement of the metal needle. With such a device, the needle is unable to fully open the outlet for the paint material. Therefore, the operator of the spray gun has the opportunity to adapt to the operation of the device by opening the screw and adjusting the supply of pressure to the trigger.
to contents ↑Damage Detection Actions
- If the head hole is damaged, it is recommended to replace the entire assembly, as well as clean the center hole and nozzle. You may need to replace the needle.
- If there are defects on the side opening of the head, you can try to carefully remove them.
- If the nut of the needle guide sleeve is overtightened, the air valve stem must be cleaned. After that, you need to slightly move the torch, slightly loosen the nuts and clean the needle, as well as the spray head. You may need to replace the needle and valve stem.
- If the lever movements are too tight, clean the air valve stem.
- A torch that is biased toward the axis of the spray gun may indicate a blockage in the airhead or holes on the sides. Replacing the pneumatic head will help, and in the best case, cleaning its side holes.
- If the tank lets in air, it is necessary to change a needle or a painting head.
- When the torch produces an asymmetric print, clogging of the paint head, a defect in the nozzle or in the central hole of the air head are possible. Need to replace the head and needle. Cleaning these parts may also help.
- If there is no paint supply in the spray gun, the cause may be a pressure problem. You need to adjust this parameter. If the adjustment does not help, the needle may become clogged or damaged. These parts must be replaced.
- Smudges indicate a clogged nozzle cone or a too tight nut in the guide sleeve. It is necessary to loosen the nut, clean the nozzle or replace the head and needle.
- If the torch is intermittent, a defect in the nozzle cone or insufficient tightening of the spray head is likely. Gasket wear is also possible. Correct the situation by tightening the head or replacing damaged parts.
Some useful tips
During the operation and storage of equipment, it is recommended that the following conditions be met:
- After each use, the spray gun must be thoroughly washed.
- Even a small blockage in the tank will lead to intermittent and uneven staining.
- The spray gun can only be stored in a dry place. Before storing equipment, it must be disassembled and washed.
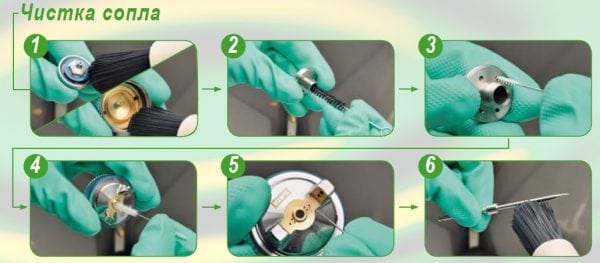
- If you clean the device with metal tools, you can ruin the nozzle or pneumatic head.
Also, do not save when buying a spray gun. If the device is assembled from cheap components, then no adjustment of the spray gun will ensure the proper quality of painting.It is not recommended to purchase very cheap spray guns made in China. Despite the low prices, such devices are usually very difficult to customize. In addition, not all paint is suitable for working with Chinese spray guns.
Before buying a spray gun, it is advisable to study well the offers on the market. Also, it will not be superfluous to find reviews about certain models on the Internet or ask for advice from familiar masters.

