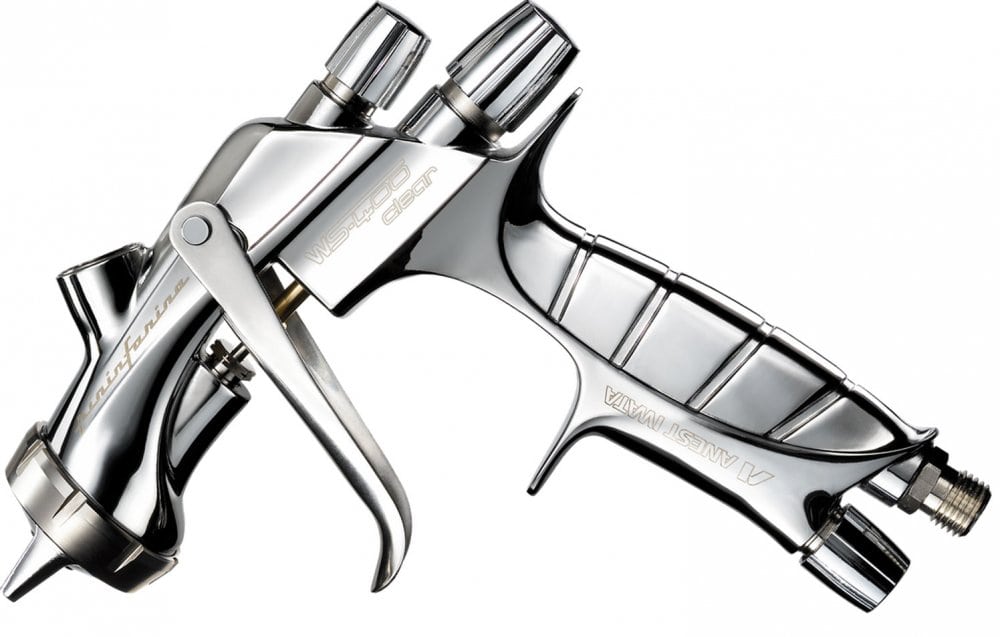
The spray gun for working with varnish does not fundamentally differ from the equipment intended for painting. The most significant point - the nozzle (nozzle) should have a diameter appropriate for the task. The optimum nozzle for varnish has a diameter of 1.4 millimeters.
- The choice of spray gun
- Airbrush "Wagner"
- Spray gun preparation
- Varnish preparation
- Surface Treatment Features
- Preparatory work
- Tips for applying varnish
- Features of wood varnishing
It should also be borne in mind that not every type of spray gun is suitable for working with varnish. For example, electric models are not suitable for working with varnishes based on organic solvents.

Below we will understand the nuances of the device of spray guns, how to configure them and apply varnish on wooden surfaces.
to contents ↑The choice of spray gun
Novice masters often seek to save money, preferring when buying a spray gun with a minimum price tag. However, when buying cheap equipment, you need to understand that the low price is a consequence of not the highest quality materials and the maximum technological simplification of the spray gun. Therefore, do not save too much on the purchase of a spray - this will affect the quality of the varnish.
When choosing a spray gun for varnish, it is recommended to pay attention to the following parameters:
- The material from which the nozzle cover is made. The best material for this part is stainless steel.
- Tightness of the structure. The spray gun maintains a certain pressure, so its components must be airtight, otherwise it will be impossible to obtain a uniformly painted surface. Gaskets provide tightness, and Teflon is the best material for them.
- The location of the receiver. This parameter has no direct effect on the operation of the equipment, however, if the tank is located below, it will be somewhat more difficult to control the spray gun, since such a device must be held strictly vertically.
- The material from which the tank is made. Metal tanks are easier to wash off from paint or varnish residues, however, control over the consumption of material in this case is difficult. Plastic containers have exactly the opposite characteristics: they are difficult to wash, but it is easy to track the consumption of the paintwork composition.
- The material from which the spray gun itself is made. The best option is high-strength plastic. It is not as heavy as metal, which means it will be physically easier to work with such equipment. On the other hand, many craftsmen recommend purchasing stainless steel spray guns, motivating this choice with the durability of this material.
- The width of the torch. This parameter indicates the area that can be processed per unit of time. The length of the hose has a considerable effect on the width of the torch. It is worth noting that not all operations require a large torch width. For example, a thin stream is much preferable for processing small parts. But for large-scale surfaces it is better to have a large torch width.
- Compliance with the performance of the spray gun and an external compressor. An unacceptable situation is when the spray power is greater than the compressor power.
- Easy access to device controls.All buttons on the device should be easily accessible, since it is with their help that the compressed air pressure and other functions are controlled.
Note! The diameter of the nozzle and the grain of the sprayed composition are interdependent parameters. The smaller the grain, the smaller the nozzle should be. It is wise to purchase several interchangeable nozzles and needles at once.
Choosing a specific model should be based on real needs. Someone is better suited sprayer with a plastic tank, and someone - a metal, someone will prefer a wide torch, and someone - narrow. In many cases, there is no need for the cost of professional pneumatic equipment and it is easier to do with an electric or even a manual device.

Airbrush "Wagner"
As an example, let’s take a look at the features of the W670 model spray gun from the German company Wagner. The spray gun includes a fine atomizer, a container for paintwork, an electric motor, an extension cord and a hose.
The Wagner spray gun allows you to work with any type of varnish: both with water-based and soluble organic solvents. Changing the working nozzle (there are several of them in the kit), you can apply varnish of any viscosity level.
The model has a large spray angle, which allows for the application of varnish to process the maximum possible surface area. The extension handle extends the working area even further. The rate of supply of paint is controlled by a roller device.

The spray gun is equipped with an I-Spray nozzle, which gives two types of jets: flat horizontal and flat vertical. Another nozzle - PS800 - is designed specifically for spraying a thin layer of liquid compositions, primarily varnishes.
Hardware Features:
- The spraying method is air.
- Power supply - 220 V.
- The required power is 350 watts.
- Spray power - 120 watts.
- Permissible soil viscosity - 3300 MPa / s.
- The maximum flow rate is 375 milliliters per minute.
- The volume of the tank is 0.8 liters or 1.8 liters.
- The extension cable is 60 centimeters long.
- The length of the air hose is 3.5 meters.
- Weight - 4.3 kg.
Atomizer Options:
- spray gun;
- I-Spray nozzle and 1.8 liter tank;
- nozzle for liquid compositions PS800 and a tank of 0.8 liters;
- air hose;
- extension;
- handle;
- shoulder strap;
- filling funnel;
- user's manual;
- warranty card.
Spray gun preparation
The spray gun is equipped with a step power switch. The presence of this option makes it possible to adjust the pressure and width of the torch, choosing the most suitable mode in which the varnish will lie flat on the surface without undue spraying.

The switch in the "0" position indicates that the spray gun is on. If you set the switch to "1", the device operates at medium speed, allowing you to spray even the most liquid varnishes. The “2” mode means that the device is capable of spraying viscous compounds.
Important! Before use, the spray gun must be set up.
This is done as follows:
- We suspend the spray gun in an upright position over a test sheet of cardboard or wood at a distance of 15-20 centimeters.
- We pull the trigger and hold it until drips appear on the varnish spot.
- Next, we adjust the settings in accordance with the goals.
- We rotate the nozzle so that the torch resembles a fan.
- We train in applying continuous strips of varnish, making overlaps in various directions.
- To create a uniform coating, we move the jet at the same speed. All movements are smooth, without jerking.
- We pull the trigger at the edge of the work surface, but not before it starts.
- Do not tilt the spray gun.
Varnish preparation
Open the can with a knife (included in the kit with a spray gun) and fill the tank with varnish - not to the top, so that the mass can be further diluted and stirred. Add water to the tank (approximately 10% of the total mass). Stir the mixture well.
If necessary, add additional components.However, the ingredients must first be filtered. A mesh filter is best suited for this purpose, which can be purchased in the same place as the varnish. If the filter is not at hand, you can use a nylon stocking.

We prepare the mixture in a metal container specially allocated for this. You do not need to add the whole composition at once, because the varnish quickly becomes viscous due to the effects of additives. It is better to make a few batches.
The components of the mixture:
- hardener (approximately half of the mixture);
- antisilicone to give the coating resistance to dust, grease and crater formation (proportion of the substance is approximately 5-7%);
- drying accelerator (2-3% of the total).
Advice! The accelerator is especially useful at low air temperatures, however, it can cause a dull surface. Even if this happened, there is no reason to despair, since the defect can be corrected by polishing.
Additives can significantly improve the technical characteristics of the varnish. However, one should not be too zealous in this matter, since exceeding permissible concentrations will lead to a deterioration in the quality of the composition.
It is very important to thoroughly mix the composition. This will achieve uniformity of the mixture. The fact is that the molecules of the constituent mixtures begin to actively interact with each other only with intensive stirring. It is necessary to stir the varnish during the work. To do this, periodically shake the container for 15-30 seconds.

Surface Treatment Features
Preparatory work
- The quality of varnishing largely depends on how thoroughly the surface has been prepared. Therefore, first we remove the old coating and well grind and degrease the surface. We pay special attention to the condition of wood, to the presence of traces of decay on it. If the affected areas are found, they are also carefully puttyed and sanded with fine-grained sandpaper.
- We expand the suction tube of the spray gun with the bent end forward. In this position, the varnish from the container will flow more uniformly into the nozzle.
- We put the power switch on the "two". This mode is designed to work with viscous compounds.
Note! Soft wood must first be primed with "fixation of the pile." Then the surface should be sanded again.
When applying varnish, you need to adhere to a number of technological requirements. For example, you should know that the initially released varnish is usually of a heterogeneous composition: mixture clots fly out of the spray gun. Therefore, before applying varnish to the finishing surface, you need to spray a little varnish on the probe (cardboard, piece of wood, paper, etc.). We do test spraying both at horizontal and vertical position of nozzles.

Tips for applying varnish
- After making sure that the torch has acquired the desired shape and width, and the composition stands out evenly, we begin varnishing the surface.
- We apply varnish with smooth movements from the shoulder, that is, with the whole hand - thanks to this style of movement, it is easier to maintain the recommended distance to the surface to be treated.
- If the spraying of the varnish has begun, it is possible to stop only when the entire surface has been treated, otherwise the formation of bumps and spots.
- If the work needs to be completed, then the sprayer should first be taken away from the treated area and only then turned off.
- We move the sprayer away from us so that excess paintwork falls on untreated areas.
- We try to maintain the same distance from the apparatus to the surface to be treated.
After drying the varnish layer, we grind the surface, clean it from dust and apply the next layer of varnish.
to contents ↑Features of wood varnishing
Wood is a special material that differs in its properties from metal or plaster. One of these differences is the uneven absorption of paints by different parts of the wooden surface. Softer areas after varnishing may have a matte shade, while denser areas may have a glossy shade. To fix such a defect, stains are used. In some cases, tinting varnishes are used, which not only color the wood, but also emphasize the woody structure. If desired, you can give the tree a look of another, more respectable breed.
The use of opaque paints and varnishes implies preserving the appearance of a natural texture. Especially often, such varnishes are used for varnishing expensive varieties of wood, such as oak. Due to its high density, oak absorbs the composition, but the wood texture is not masked, but rather accented.
Popular finish under the "gray oak". The technique for creating such a surface consists of several stages. At first, the wood is protected. Then a primer and white paint are applied to it. After that, the surface is ground up to bare wood. However, even after the paint has been removed, the soft layers have its remains in the form of veins, due to which, after applying the varnish, the “gray oak” effect appears.
Often used wood aging technology. Protected and primed surfaces in an unsystematic manner are unevenly lubricated with a wax candle. Then paint is applied to the surface. In those places where the wood was waxed, the paint will begin to crumble in uneven pieces. A crumbling paint coat is fixed with varnish. After that, the tree takes on an old noble appearance.
Some tree species are difficult to process. For example, pine has a resinous composition. After varnishing, the wood often releases resin, which reduces all efforts on varnishing to nothing. Therefore, even before applying the varnish, the pine needs to be tarred.
Applying varnish to wood using a spray gun is technologically similar to painting. However, there are differences that are associated with the selection of appropriate equipment for the task. Before buying a spray gun for varnish, it is recommended to consult with a sales assistant who will help you choose the right model.


Very interesting article, thanks! There was a question, the article says that the spray gun cannot be turned over, but what if the objects that need to be varnished are lying on the table in front of you (in my case, these are wooden wall panels) how to use the spray gun in this position?