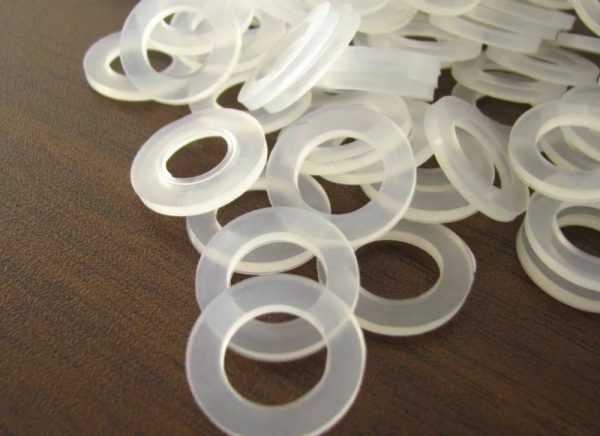
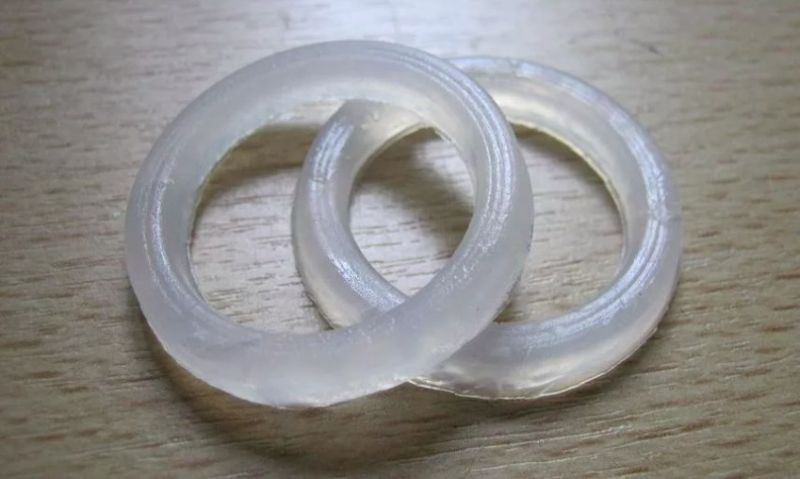
Silicone seals are used in various areas of human life - from automobile repairs to domestic needs. They are considered the most reliable, wear-resistant, withstand high pressure (up to 10 bar) and can operate in a wide temperature range (–50 ... + 280 degrees).
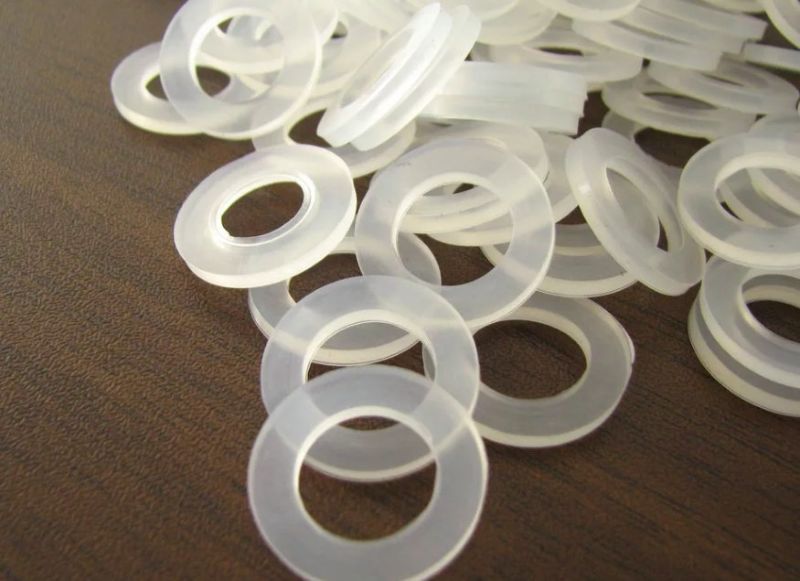
Silicone products have largely replaced rubber, because their technical and operational performance is much better. If necessary, a silicone gasket is made with your own hands: for this you need a little skill and quality material for the base.
What is useful in work
To independently make a durable and flexible silicone sealant for different needs, you should prepare such tools and supplies:
- high quality silicone cartridge;
- cartridge gun;
- scissors;
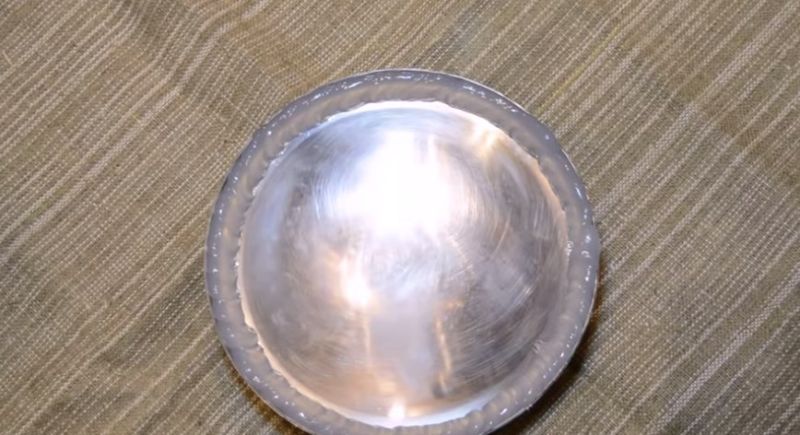
- aluminum mold;
- a couple of sheets of thick paper;
- flat, unbending material (e.g. glass);
- washers on the thickness of the future gasket (or several coins);
- metal spatula;
- capacity for boiling water.
Production and accelerated polymerization gaskets
The easiest way to create a gasket - pouring silicone into a finished form of aluminum. It can be done independently (if there is a lathe) or ordered in a specialized workshop, where the form will immediately be given the desired look and size. Typically, this method is used if it is planned to do the seal repeatedly.
Further, the procedure will be as follows:
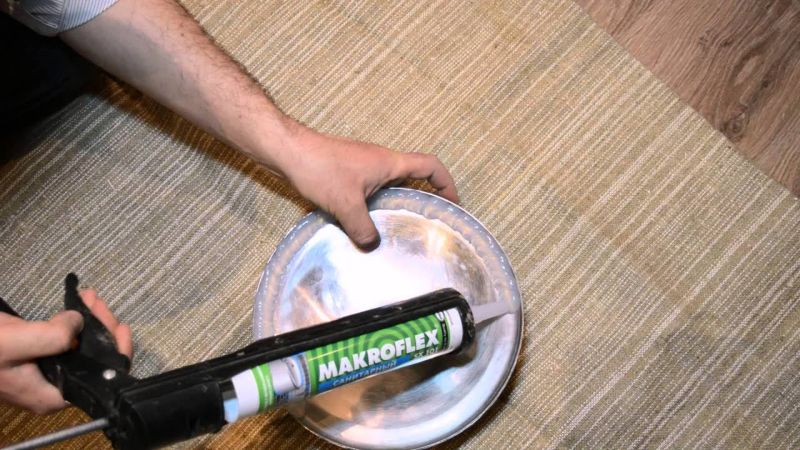
- put the mold on a flat surface;
- with a pistol, fill the mold with silicone, giving the product the required thickness;
- make sure that no air bubbles appear in the silicone, otherwise try to remove them with a stick, needle;
- gently smooth the mass in the mold with a spatula, cut off the excess with the sharp tip of the tool;
- Allow the workpiece to dry completely.
There is another way to make a silicone seal yourself:
- draw a sketch of the gasket in real scale on a blank sheet of paper (for a large-sized product, use whatman paper), well draw the outer and inner borders and the center line between them;
- flip the paper over, along the translucent lines, make exactly the same outline on the second sheet, excluding the slightest deviation to the sides (you can attach the paper to the light so as not to be mistaken when drawing);
- flip the paper over again, put it on a flat base and apply silicone (you can use transparent aquarium sealant or construction compound);

- grease the area of the center line with silicone, then at the edges;
- put washers or coins on the corners to make the seal exactly according to their thickness;
- attach a second leaf on top, press down the entire structure with glass or another smooth object;
- gently press the glass to carefully distribute the silicone;
- leave the product for drying, then remove the spacers, cut the gasket from the sheet with scissors;
- use water to remove sticky paper - wet pieces will easily detach from silicone from friction.
Various methods can be used to dry the silicone sealant. It is easiest to leave it in the air or warm, but it will be possible to use the product only after 1.5-2 days.
If you are pouring into a metal mold, there is a chance to speed up the process. To do this, put silicone directly in the form in water, let the liquid boil, turn off the heat and leave it under the lid for 12 hours. The steam will allow the material to harden quickly - already within the specified period. After twelve hours, the gasket will be able to fulfill its purpose in the kitchen, in the garage, in the bathroom - there are no restrictions on its use.